Granola: that delightful mix of crunchy oats, nuts, seeds, and sweetness that makes breakfast a joy. But did you know this breakfast staple has a surprisingly long history? In the 1800s, a health-conscious fella named John Kellogg developed granola as a way to promote a healthy lifestyle. Talk about starting a trend!
Today, granola comes in endless varieties, but there’s something truly special about making your own. It’s fun, customizable, and lets you control exactly what goes into your breakfast bowl. So ditch the store-bought boxes and get ready to craft your own perfect granola recipe!
Granola Fun Facts:
- The word “granola” comes from the Latin word “granum,” which means grain.
- Granola wasn’t always a breakfast food! In its early days, it was actually marketed as a health food for adults.
- Astronauts have even enjoyed granola in space! It’s a lightweight, nutritious food that packs a powerful energy punch.

Homemade Granola
Ingredients
- 3 cups old-fashioned rolled oats (not instant) ((300 grams))
- 1 cup whole raw almonds or even sliced or slivered almonds ((150 grams) )
- 1/2 cup raw sunflower seeds ( (70 grams) )
- 1/2 cup raw pumpkin seeds ((70 grams) )
- 1 teaspoon ground cinnamon
- 1/2 teaspoon salt
- 2 tablespoons canola oil or unsalted butter, melted
- 1/4 cup pure maple syrup ((120 ml) )
- 1/4 cup molasses/honey
- 1 cup dried fruits (optional) (cranberries, cherries, apricots, dates, figs, and/or raisins)
Instructions
- Preheat Party: Get your oven fired up to 165 degrees Celsius. While it's preheating, line a baking sheet with parchment paper for easy cleanup.
- Dry Ingredient Fiesta: In your large bowl, combine the rolled oats, nuts, seeds, cinnamon, and salt. Give it a good toss to make sure everything gets acquainted.
- Wet Wonderland: In your smaller bowl, whisk together the melted oil or butter and maple syrup. This will be the binding magic for your granola!
- The Great Mix-In: Pour the wet ingredients into the bowl with the dry ingredients and toss everything together until it's evenly coated.
- Spreading the Love: Spread the granola mixture out on your prepared baking sheet. Aim for a single layer to ensure even browning.
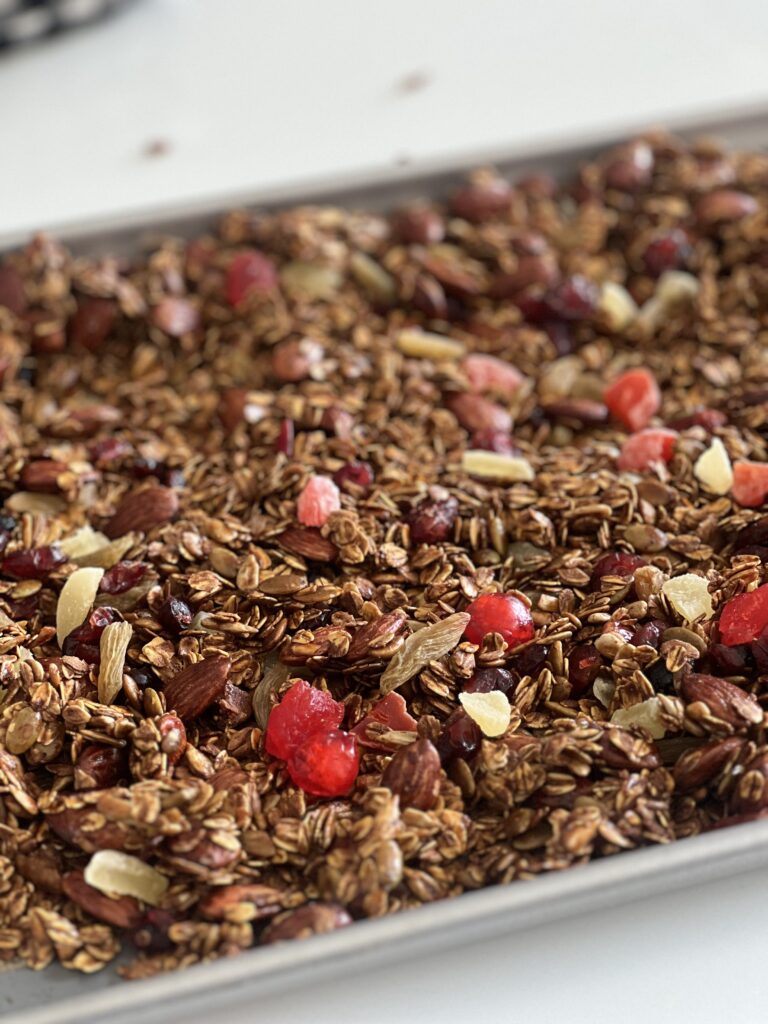
- Baking Bonanza: Pop your granola into the preheated oven and bake for 30-45 minutes, or until it's golden brown. Remember, the browner it gets, the crunchier it becomes! Keep an eye on it and give it a stir occasionally so it browns evenly.
- Cooling Down: Take your granola out of the oven and place it on a wire rack to cool completely. You might notice some stickiness, but don't worry! It will crisp up as it cools.
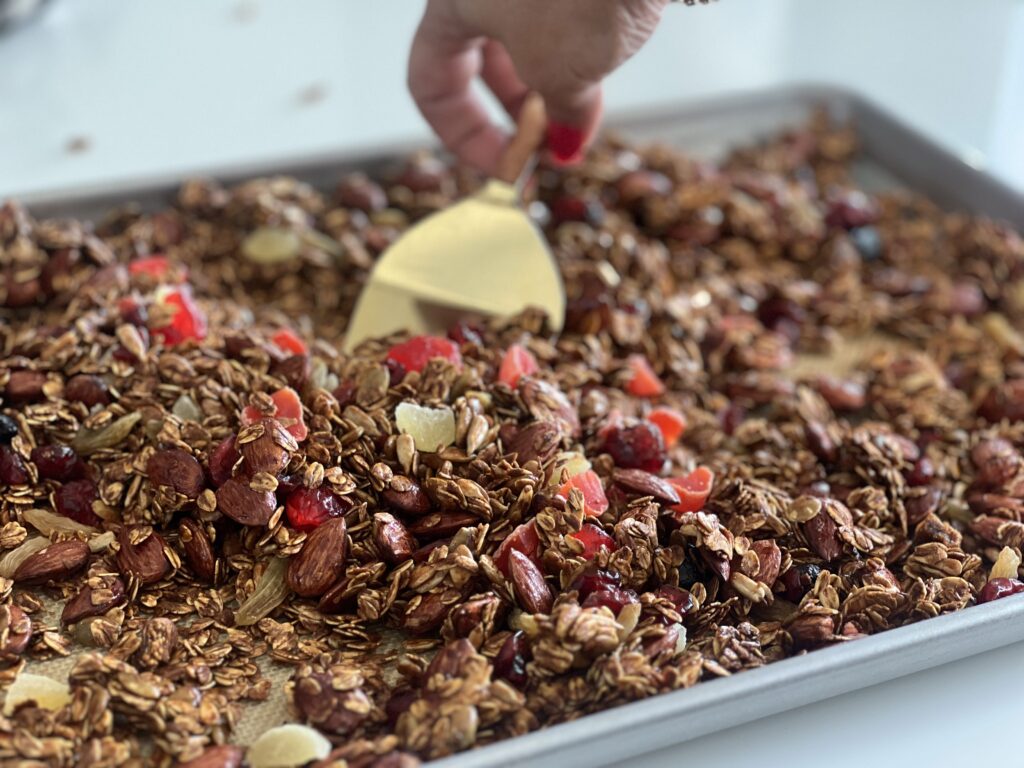
- Cluster Power: While the granola is still warm, use a spoon or spatula to break up any large clumps. This will create those delightful granola clusters we all love.
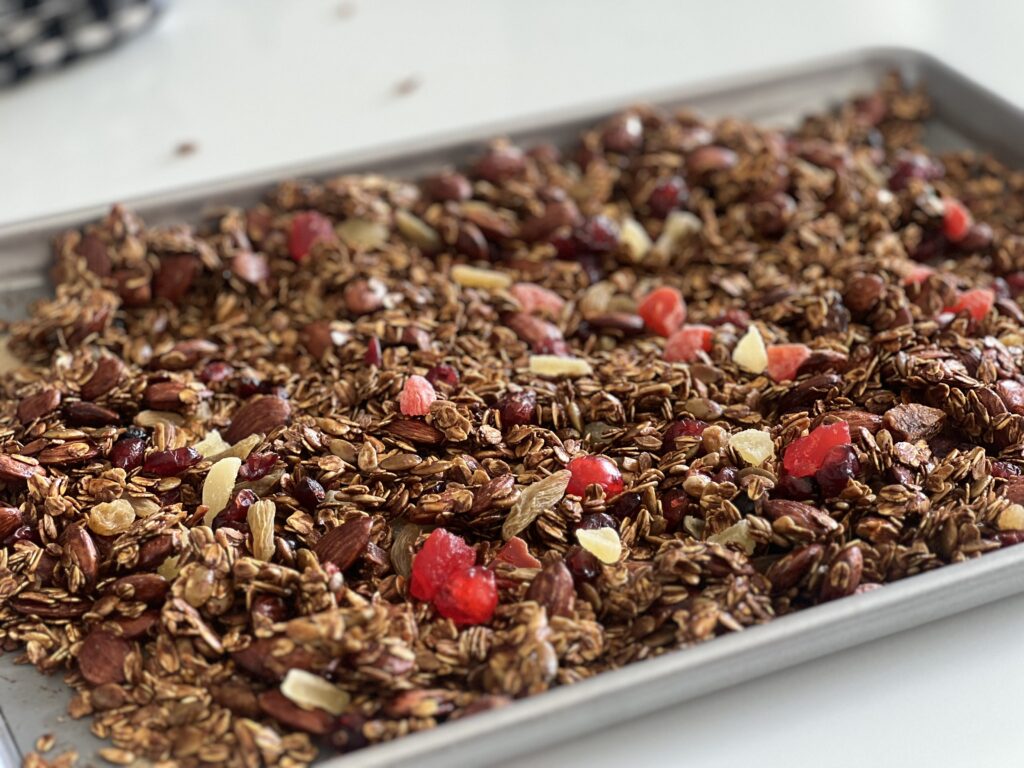
- Fruity Fun: Once your granola is completely cool, it's time to add your favorite dried fruits! Cranberries, cherries, raisins, apricots – the possibilities are endless.
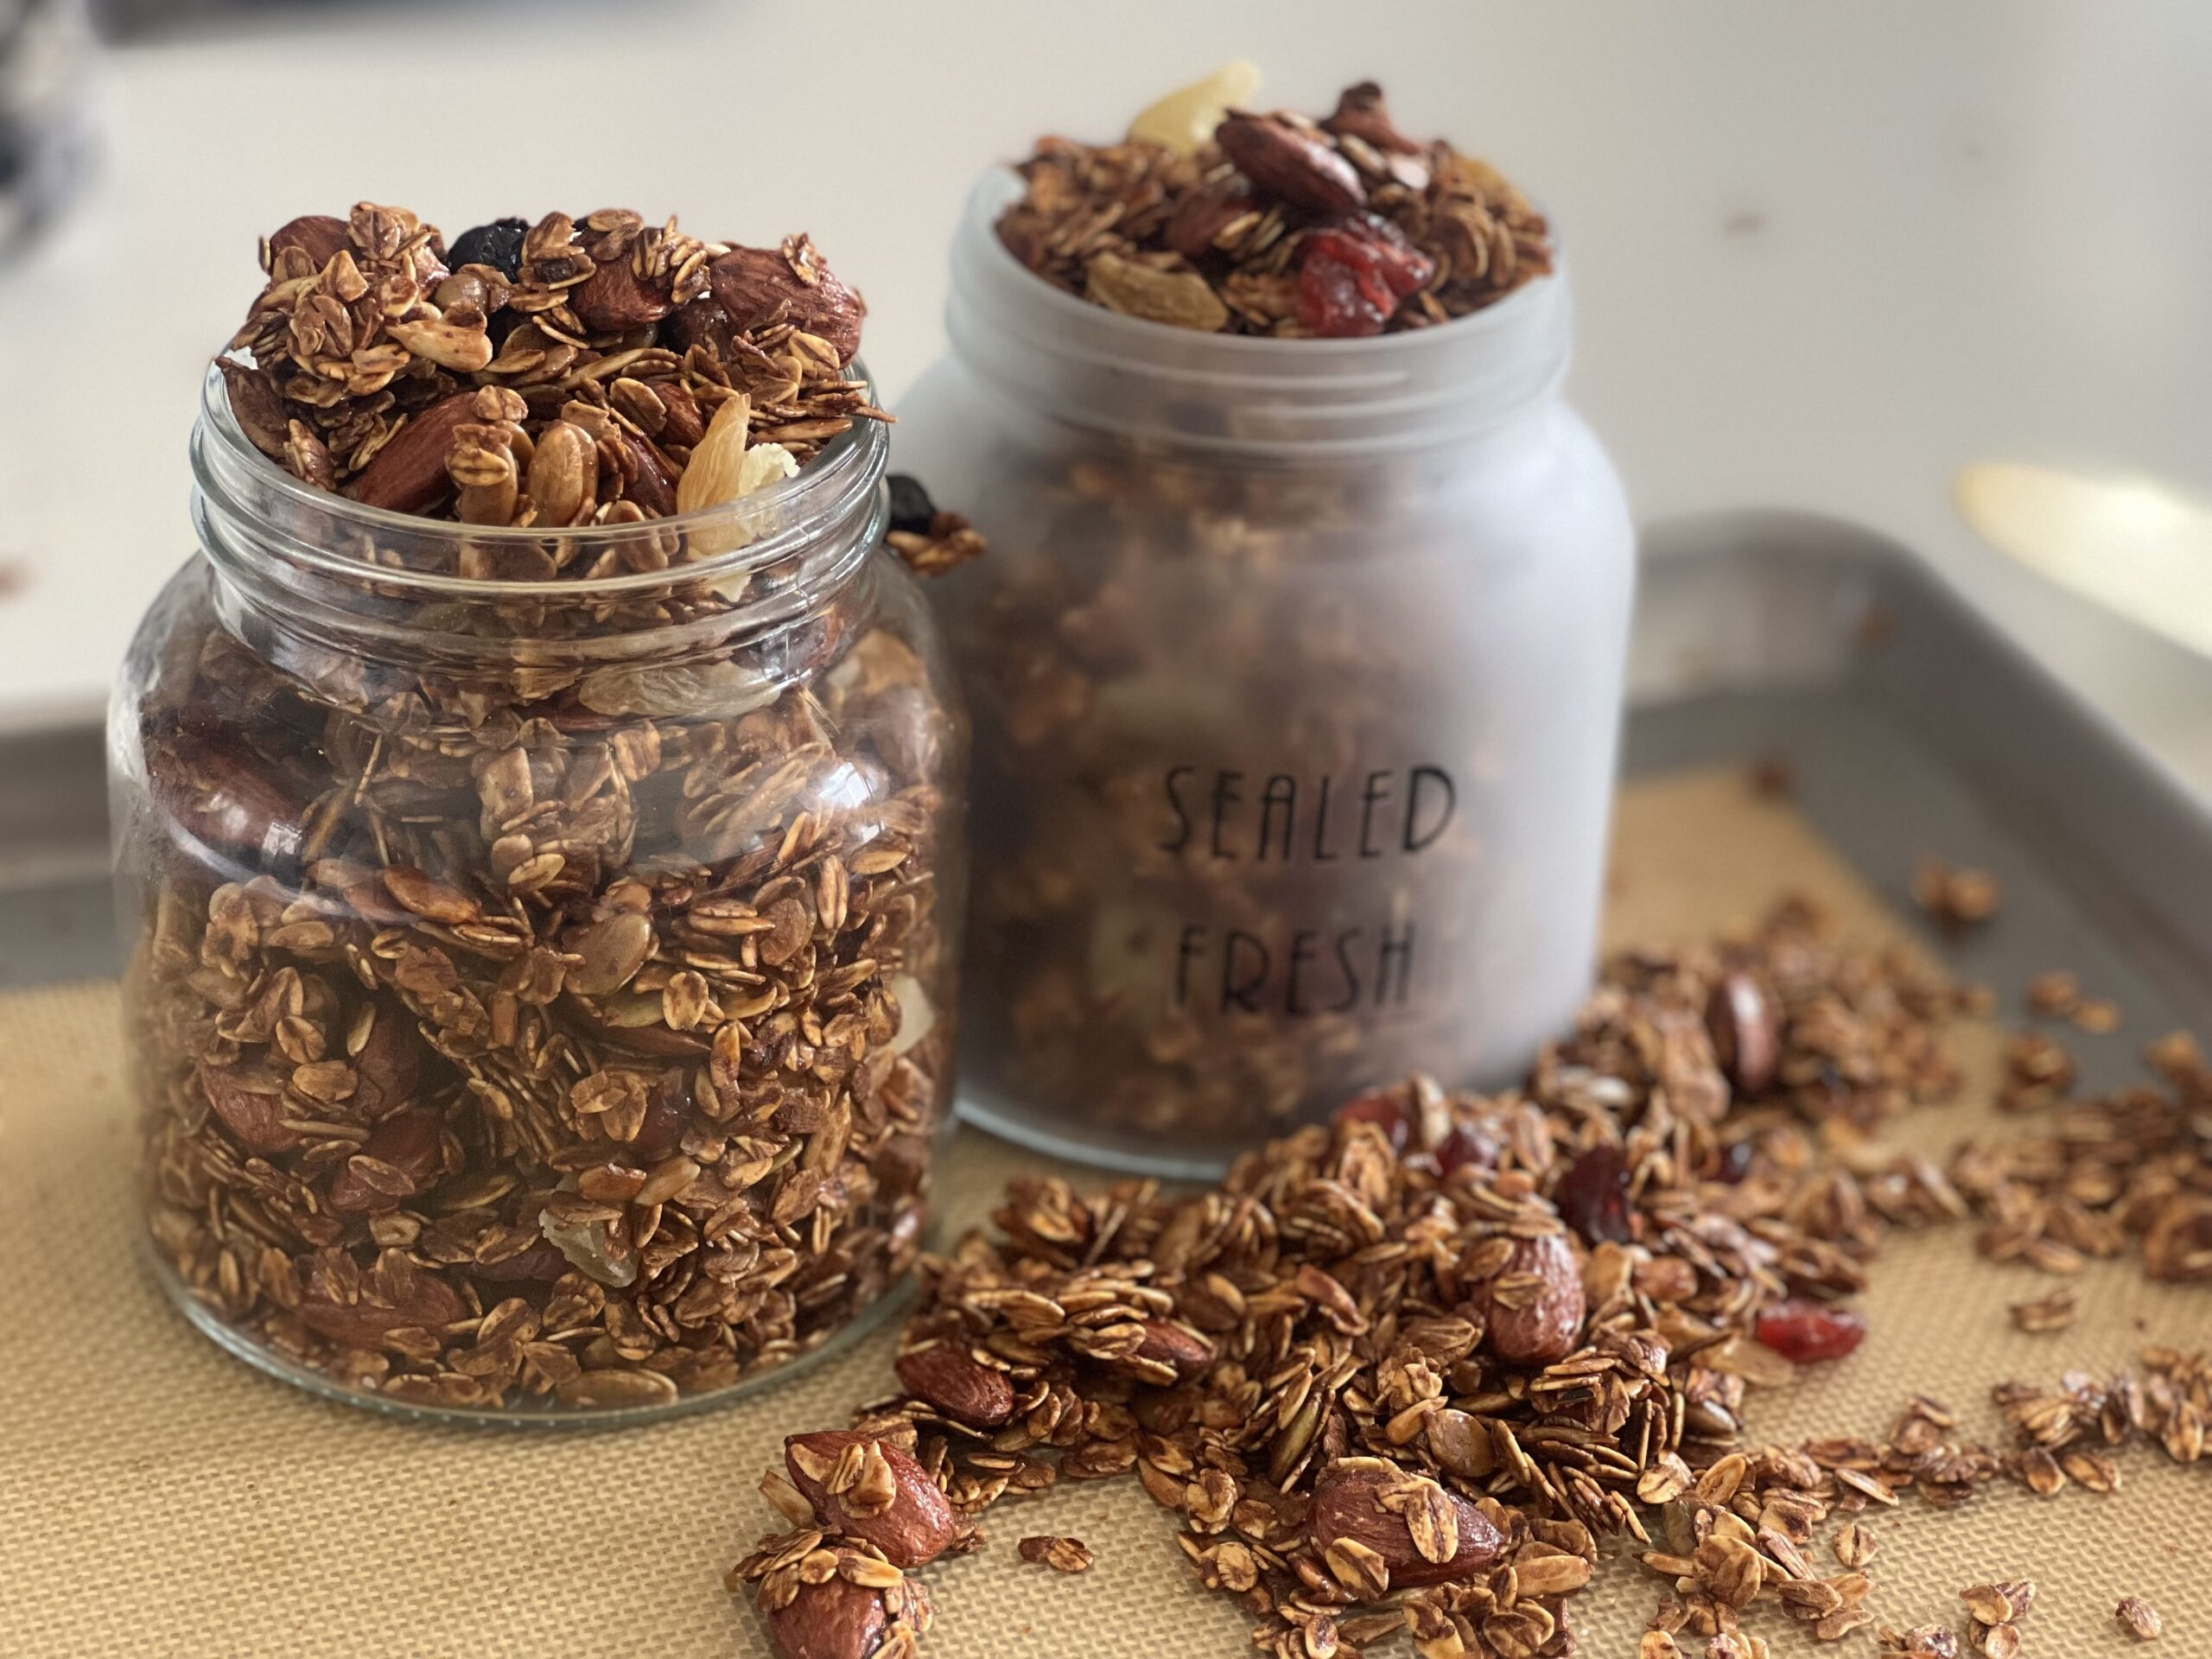
- There you have it! Homemade granola, fresh from your oven!
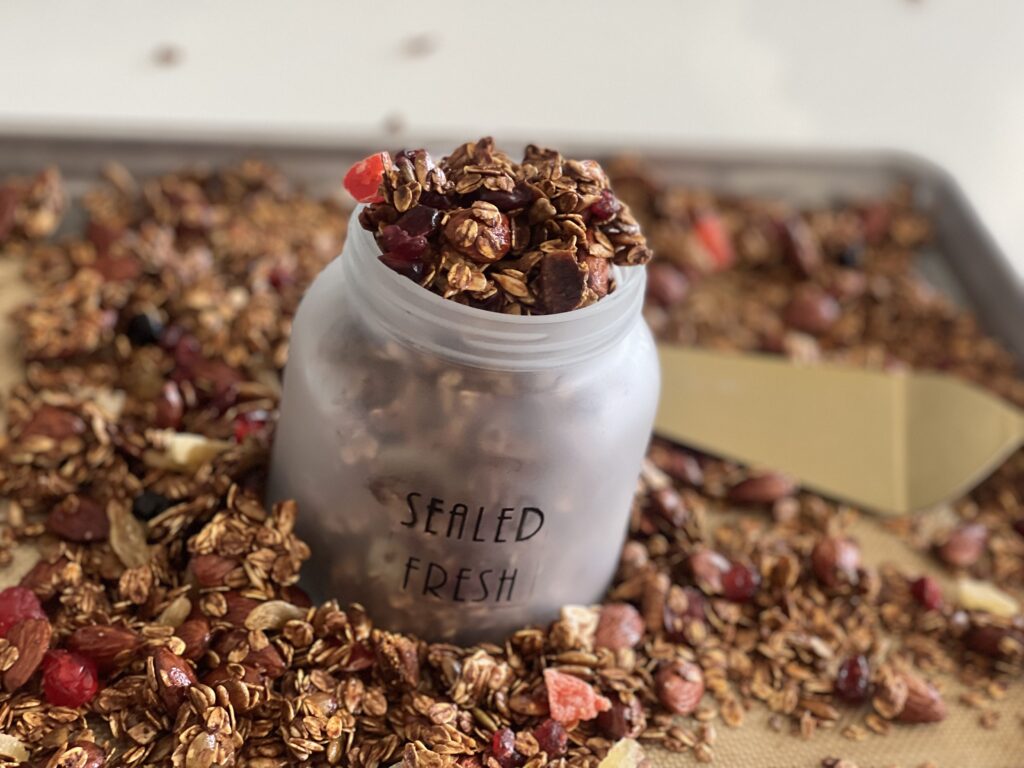
- Let it cool completely, store it in an airtight container in the fridge, and enjoy it for weeks to come!
Video
Notes
NOTES Tips and Tricks for the Perfect Homemade Granola: 1. Customize Your Ingredients: Feel free to swap out any nuts, seeds, or dried fruits in the recipe for your favorites. Almonds, pecans, walnuts, pumpkin seeds, sunflower seeds, raisins, and dried cranberries are all excellent choices. 2. Sweetness Levels: Adjust the sweetness to your liking. If you prefer a less sweet granola, reduce the amount of honey or maple syrup. For a more indulgent treat, add a few tablespoons of brown sugar. 3. Clumpier Granola: For chunkier granola clusters, press down on the mixture with a spatula before baking and avoid stirring it too much while it bakes. Let it cool completely on the baking sheet before breaking it into clusters. 4. Even Baking: Spread the granola mixture evenly on the baking sheet to ensure it bakes uniformly. Use a large, rimmed baking sheet to prevent spilling and ensure even cooking. 5. Watch Closely: Granola can go from perfectly golden to burnt quickly. Start checking for doneness around the 20-minute mark, stirring occasionally to ensure even baking. 6. Mix-Ins: Add dried fruits and chocolate chips after baking. Adding them before can cause them to burn or melt. 7. Storage: Store your granola in an airtight container at room temperature for up to two weeks. For longer storage, keep it in the freezer for up to three months. 8. Healthy Boosts: Add superfoods like chia seeds, flax seeds, or hemp hearts for an extra nutritional boost. Stir them in after baking to preserve their nutrients. 9. Oil Options: Use coconut oil, olive oil, or any neutral oil of your choice. Each type of oil will impart a different flavor to your granola. 10. Flavor Variations: Experiment with different spices and flavorings. Cinnamon, nutmeg, vanilla extract, and almond extract are popular options. You can also add a pinch of sea salt to enhance the flavors. 11. Baking Temperature: If your granola tends to burn quickly, try lowering the oven temperature slightly and baking for a longer time. This allows the granola to dry out and crisp up without burning. 12. Dietary Adjustments: For a vegan version, use maple syrup or agave nectar instead of honey. To make it gluten-free, ensure all your ingredients, particularly the oats, are certified gluten-free. 13. Serving Suggestions: Enjoy your homemade granola with yogurt, milk, or as a topping for smoothie bowls. It also makes a great snack on its own!
