Tag

Deepali Ohri

Browsing

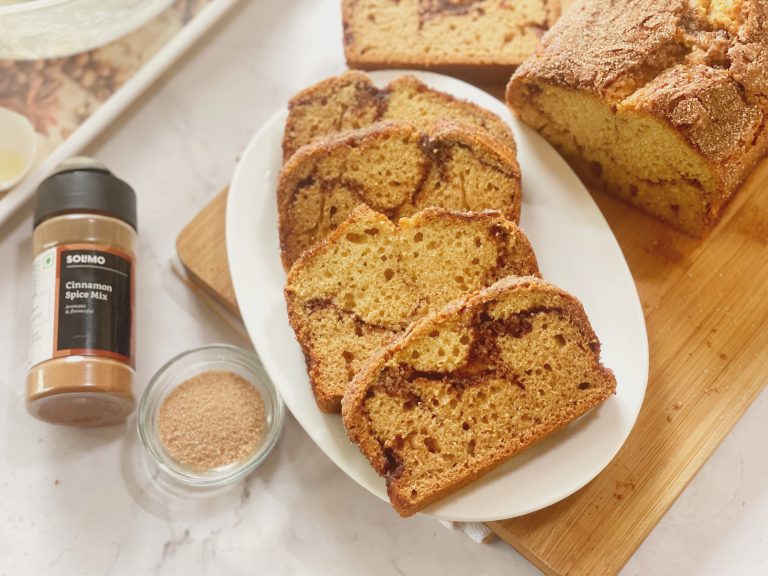
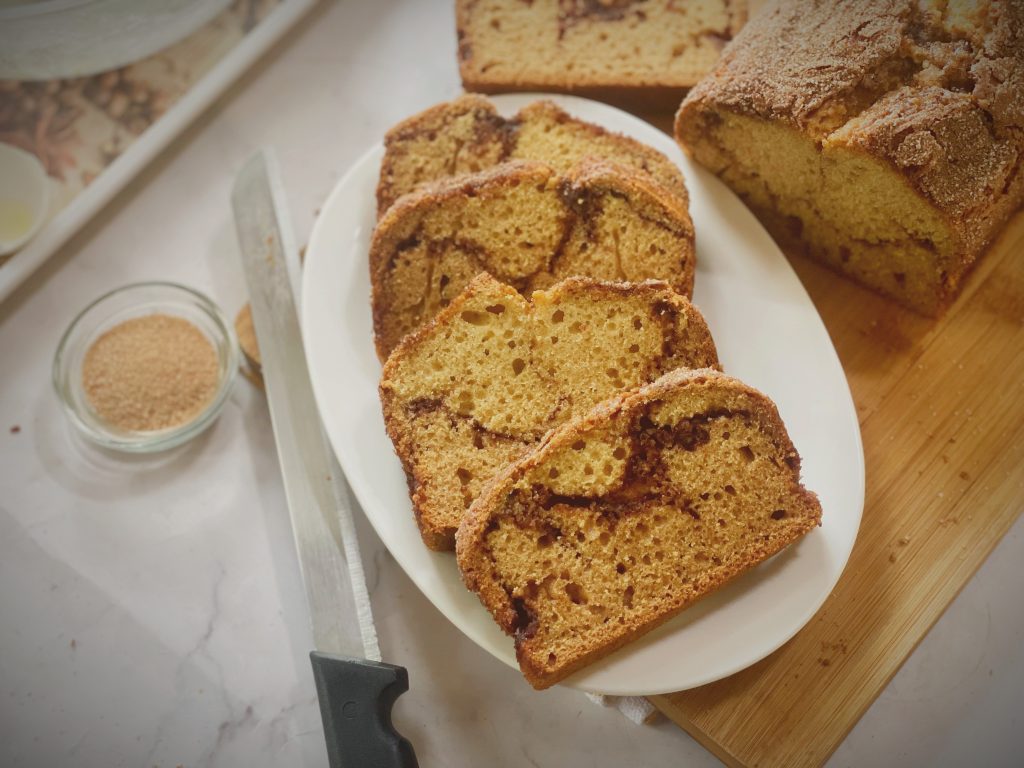
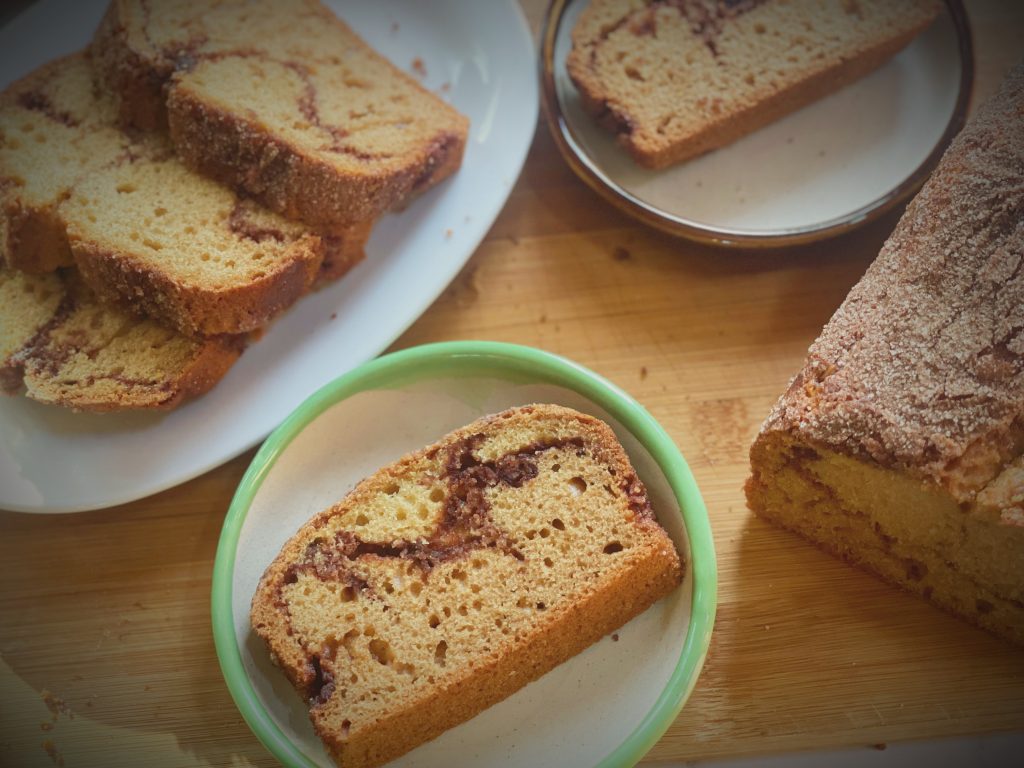
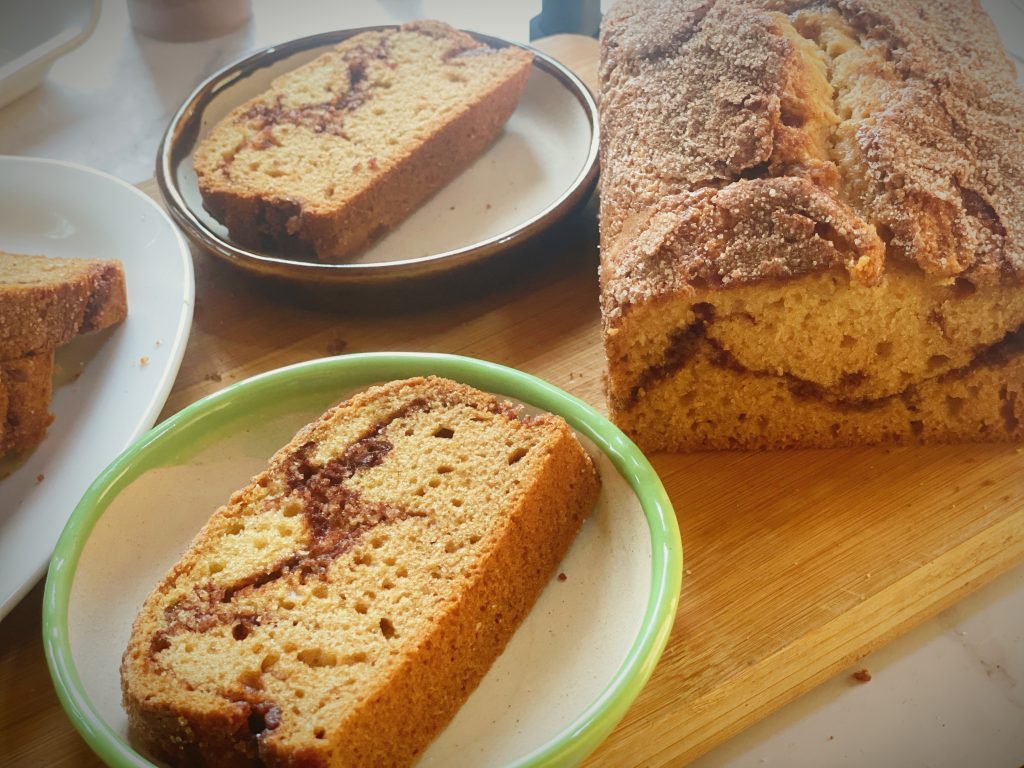
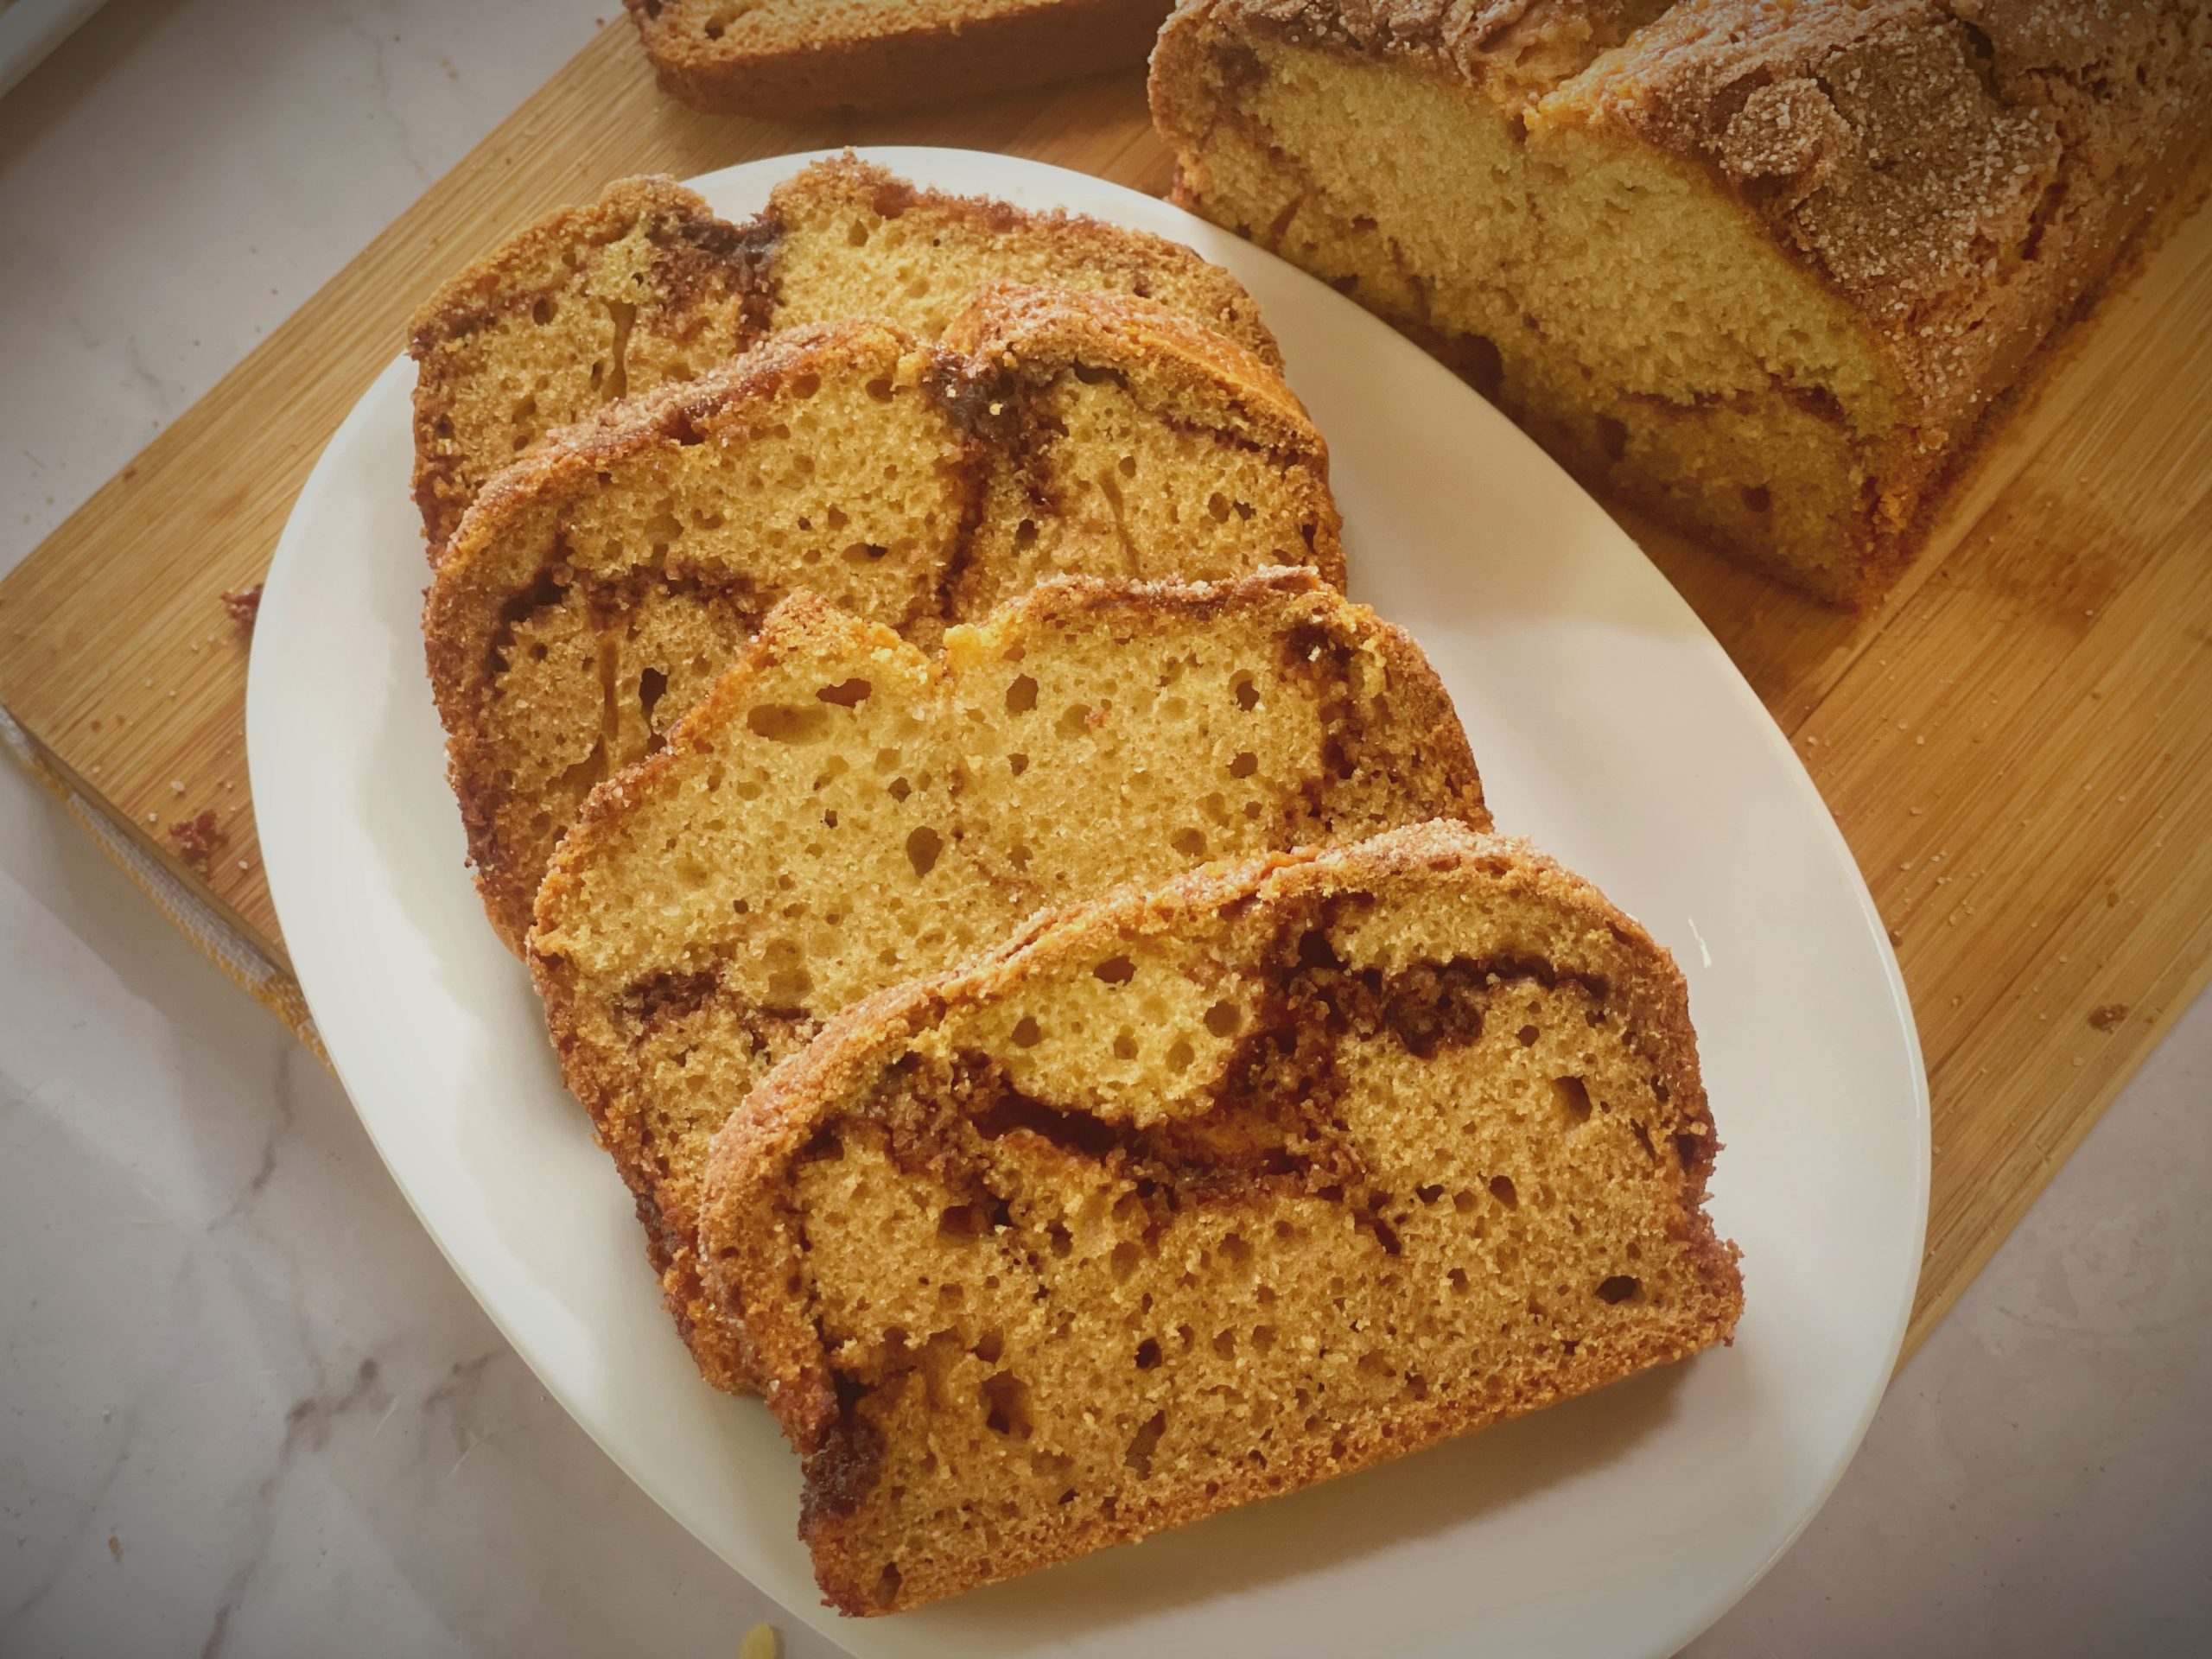
If you’re craving something cozy, aromatic, and delightfully sweet, look no further than this vanilla cinnamon swirl quick bread. Moist, soft, and infused with a generous ribbon of cinnamon sugar, this bread is incredibly easy to make with just basic ingredients—no mixer required! Reminiscent of cinnamon rolls, this cake-like bread is perfect for satisfying those spontaneous baking urges.

This isn’t your ordinary quick bread. It’s bursting with warm vanilla flavor and a thick, gooey ribbon of cinnamon sugar. Plus, it’s incredibly easy to make, requiring no fancy equipment and minimal effort.

Why You’ll Love This Recipe

  • Soft and Moist: This bread is incredibly tender and stays that way for days, thanks to the perfect combination of ingredients.
  • Easy to Make: No mixer required! Just a few bowls and some whisking are all you need to whip up this delicious treat.
  • Packed with Flavor: The warm vanilla and gooey cinnamon sugar create an irresistible flavor combination that will have you going back for seconds.
  • Customizable: Feel free to add in chopped nuts, apples, or even a chai spice twist for a fun variation.

Texture-wise, it’s denser than vanilla cake but not as heavy as pound cake. It’s akin to apple cinnamon bread or cinnamon swirl banana bread, minus the fruit. My variation involves swapping buttermilk for a mix of sour cream and milk to achieve a tender, moist crumb.

Key Ingredients and Their Roles:

  • All-Purpose Flour: The foundation of the bread.
  • Salt & Baking Soda: For flavor and rise.
  • Vanilla Extract: For that unbeatable vanilla essence. Use homemade if available.
  • Egg: Binds the ingredients together.
  • Sugar: Both for the batter and the cinnamon swirl.
  • Plain Yoghurt: Adds moisture and tenderness, activating the baking soda.
  • Milk: Whole milk is preferred, but other types can be used in a pinch.
  • Oil: Ensures a moist texture, outperforming butter in this regard.

The Cinnamon Swirl:

To create the cinnamon swirl, layer half the batter in a greased loaf pan, top with almost all the cinnamon sugar, then add the remaining batter. Finish with the reserved cinnamon sugar and swirl with a knife. Don’t be alarmed by the amount of cinnamon sugar—it creates an extra thick swirl for that perfect flavor.

Freezing and Storing Quick Bread:

  1. Cool Completely: After baking, let the bread cool completely.
  2. Wrap Securely: Wrap in Press & Seal or plastic wrap, then in aluminum foil. This double layer prevents freezer burn and maintains freshness.
  3. Label and Freeze: Write the type of bread and date on the foil. Freeze for up to 3 months.
  4. Thawing: Thaw in the refrigerator overnight or at room temperature for a few hours.

Beyond the Loaf

This versatile recipe can be easily transformed into muffins or mini loaves. See the recipe notes for detailed instructions.

So ditch the store-bought pastries and whip up this delightful cinnamon swirl bread! It’s the perfect way to warm your home and satisfy your sweet tooth.
 

Moist Vanilla Cinnamon Swirl Quick Bread

Prep Time 20 minutes
Cook Time 1 hour
This cinnamon swirl quick bread is perfect for a cozy afternoon snack, a delightful breakfast treat, or even a decadent dessert. Drizzle with vanilla icing, serve it plain, or get creative with your favorite toppings. No matter how you enjoy it, this recipe is sure to become a new favorite!

Ingredients

for cinnamon swirl:

  • 1/2 cup sugar ((100grams))
  • 1 tablespoon cinnamon powder

For the Bread:

  • 2 cups all purpose flour ((250 grams))
  • 1 teaspoon baking soda
  • 1/2 teaspoon salt
  • 1 egg
  • 3/4 cup castor sugar ((150 grams))
  • 1/3 cup plain yoghurt ( ( 80 grams))
  • 2/3 cup milk ((160ml))
  • 1/3 cup any flavourless oil
  • 1 tablespoon vanilla extract

Instructions 

  • Preheat your oven to 177°C (350°F). Grease a 9x5-inch or 8x4-inch loaf pan with nonstick spray for easy removal.

Cinnamon Swirl:

  • In a small bowl, whisk together the ½ cup (100g) granulated sugar and 1 tablespoon of ground cinnamon. Set aside.

Bread:

  • In a large bowl, whisk together the flour, baking soda, and salt.
  • In a separate medium bowl, whisk the egg and ¾ cup (150g) of granulated sugar together until well combined. Then, whisk in the oil, yoghurt, milk, and vanilla extract until everything is incorporated.
  • Pour the wet ingredients into the dry ingredients and whisk gently until just combined. Avoid overmixing, a few lumps are okay! You should end up with about 3 cups of batter.
  • Pour or spread half of the batter into your prepared loaf pan. Sprinkle almost all of the cinnamon sugar mixture on top, reserving about 2 tablespoons for the later step (it's a generous amount!).
  • Carefully pour or spread the remaining batter on top of the cinnamon sugar layer. The top layer of batter might stick to the cinnamon sugar, making spreading a bit tricky. Use a spoon to gently spread it out as best you can.
  • Now, sprinkle the remaining 2 tablespoons of cinnamon sugar over the batter.
  • Using a knife, gently swirl the cinnamon sugar down the length of the loaf pan. Avoid over-swirling, as this will mix the layers together too much.
  • Bake the bread for 50-65 minutes, loosely covering it with foil about halfway through baking to prevent the top from over-browning. Bread baked in an 8x4-inch pan will likely take closer to 65 minutes. Insert a toothpick in the center of the bread and if it comes out clean, the bread is done. Baking times can vary between ovens.
  • Remove the bread from the oven and let it cool in the pan on a wire rack for 1 hour. After that, take the bread out of the pan and let it cool completely on the wire rack.
  • Drizzle with icing, if using. Slice and serve! Enjoy your delicious creation!

Video

Notes

Tips and Variations:
  • Cover and store leftover bread at room temperature for up to 2 days or in the refrigerator for up to 1 week.
  • Freezing Instructions: For longer storage, freeze the glazed or unglazed bread for up to 3 months. See details above the recipe in the original post. Allow the bread to thaw overnight in the refrigerator before bringing it to room temperature, glazing (if desired), and serving.
  • Special Tools (optional): 9x5-inch Loaf Pan or 8x4-inch Loaf Pan, Glass Mixing Bowls, Whisk, Cooling Rack
  • Sour Cream & Milk: This recipe uses a combination of sour cream and milk instead of buttermilk for a slightly denser and more tender crumb. Using all milk can create a thinner batter that might overflow and take longer to bake. However, you can substitute 1 cup of buttermilk for the sour cream and milk if you prefer.
  • Optional Flavor Twists: Feel free to get creative! Here are some ideas:
    • Use a chai spice blend instead of cinnamon sugar for a unique twist.
    • Add 1 cup of chopped, peeled apples to the batter for an apple twist.
    • Add 1 cup of raisins, chopped walnuts or pecans, or dried/fresh/frozen cranberries for a more textural and flavorful bread.
    • Include 1 tablespoon of fresh orange zest to the bread batter or cinnamon sugar swirl for a an irresistible citrus surprise.
Author: Deepali Ohri
Course: Dessert
Keyword: bake with deepali,, baking, cake, cinnamon cake,

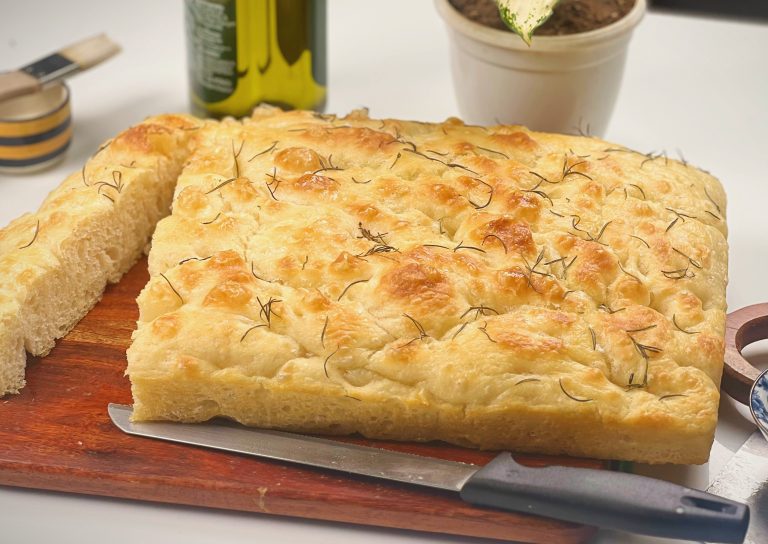
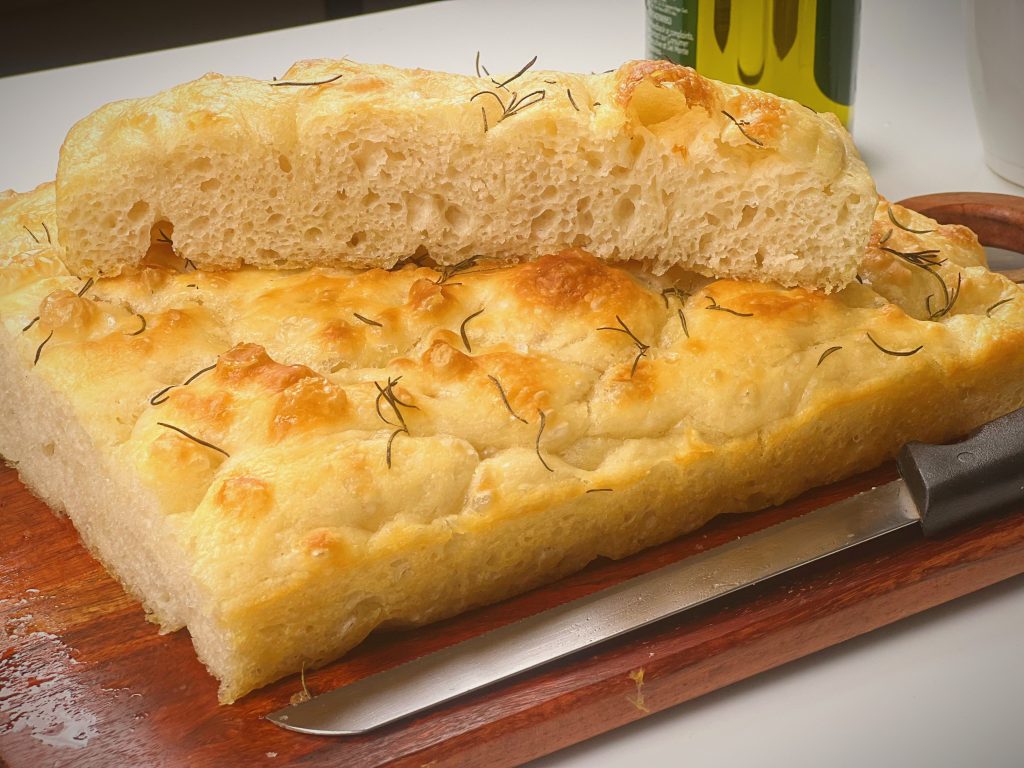
Focaccia bread, with its golden brown crust, soft and airy interior, and amazing flavor, is a true Italian treasure. But traditional focaccia recipes can be a bit intimidating, requiring kneading and long rising times. Fear not, bread lovers! This recipe is here to change the game.

Focaccia Fun Facts:

Did you know focaccia is an ancient bread? Dating back to the Romans, who called it “panis focacius,” it was a popular food for travelers for its simplicity and long shelf life. Today, focaccia remains a staple in Italian cuisine, enjoyed on its own, dipped in olive oil, or as a base for pizzas.

focaccia
easy no-knead focaccia

Why This Recipe is Awesome

This recipe uses a no-knead method, making focaccia accessible to even beginner bakers. With plenty of olive oil, the dough is easy to handle and requires minimal effort. Plus, you can customize it with your favorite toppings for endless flavor possibilities!

Tips & Tricks for Perfect Focaccia

  • Olive Oil is Key: Don’t be shy with the olive oil! It adds richness, flavor, and helps create that signature focaccia texture.
  • Warm Water Matters: Make sure your water is warm to the touch, around 105°F. Too hot will kill the yeast, and too cold will prevent it from activating.
  • No Knead Needed: This recipe is all about letting the dough rise and develop gluten on its own. Kneading is not required!
  • The Power of Rise: For the best flavor and texture, let the dough rise overnight in the fridge. But if you’re short on time, a 4-hour rise at room temperature works too.
  • Folding Technique: The gentle folding motion in step 5 builds strength in the dough without kneading. Imagine giving your dough a hug!

Easy No-Knead Focaccia Bread Recipe

Now that you’re armed with some focaccia knowledge and baking tips, let’s get started!

No-Knead Focaccia

Ingredients

  • 7 grams instant yeast
  • 1 tablespoon honey
  • 600 ml tepid water
  • 650 grams all-purpose flour/plain flour
  • 1 tablespoon salt flakes(Kosher salt or sea salt)
  • 3+2 tablespoons olive oil
  • some fresh rosemary

Instructions 

  • Grease a baking tray with olive oil. We want a deep pan, at least an inch deep.
  • In a bowl or jug, whisk together yeast, honey, and water.
  • In a large bowl, whisk together flour and salt.
  • Add the yeast mixture and use a wooden spoon or spatula to mix until you have a shaggy dough. Don't worry if it looks a bit rough, it will come together.
  • In a separate bowl, add 3 tablespoons of olive oil. Transfer the dough and coat it in the oil.
  • Now for the fun part! Oil your hands and perform the fold technique: grab one edge of the dough, stretch it gently, and fold it over the center. Repeat on all four sides, turning the bowl a quarter turn each time. Do this three to four times in total. Imagine giving your dough a series of gentle folds.
  • Cover the bowl and let it rise overnight in the fridge (or 4 hours at room temperature). Patience is key here – the longer rise gives the dough its wonderful flavor and texture.
  • Next day, take out the dough from the refrigerator. Add the remaining tablespoon of oil to your prepared baking tray. Do the folding step once again to the dough. Gently tip the dough out and spread it to fill the pan. Cover and let it rise for another hour. The dough will puff up beautifully!
  • Preheat your oven to 220°C
  • To test if your dough is ready, gently press a finger into it. If the indentation comes back slowly but leaves a slight dent, it's ready to bake.
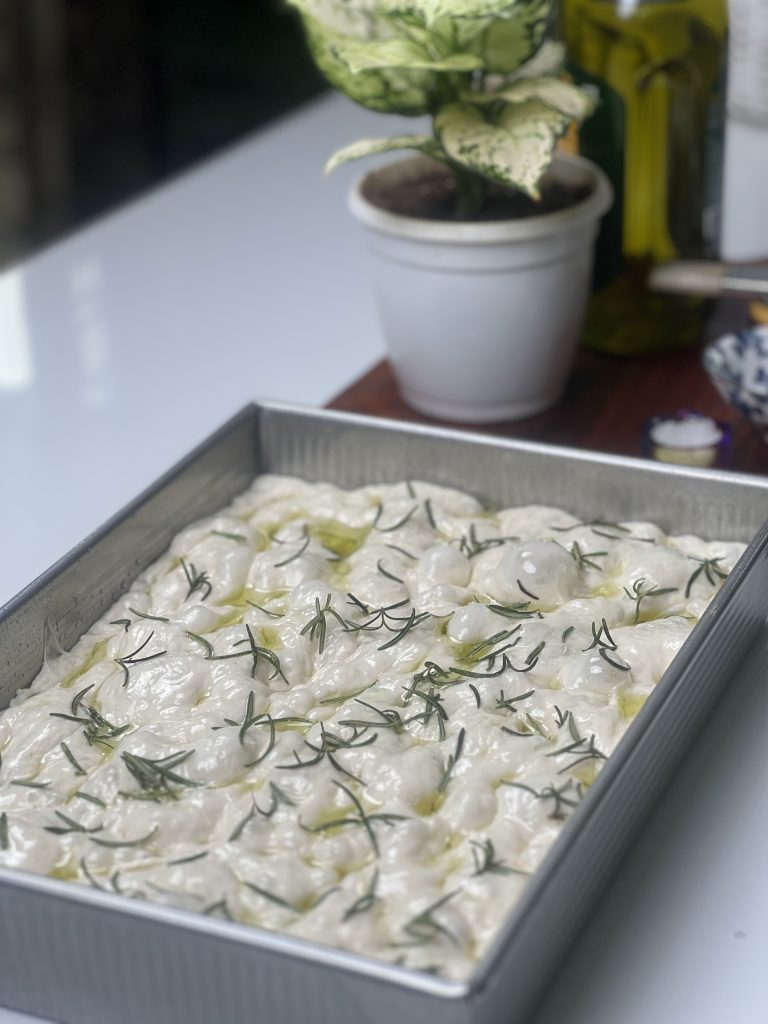
  • Oil your fingers again and gently press them into the dough to create dimples, reaching the bottom of the pan. This is what gives focaccia its signature look!
  • Drizzle some more olive oil on top, sprinkle some salt flakes and also top with some fresh rosemary.
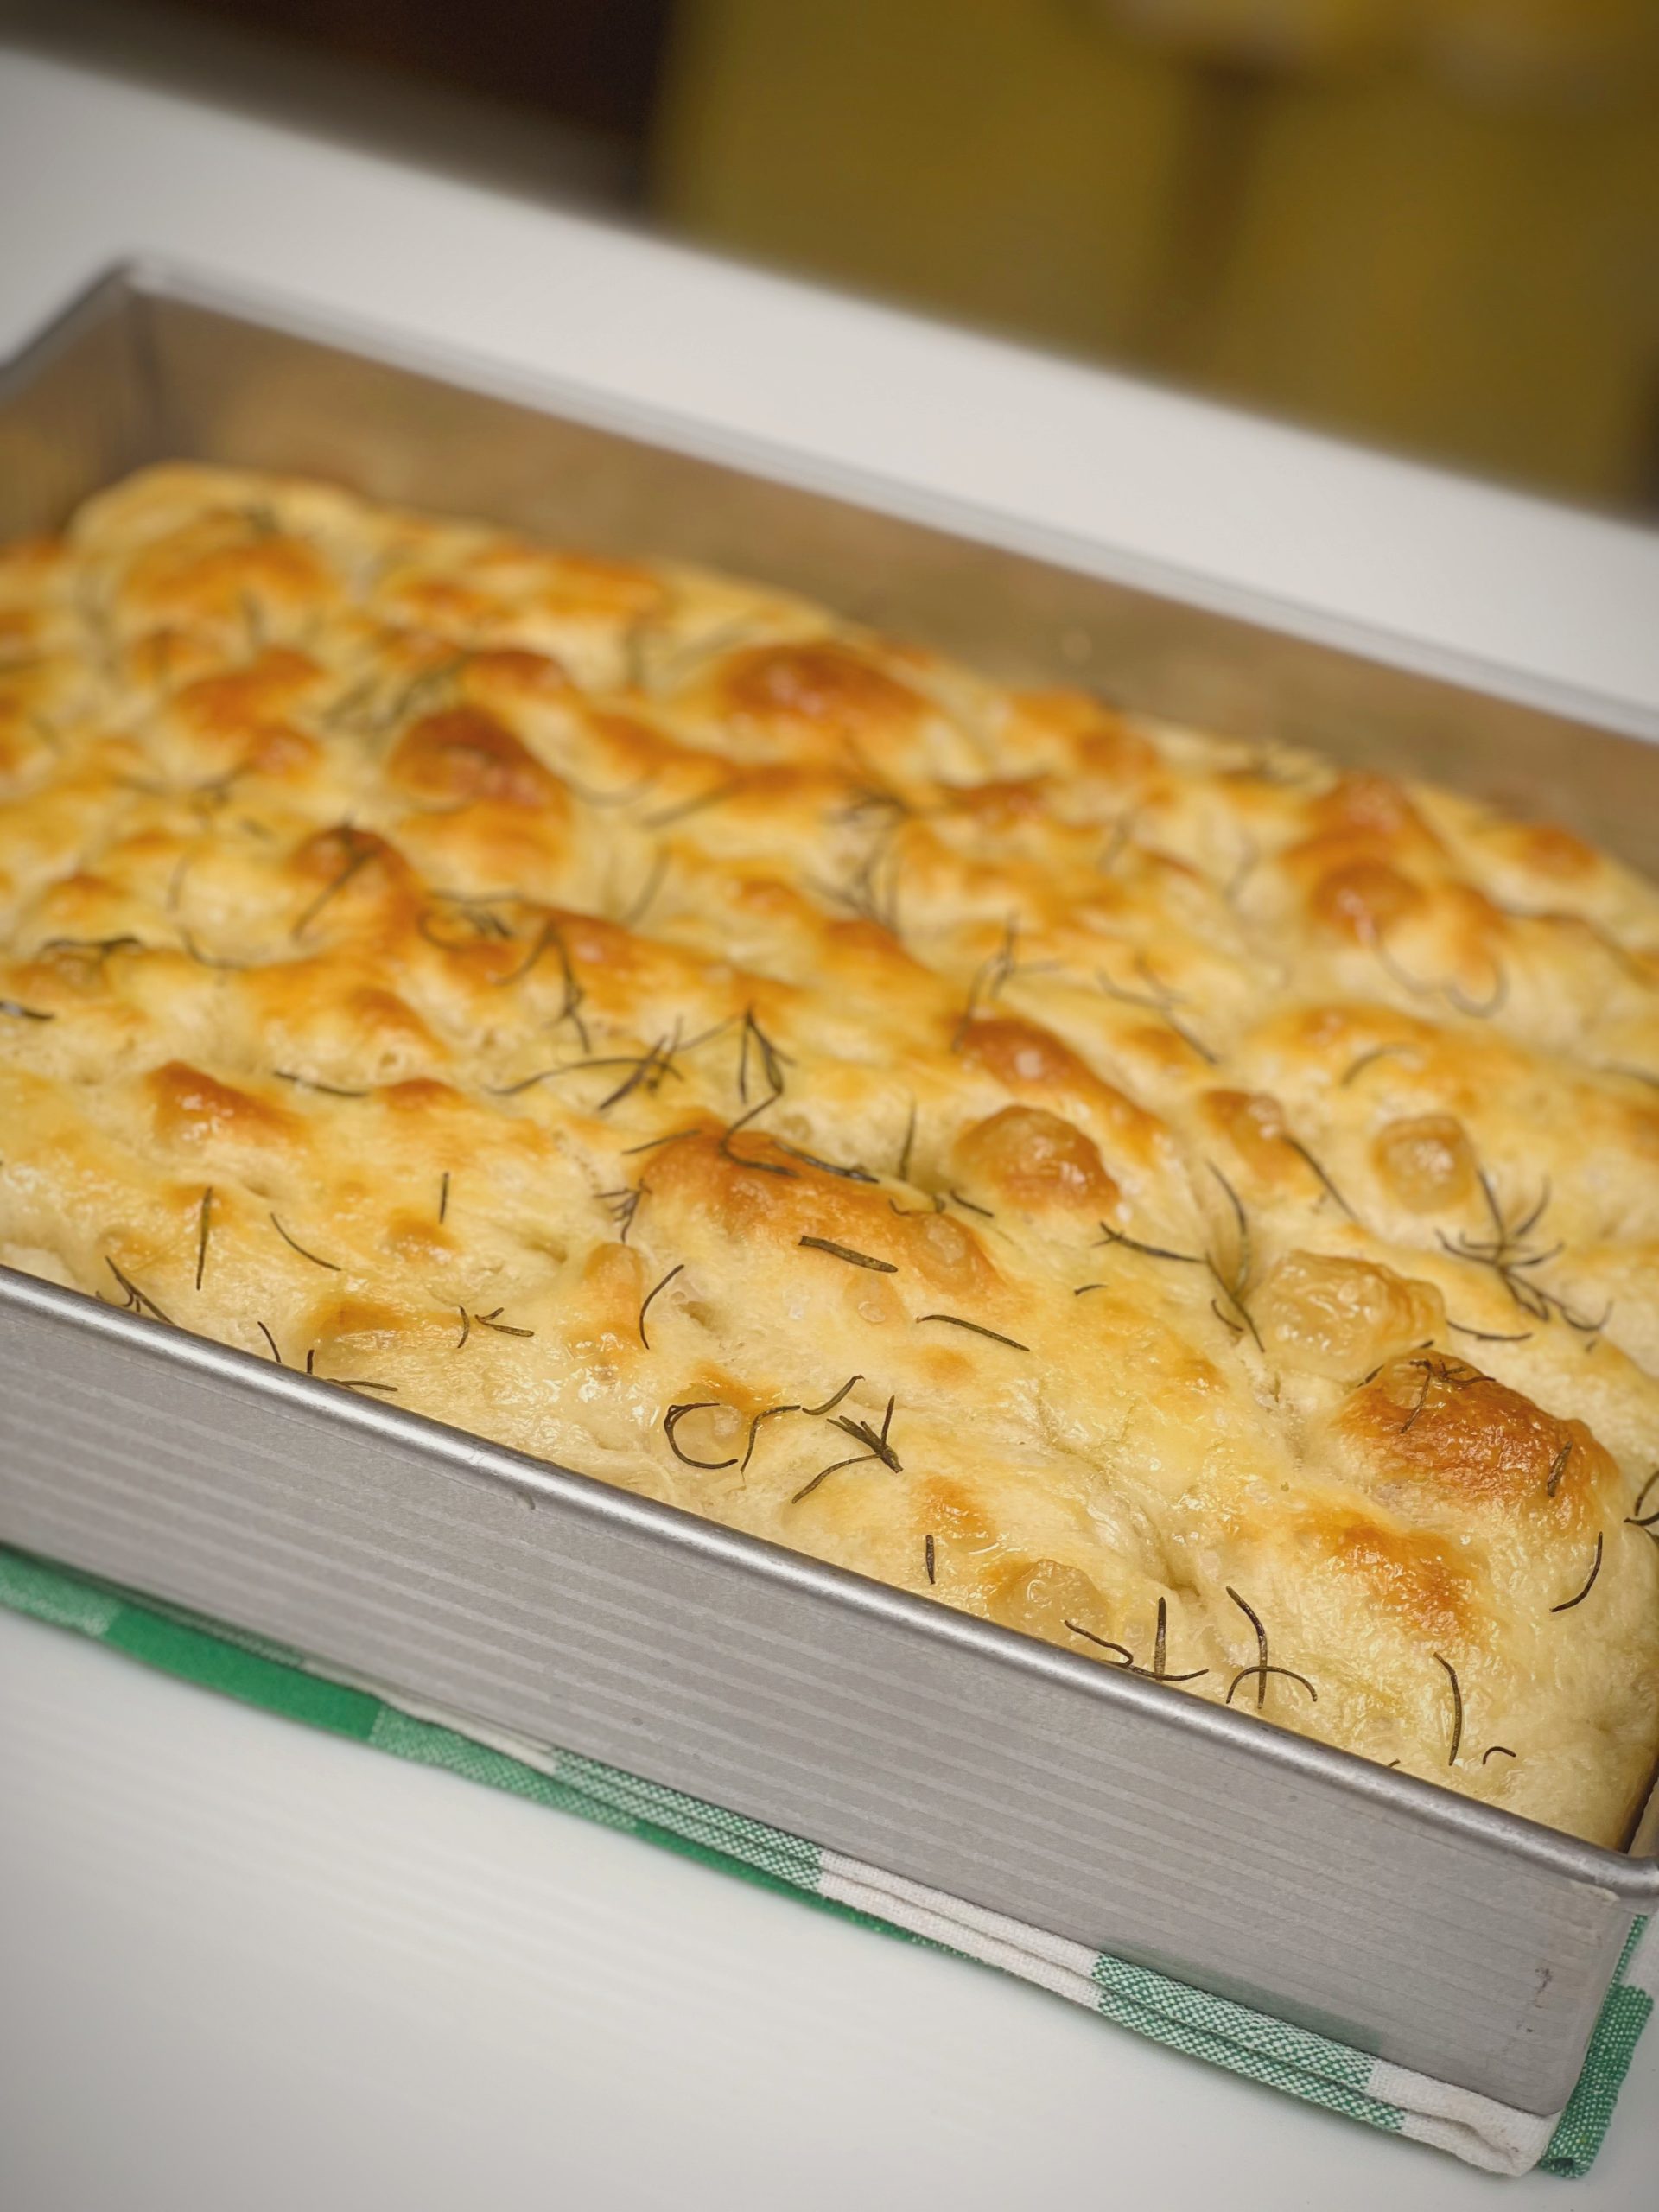
  • Bake for 20-25 minutes, or until golden brown. The focaccia will be fragrant and irresistible!
  • Let the focaccia cool in the pan for 10 minutes before transferring it to a wire rack to cool completely. Resist the urge to dig in right away – letting it cool slightly allows the flavors to develop further.
  • Enjoy!

Video

Notes

This easy no-knead focaccia bread is perfect for a light lunch, appetizer, or side dish. Serve it warm, with a drizzle of balsamic reduction for extra depth of flavor. And remember, the beauty of focaccia is its versatility. Don't be afraid to experiment with different toppings and flavors to create your own signature focaccia masterpiece.
Happy Baking!
Author: Deepali Ohri


Baking is a delightful culinary art that brings joy to both the baker and those who indulge in the delicious creations. To embark on a successful baking journey, it is essential to have the right tools at your fingertips. In this blog post, we will explore the must-have baking tools that every home baker should consider adding to their kitchen arsenal. These tools will not only make your baking endeavors more efficient but also elevate your creations to new heights of perfection.

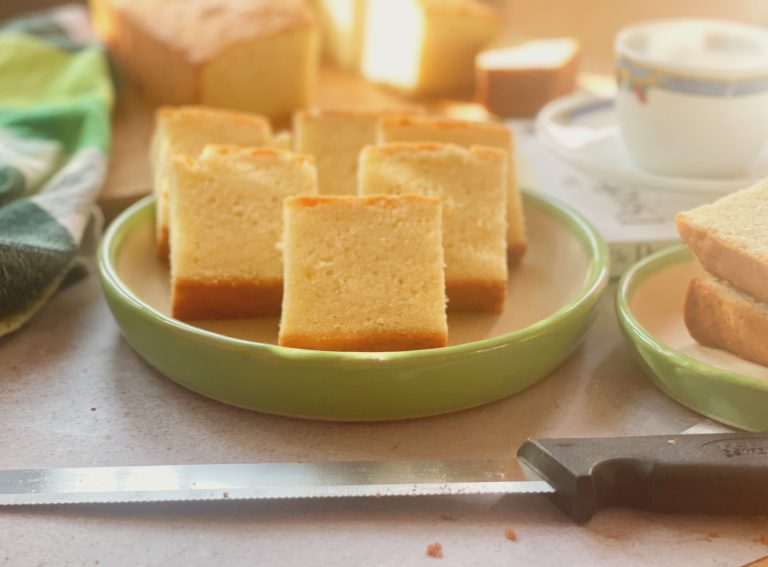
Introducing the Soft & Moist Butter Cake – a timeless classic that’s been a staple in my baking journey since the beginning.  While it may seem simple, creating the perfect butter cake requires patience, especially in the delicate process of mixing the batter. Unlike other cakes, such as moist chocolate or sponge cakes, where over-mixing is a big no-no, butter cake demands a thorough and precise mixing of butter and sugar to achieve that light, soft, and fluffy texture. It’s all about getting the butter and sugar to blend seamlessly, ensuring the cake rises beautifully without sinking. So, while it may take a bit longer than your average cake, trust me, the results are well worth the effort.


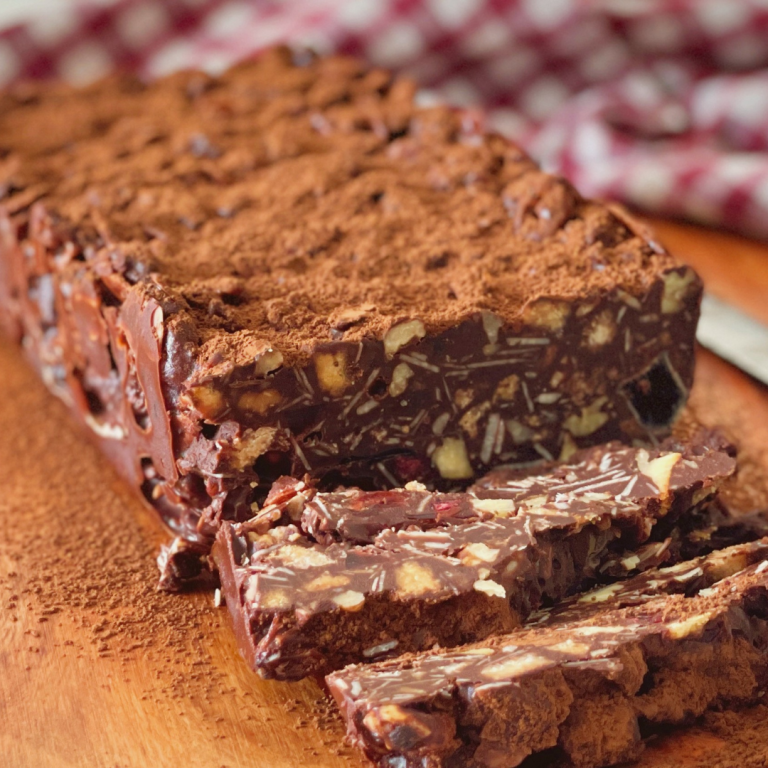
Remember those summer days, stealing spoonfuls of batter before the cake even went into the oven? This recipe brings back that sweet nostalgia with a twist: a no-bake chocolate cake that’s as delicious as it is easy.

Let’s dive into the goodness! This cake is a symphony of textures and flavors. We’ve got the **nutty crunch** of toasted almonds, pecans, or your favorite mix. Then there’s the **buttery crumb** of digestive cookies, a close cousin to the classic graham cracker. For a pop of sweetness, we add in some **chocolate-covered raisins** (or any dried fruit you fancy). The star of the show, of course, is the rich **dark chocolate**, melted together with butter and a touch of **syrup** for that perfect gooeyness.

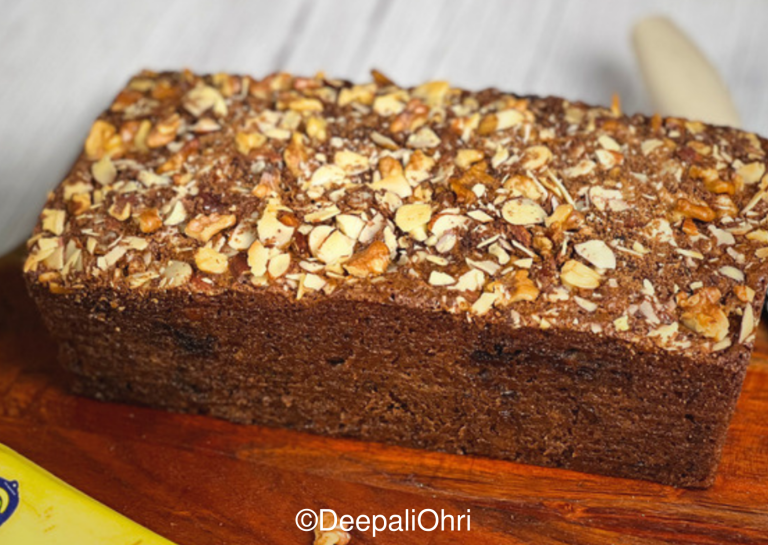
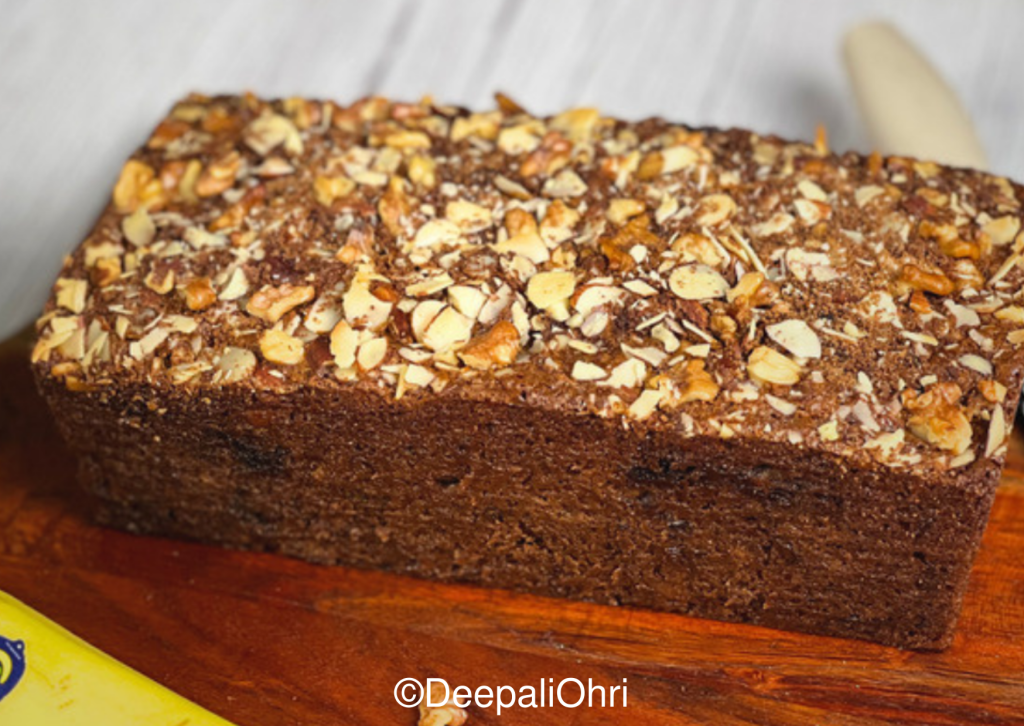
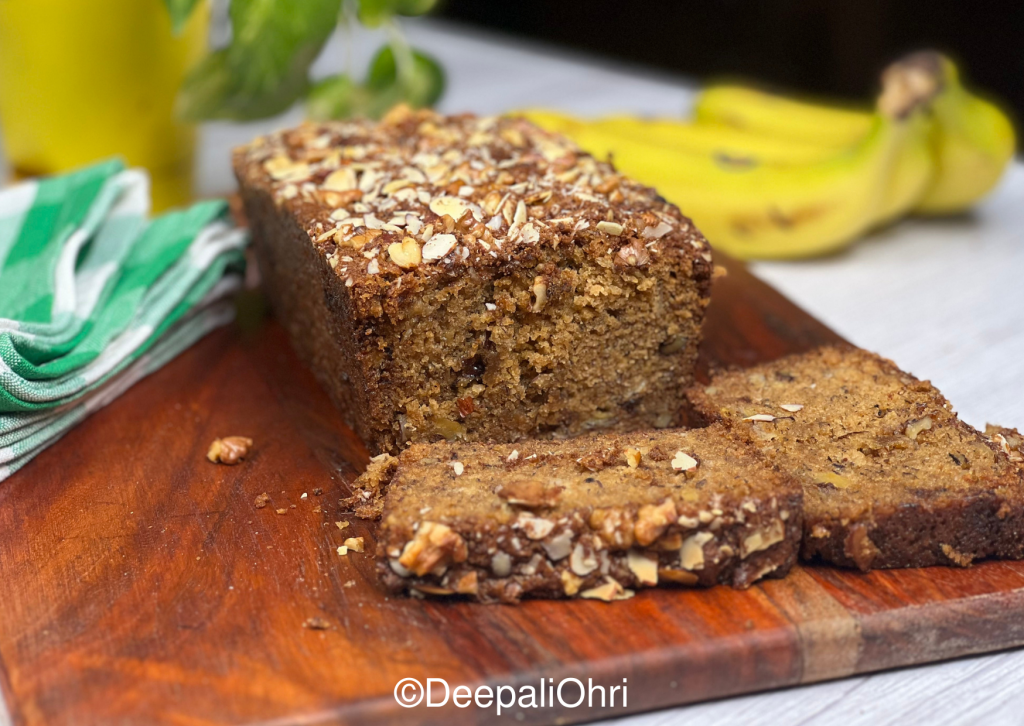
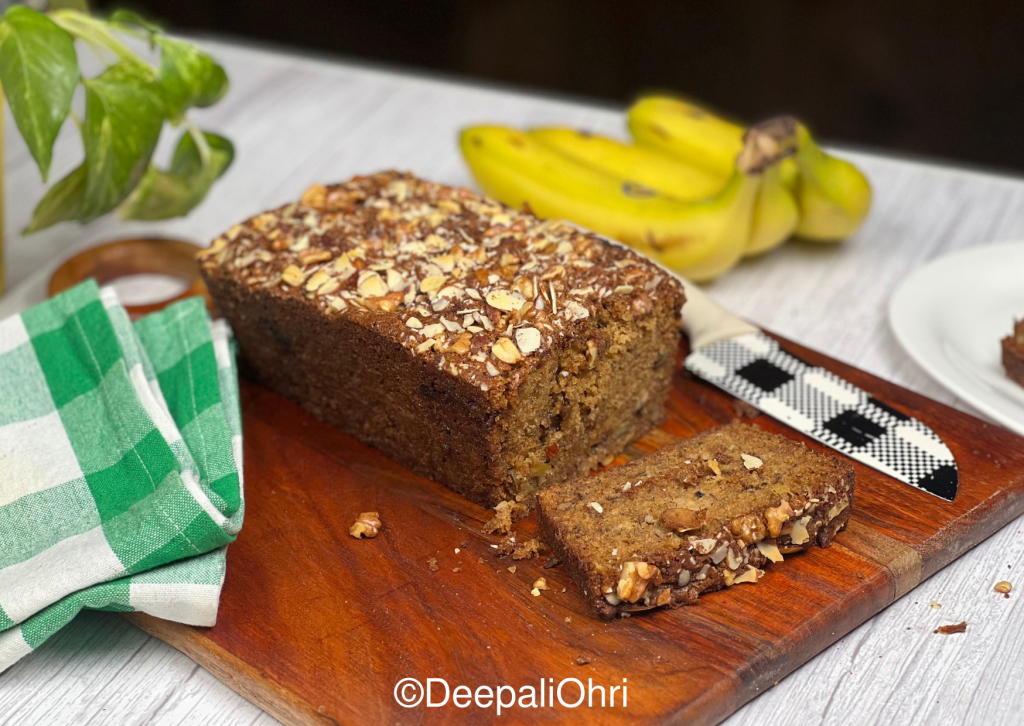
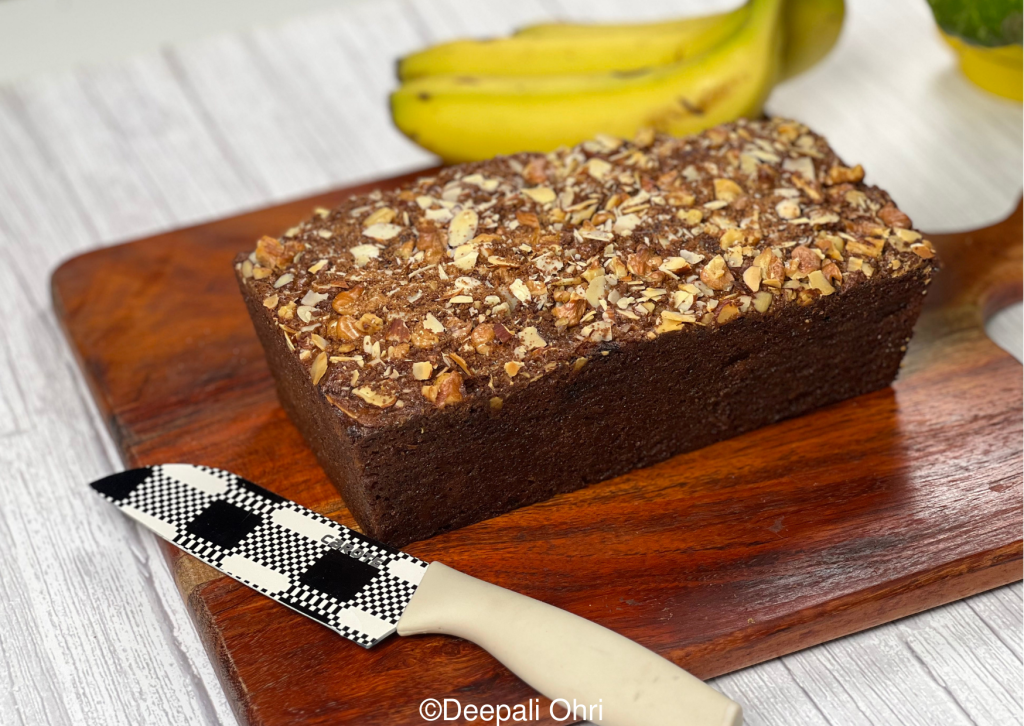
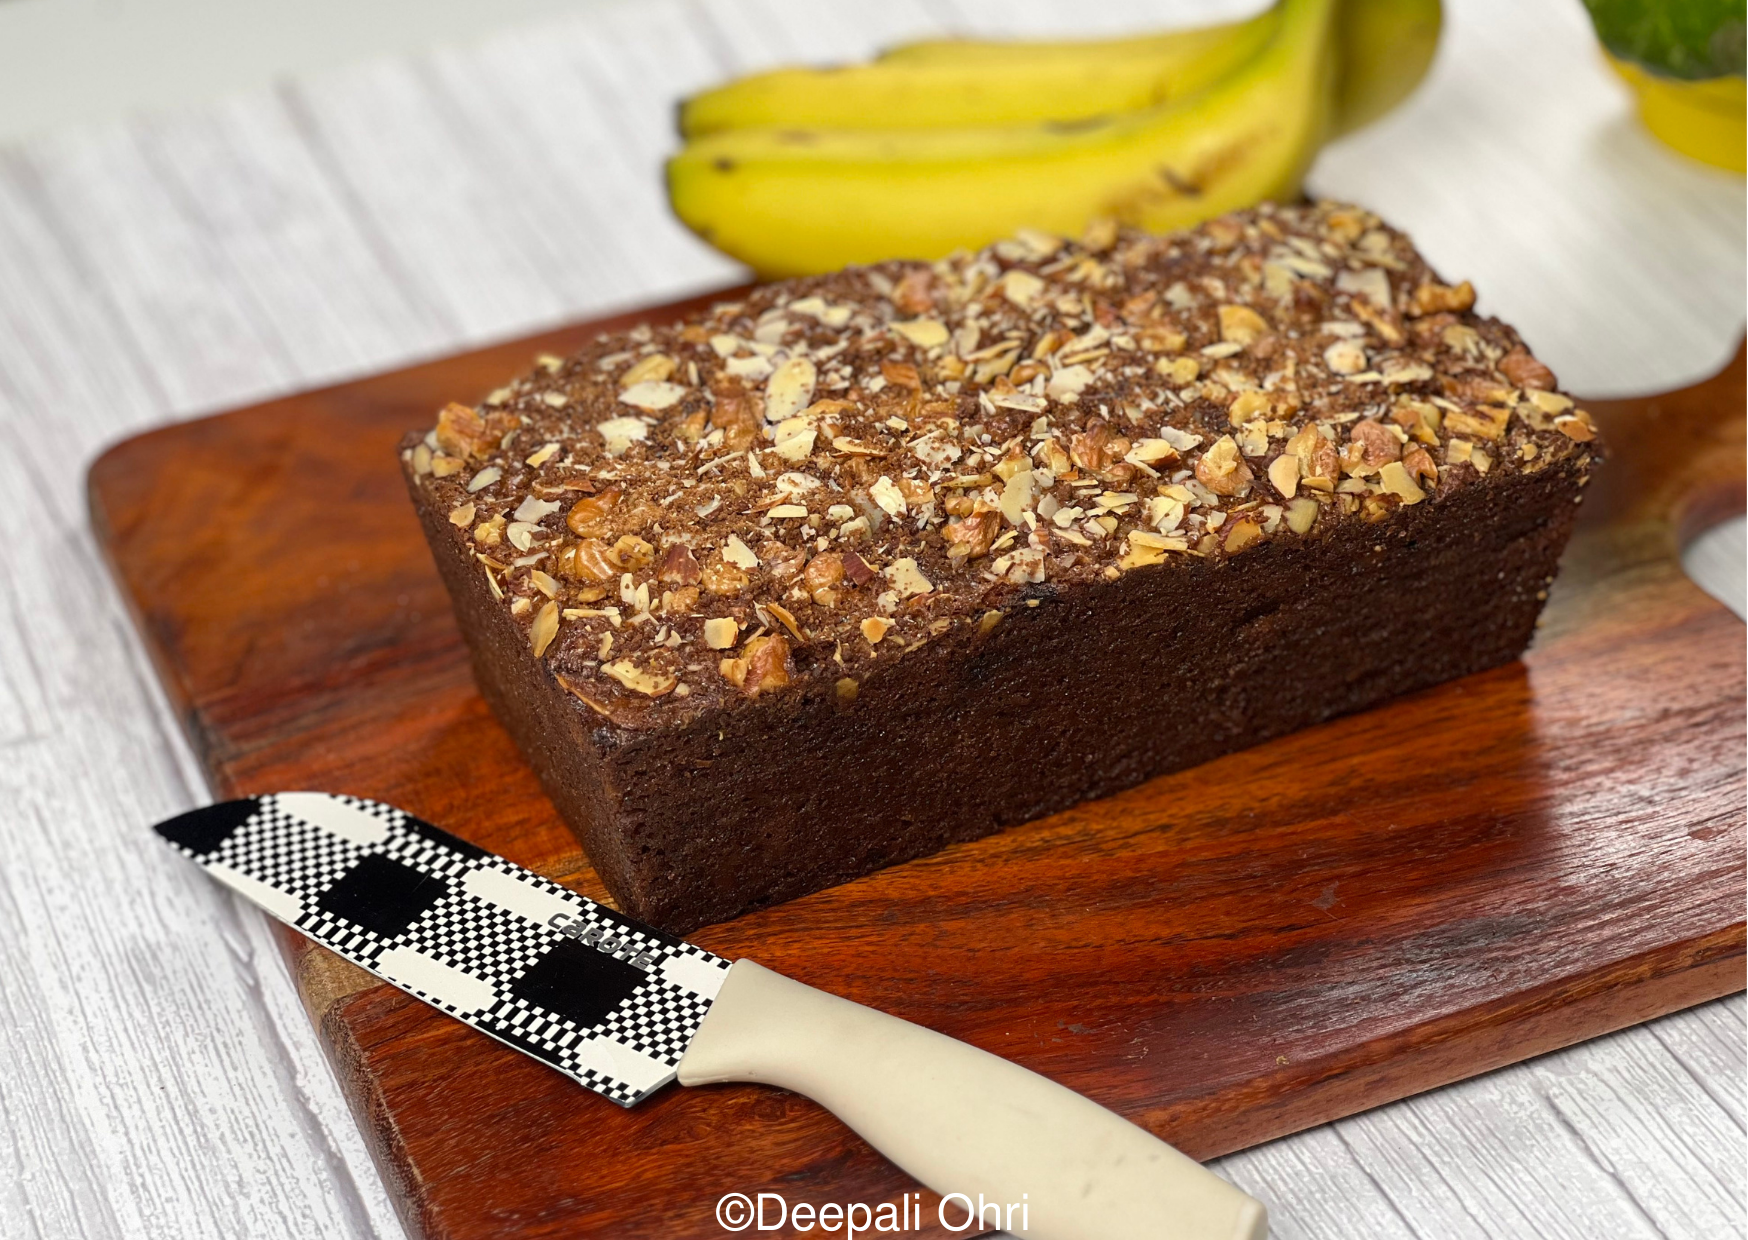
Indulge in the goodness of this incredibly moist and rich Eggless Banana Nut Bread. Bursting with the sweet essence of mashed bananas and the delightful crunch of almonds and walnuts, it promises to be a beloved treat. With its straightforward preparation, minimal ingredients, and irresistible taste, this recipe is destined to become a cherished addition to your culinary repertoire. Plus, rest assured that the instructions for accommodating various food allergies are thoughtfully provided, ensuring everyone can savor its delectable flavors. Embrace the joy of baking with this Eggless Banana Nut Bread!


Welcome to the delicious world of Eggless Banana Nut Bread without eggs! TSo, if you’re looking for a comforting treat that’s easy to make and just as enjoyable to eat, you’re in for a treat! One bowl, ripe bananas, butter, and a few pantry staples are all that’s needed to whip up this beautiful batter. No fuss, no mess – just pure baking bliss. Prepare to enjoy a golden loaf of goodness that’s meant to be shared with your loved ones.

Here’s what makes this eggless banana bread so amazing:

  • Simple and Speedy: Whip up this batter in just one bowl, no electric mixer required! In about 10 minutes of prep time, you’ll be on your way to enjoying a fragrant loaf.
  • Pantry Staples Galore: This recipe calls for ingredients you likely already have on hand, making it convenient and budget-friendly.
  • Moist & Dreamy: Get ready to sink your teeth into a slice of heaven – a perfect balance of tender crumb and delightful nuttiness.
  • Flavor Explosion: Bursting with intense banana flavor and subtle hints of cinnamon, this egg-free banana nut bread is pure comfort food magic.
  • Anytime Treat: Enjoy it for breakfast, a midday pick-me-up, or a sweet after-dinner indulgence.

Let’s break down the goodies that go into this delightful recipe:

  • Banana Bonanza: Ripe bananas are the stars of the show, bringing sweetness, moisture, and irresistible banana flavor. The riper the bananas, the better! Look for bananas with plenty of brown speckles on the peel – those are the sweetest and most flavorful.
  • Rich Butter: Unsalted butter adds richness and depth of flavor. For a dairy-free option, use vegan butter.
  • Tangy Buttermilk: This magic ingredient enhances moistness and adds a subtle tang. Don’t have buttermilk? No worries! Check out the recipe notes for a simple homemade substitute.
  • Vanilla Magic:Pure vanilla extract elevates the overall flavor profile. Opt for pure vanilla for the best results.
  • Sweetness Trio: Light brown sugar provides sweetness with a hint of caramel, while (2 tbsp) turbinado sugar adds a touch of crunch to the topping.
  • Flour Power: All-purpose flour forms the base of the bread, providing structure and stability. For a gluten-free alternative, use a gluten-free flour blend.
  • Leavening Love: Baking powder and baking soda help the bread rise and achieve its perfect texture. Make sure they’re fresh for optimal results.
  • Warmth & Spice: Ground cinnamon adds a touch of warmth and complements the sweetness of the bananas beautifully.
  • Salty Delight: Salt balances the sweetness and enhances all the other flavors.
  • Nutty Crunch: Chopped almonds and walnuts add delightful crunch and nutty flavor in every bite. Craving a different taste? Use sunflower seeds or pumpkin seeds for a wonderful alternative.
  • Cane Sugar: Cane sugar is used for the topping but you can always use turbinado sugar or regular sugar as a replacement. Its subtle caramel flavor and satisfyingly sweet taste make it a great ingredient for any recipe. So, whether it’s Turbinado or cane sugar, you can still achieve that delightful sweetness that will make your creations irresistible.

Top Tips:

  • Embrace the Ripeness: The riper the bananas, the sweeter and more flavorful your bread will be.
  • Don’t Overmix: A gentle fold is all you need to avoid a tough or dense loaf.
  • Toasted Nutty Goodness: For an extra flavor boost, toast the pecans in the oven for 10 minutes while it preheats.
  • Keep an Eye on It: Baking time can vary slightly, so start checking for doneness around 50 minutes.
  • Chocolate Chip Craving?: Add a cup of chocolate chips to the batter for a decadent twist!

Serving & Storing Your Banana Nut Bread

This delightful banana nut bread is a versatile treat to enjoy throughout the day!

  • Start your morning right: Savor a warm slice for breakfast with a steaming cup of coffee. It’s the perfect way to kickstart your day with a smile.
  • Afternoon pick-me-up: Feeling a slump? A slice of this flavorful bread is a delicious and satisfying snack to recharge your energy.
  • Sweet ending: Top off your dinner with a warm slice for a delightful and comforting dessert.

Warm Up Your Taste Buds:

Freshly baked banana nut bread is simply divine! Enjoy a warm slice straight from the oven, slathered with your favorite spread – creamy butter or tangy cream cheese, the choice is yours! Pair it with a steaming cup of coffee or tea for a truly cozy and satisfying experience.

Keeping Your Bread Fresh: Storage & Freezing Tips

Storing: Leftover banana nut bread can be stored in an airtight container at room temperature for up to 4-5 days. Here’s a pro-tip: Tightly wrap the bread in plastic wrap to prevent it from drying out and losing its moist texture.

Freezing: If you want to enjoy your banana nut bread for longer, freezing is a great option! Let the bread cool completely, then double wrap it – first with plastic wrap, then with aluminum foil. This double layer helps prevent freezer burn. The bread will stay fresh for up to 3 months in the freezer. For easier thawing, consider pre-cutting the bread into individual slices before freezing.

Enjoy your delicious banana nut bread any time of the day, and store or freeze leftovers for a future treat!

Want more baking magic in your life?

Deliciously Moist Eggless Banana Nut Bread Recipe - Easy and Irresistible!

Prep Time 10 minutes
Cook Time 1 hour
Servings 12 slices
Calories 399
Craving a delicious and moist banana nut bread but have no eggs? ❌This video is your answer! We're baking an irresistible eggless banana nut bread that's incredibly easy to make and perfect for any occasion.This recipe uses simple ingredients you likely already have on hand, and with our step-by-step instructions, you'll be a banana bread baking pro in no time!

Ingredients

For the batter

  • 1 1/2 cups all-purpose flour ((210 gram))
  • 1 teaspoon baking powder
  • 3/4 teaspoon baking soda
  • ½ teaspoon ground cinnamon
  • 1/4 teaspoon salt
  • 2 very ripe bananas
  • 1/2 cup unsalted butter ((115 gram) , melted)
  • 1/2 cup buttermilk ((120 ml) )
  • 2 teaspoons vanilla extract
  • 1 cup brown sugar ((200 gram) )
  • 50 gram chopped walnuts (toasted)
  • 50 gram slivered  almonds (toasted)

For the topping:

  • 2 tablespoons cane sugar
  • ¼ cup chopped almonds & walnuts ((25 gram) )

Instructions 

  • Preheat your oven to 350°F (180°C) and grease a 9x5 inch loaf pan.
  • In a medium bowl, whisk together the dry ingredients: flour, baking powder, baking soda, cinnamon, and salt. Set aside.
  • In another bowl, mash the ripe bananas until smooth. Stir in the melted butter, buttermilk, and vanilla extract until well combined.
  • Add the brown sugar and mix until incorporated.
  • Gently fold the dry ingredients into the wet ingredients until just combined. Don't overmix! A few lumps are okay.
  • Fold in the chopped pecans or your chosen alternative.
  • Pour the batter into the prepared loaf pan. Sprinkle the turbinado sugar and chopped nuts over the top.
  • Bake for 55-65 minutes, or until a toothpick inserted into the center comes out clean.
  • Let the bread cool in the pan for 10 minutes before transferring it to a wire rack to cool completely.

Video

Notes

This eggless banana nut bread is a winner. It's easy to make, bursting with flavor, and perfect for any occasion. So, give this recipe a try and let me know how it turns out! Don’t forget to give it a 5-star rating if you love it. Happy baking! 
Don't miss out! Keep scrolling to discover helpful tips and creative variations to guide you through each step.
Made this delicious dish? Share your experience with a rating! (Click the stars below)
Author: Deepali Ohri
Calories: 399kcal
Course: Dessert
Keyword: banana bread, eggless banana bread, eggless bread, eggless desserts


Ingredients

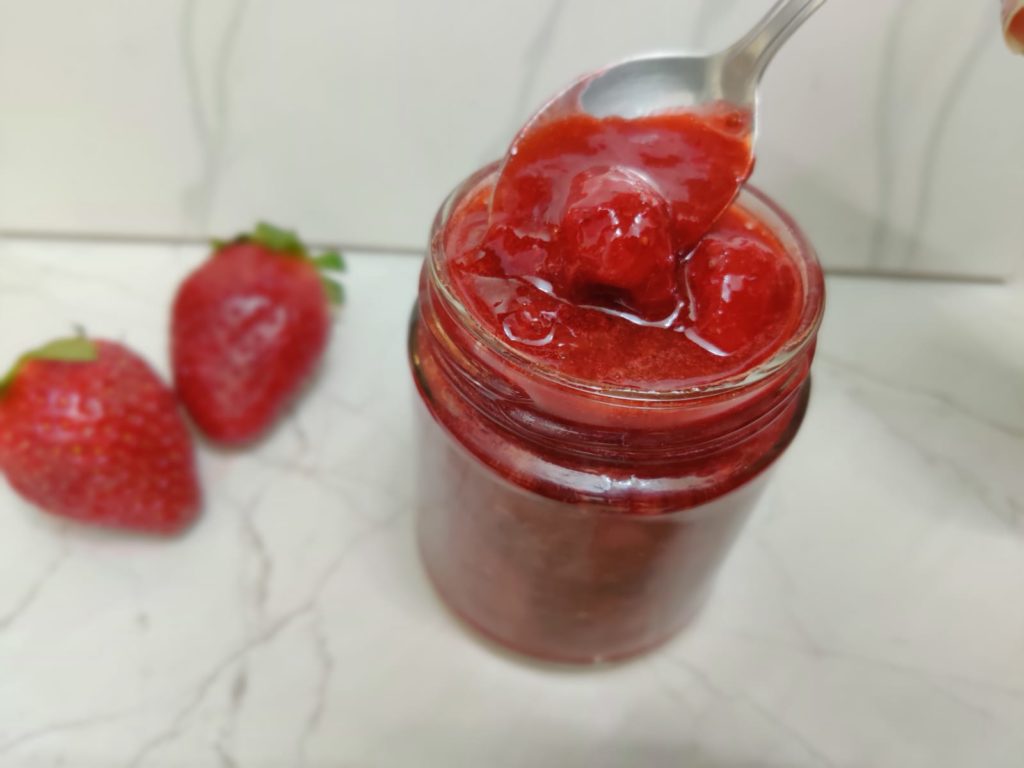
  • 400 grams fresh strawberries
  • 150 grams of sugar, or to taste
  • 1 teaspoon lemon juice

Method

  1. Cut the strawberries into large chunks .
  2. Put them in a saucepan  along with the sugar.
  3. Place over medium heat and, stirring occasionally, bring just to a boil.
  4. Lower the heat to the minimum and cook the mixture for about 10-15 minutes, stirring occasionally, until the strawberries are soft and their juices are thick.
  5.  Remove from heat and stir in the lemon juice.
  6. Place in a covered container and refrigerate.
  7. The Strawberry Compote can be stored in the refrigerator for about 20-25 days.
  8. It can even be freezed and be kept for a month or two.

Do you want to bake those bakery style double/triple chocolate chip muffins at home? 

Then you have come to the right place. These bakery style chocolate chip muffins are flavoured with a deep chocolate flavour and are filled with some extra chocolate chips in it to enhance the flavour. I have used bittersweet and semi-sweet chocolates in this recipe just to enhance and balance the chocolate flavour. 

Try this recipe for your family and friends and you will stop buying these big size muffins from a bakery, as they are super easy to bake. 

So let’s jump into the recipe. 

Ingredients:

  • 1/2 Cup All Purpose Flour
  • 1/3 Cup Cocoa Powder
  • 1/2 Teaspoon Baking Soda
  • 1/2 Teaspoon Salt
  • 2/3 Cup Bittersweet Chocolate
  • 1/2 Cup flavourless Oil
  • 2/3 Cup Brown Sugar
  • 2 Eggs
  • 2 Teaspoon Vanilla Extract
  • 1/3 Cup Plain Curd/Yoghurt
  • 1/2 Cup Semi-Sweet Choco-Chips
BAKERY STYLE CHOCOLATE CHIP MUFFINS RECIPE

BAKERY STYLE CHOCOLATE CHIP MUFFINS RECIPE

Method:

  1. Pre-heat the oven to 180ºC or 350ºF. Line a muffin tin with 9 paper liners, or you can grease it directly too.
  2. In a bowl sift your dry ingredient; All-purpose flour, cocoa powder, baking soda and salt.
  3. Add your semi-sweet chocolate chips in the dry mixture and mix well. Keep this aside.
  4. In another bowl take your bitter- sweet chocolate and melt it in microwave or double boiler.
  5. Once the chocolate melts, let it cool and add all the remaining ingredients in it. Oil, Vanilla extract, sugar, eggs and curd/yoghurt.
  6. Mix all these properly with a wire whisk.
  7. Once mixed, add the dry mixture to this wet mixture. Mix gently with a spatula. Do not over mix.
  8. Pour the batter in the muffin liners, filling them till the top, as we are looking for big size muffins.
  9. Bake these for about 17-18 minutes in a pre-heated oven. Do not over bake as they will be dry.
  10. Take them out once they are done, and place them on a wire rack to cool.
  11. The muffins will be soft from the outside and that is ok.
  12. Once cool store them in an airtight container for up-to 3-4 days.
BAKERY STYLE CHOCOLATE CHIP MUFFINS RECIPE

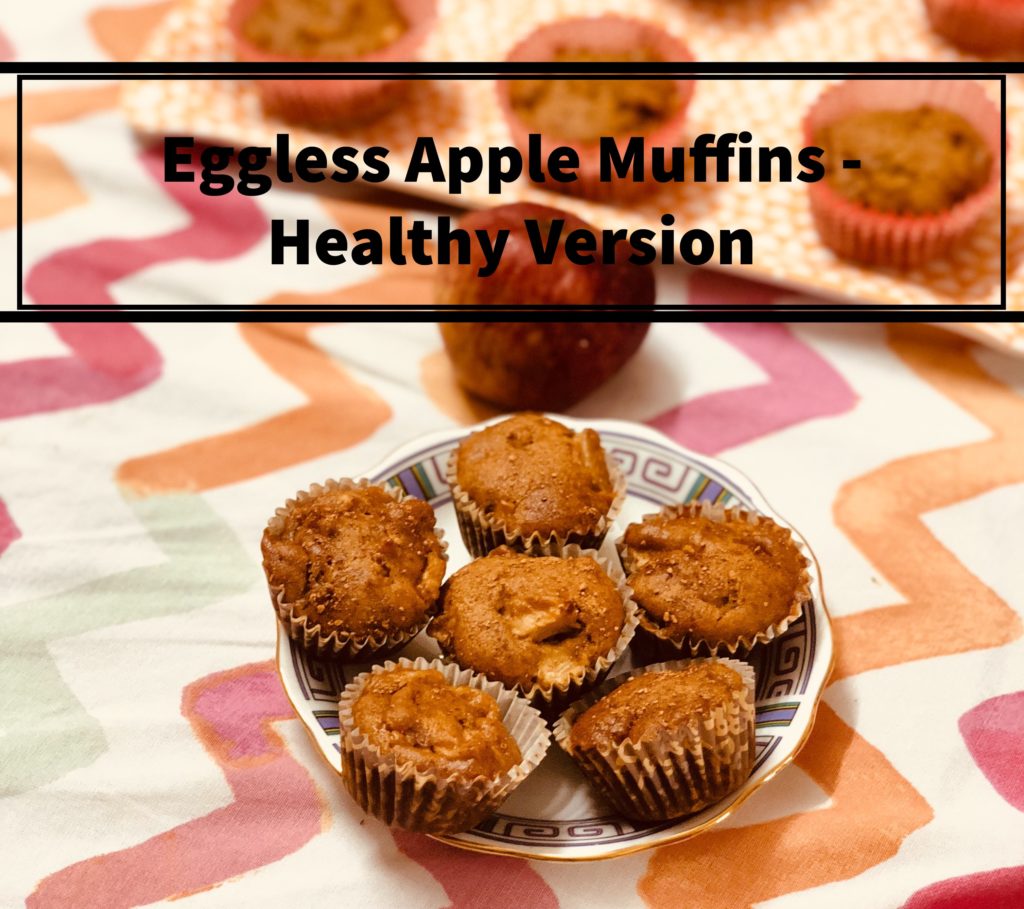
Whole wheat and apple make a perfect combination and when these two are used to make a dessert, it brings out the best of flavors. The Whole Wheat Apple Muffins Recipe is a perfect muffin that you can serve for a breakfast, pack into a lunch box or even serve as a tea time snack. These muffins are moist and will keep well for several days.


Ingredients:

1 cup or 120 grams whole-wheat flour
1/2 teaspoon baking soda
1/4 teaspoon cinnamon powder
1 to 2 pinch of cinnamon powder for sprinkling
one pinch salt
1/2 cup warm water
1/2 cup powdered or grated jaggery
1 large apple or 2 medium sized apples (peeled, Cord and chopped)
1/2 tablespoon vinegar
1/2 teaspoon vanilla extract
3 tablespoon olive oil or any neutral flavored oil

Method

1. First of all pre-heat your oven to 1 80°C or 350°F.
2. Then line a muffin tray with muffin liners
3. Take a big bowl and sift all the dry ingredients into it i.e whole wheat flour, half teaspoon baking soda, cinnamon powder and salt. Keep it aside
4. Then rinse, peel core and chop the apple.
5. In another bowl take warm water and add the powdered jaggery. Stir well until all the jaggery is dissolved
6. Then add vanilla extract and oil and again mix it very well.
7. Now add vinegar and again mix well.
8. Add the dry ingredients now
9. Now with light hands and with the help of a wire whisk makes the wet and dry ingredients together. Do not over mix, some lumps  are fine. You can add some water in in the batter to get a flowing consistency.
10. Finally add the chopped apples.
11. Now again with light hands mix the apples with the batter.
12. Now spoon the Apple muffin batter in the muffin liners. Sprinkle some cinnamon powder from top on all the muffins.
13. Bake the muffins in a preheated oven at 1:80 degree Celsius for 25 to 30 minutes or till the tops are browned and a toothpick inserted in the muffin comes out clean.
14. Once done keep it in the tray itself for 3 to 5 minutes and then remove the muffins and place them on wire rack.
15. Serve these muffins warm or as a tea time snack with milk, tea or coffee.
16. You can keep these muffins for 3-4 days in the fridge but it’s better to consume them within two days as it can become moist because of jaggery. So the best is to have them fresh.

To Freeze your Muffins

  • Cool your muffins to room temperature.
  • Place muffins flat in your freezer for about an hour until they are mostly frozen before packing them in an airtight container.
  • Place your muffins in an airtight container like a ziploc bag to keep air out.
  • Frozen muffins will stay good for up to 3 months.

To Thaw 

  1. Let your muffin thaw at room temperature. (Take about 30 minutes.)
  2. Microwave for about 30 seconds.


Yes, I know, it’s happened to me too may a times.

You meant to make a Christmas Cake in early October, feed it weekly with brandy or rum, let it mature, bake it on or before the big day– and guess what, you didn’t! All is not lost though. There is a very simple homemade version for those who didn’t get time to do all the chores or are fearful of making one for the first time, and it’s also extremely good. It’s a no failure recipe and makes a yummy rum-fruit xmas came.

Here’s the full recipe with the video description.