Chocolate Orange Marble Cake
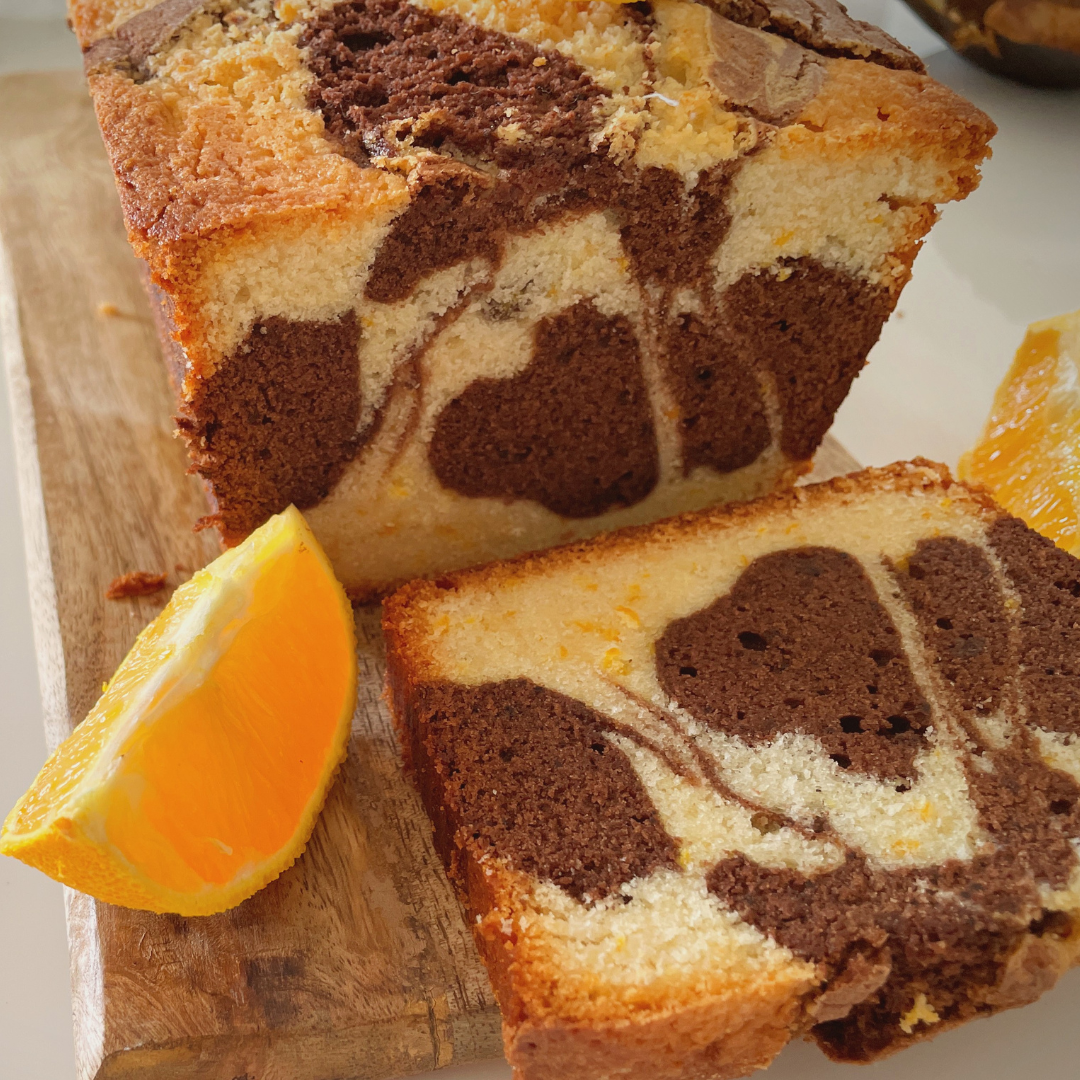
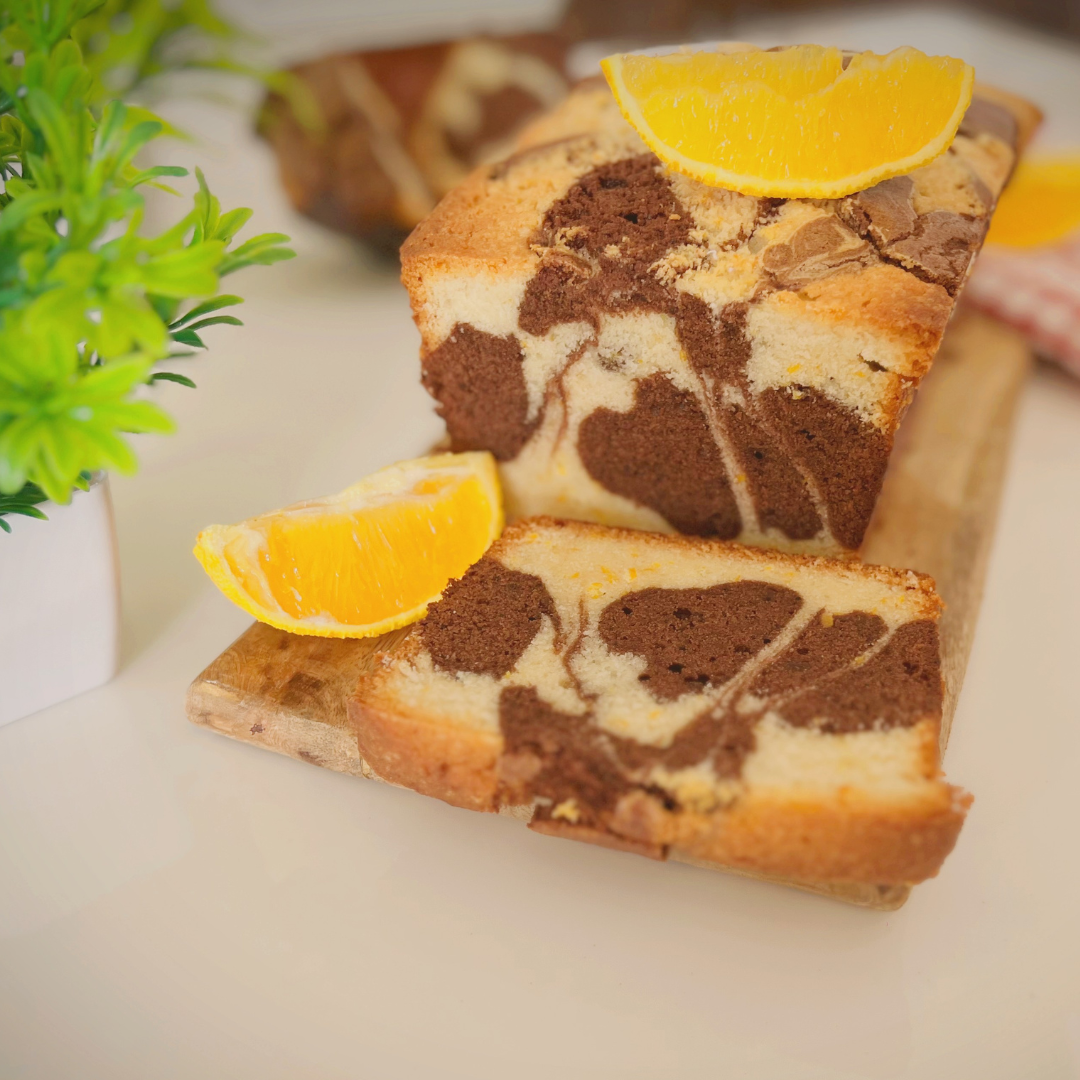
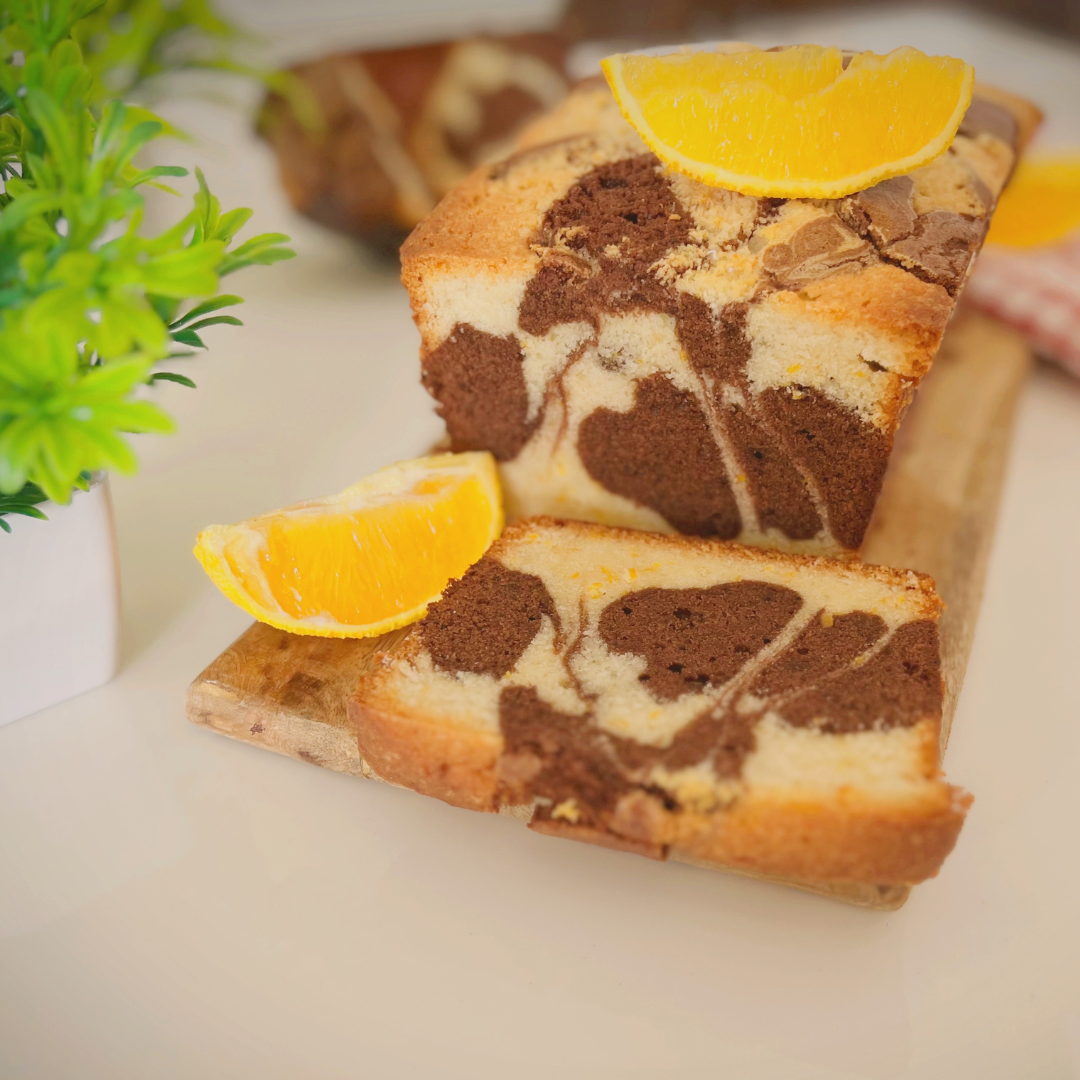
This Chocolate Orange Marble Cake is what happens when two of my favourite flavours refuse to pick a side. Chocolate and orange just make sense together — one rich and deep, the other bright and citrusy — and instead of choosing one for this loaf, I let both share the same tin. Half the batter turns citrusy and bright with orange zest, the other half goes rich and dark with melted chocolate and cocoa. Spoon them into the pan in turns, run a knife through in loops, and the oven takes care of the rest, giving you those swirls every single time without much effort on your part.
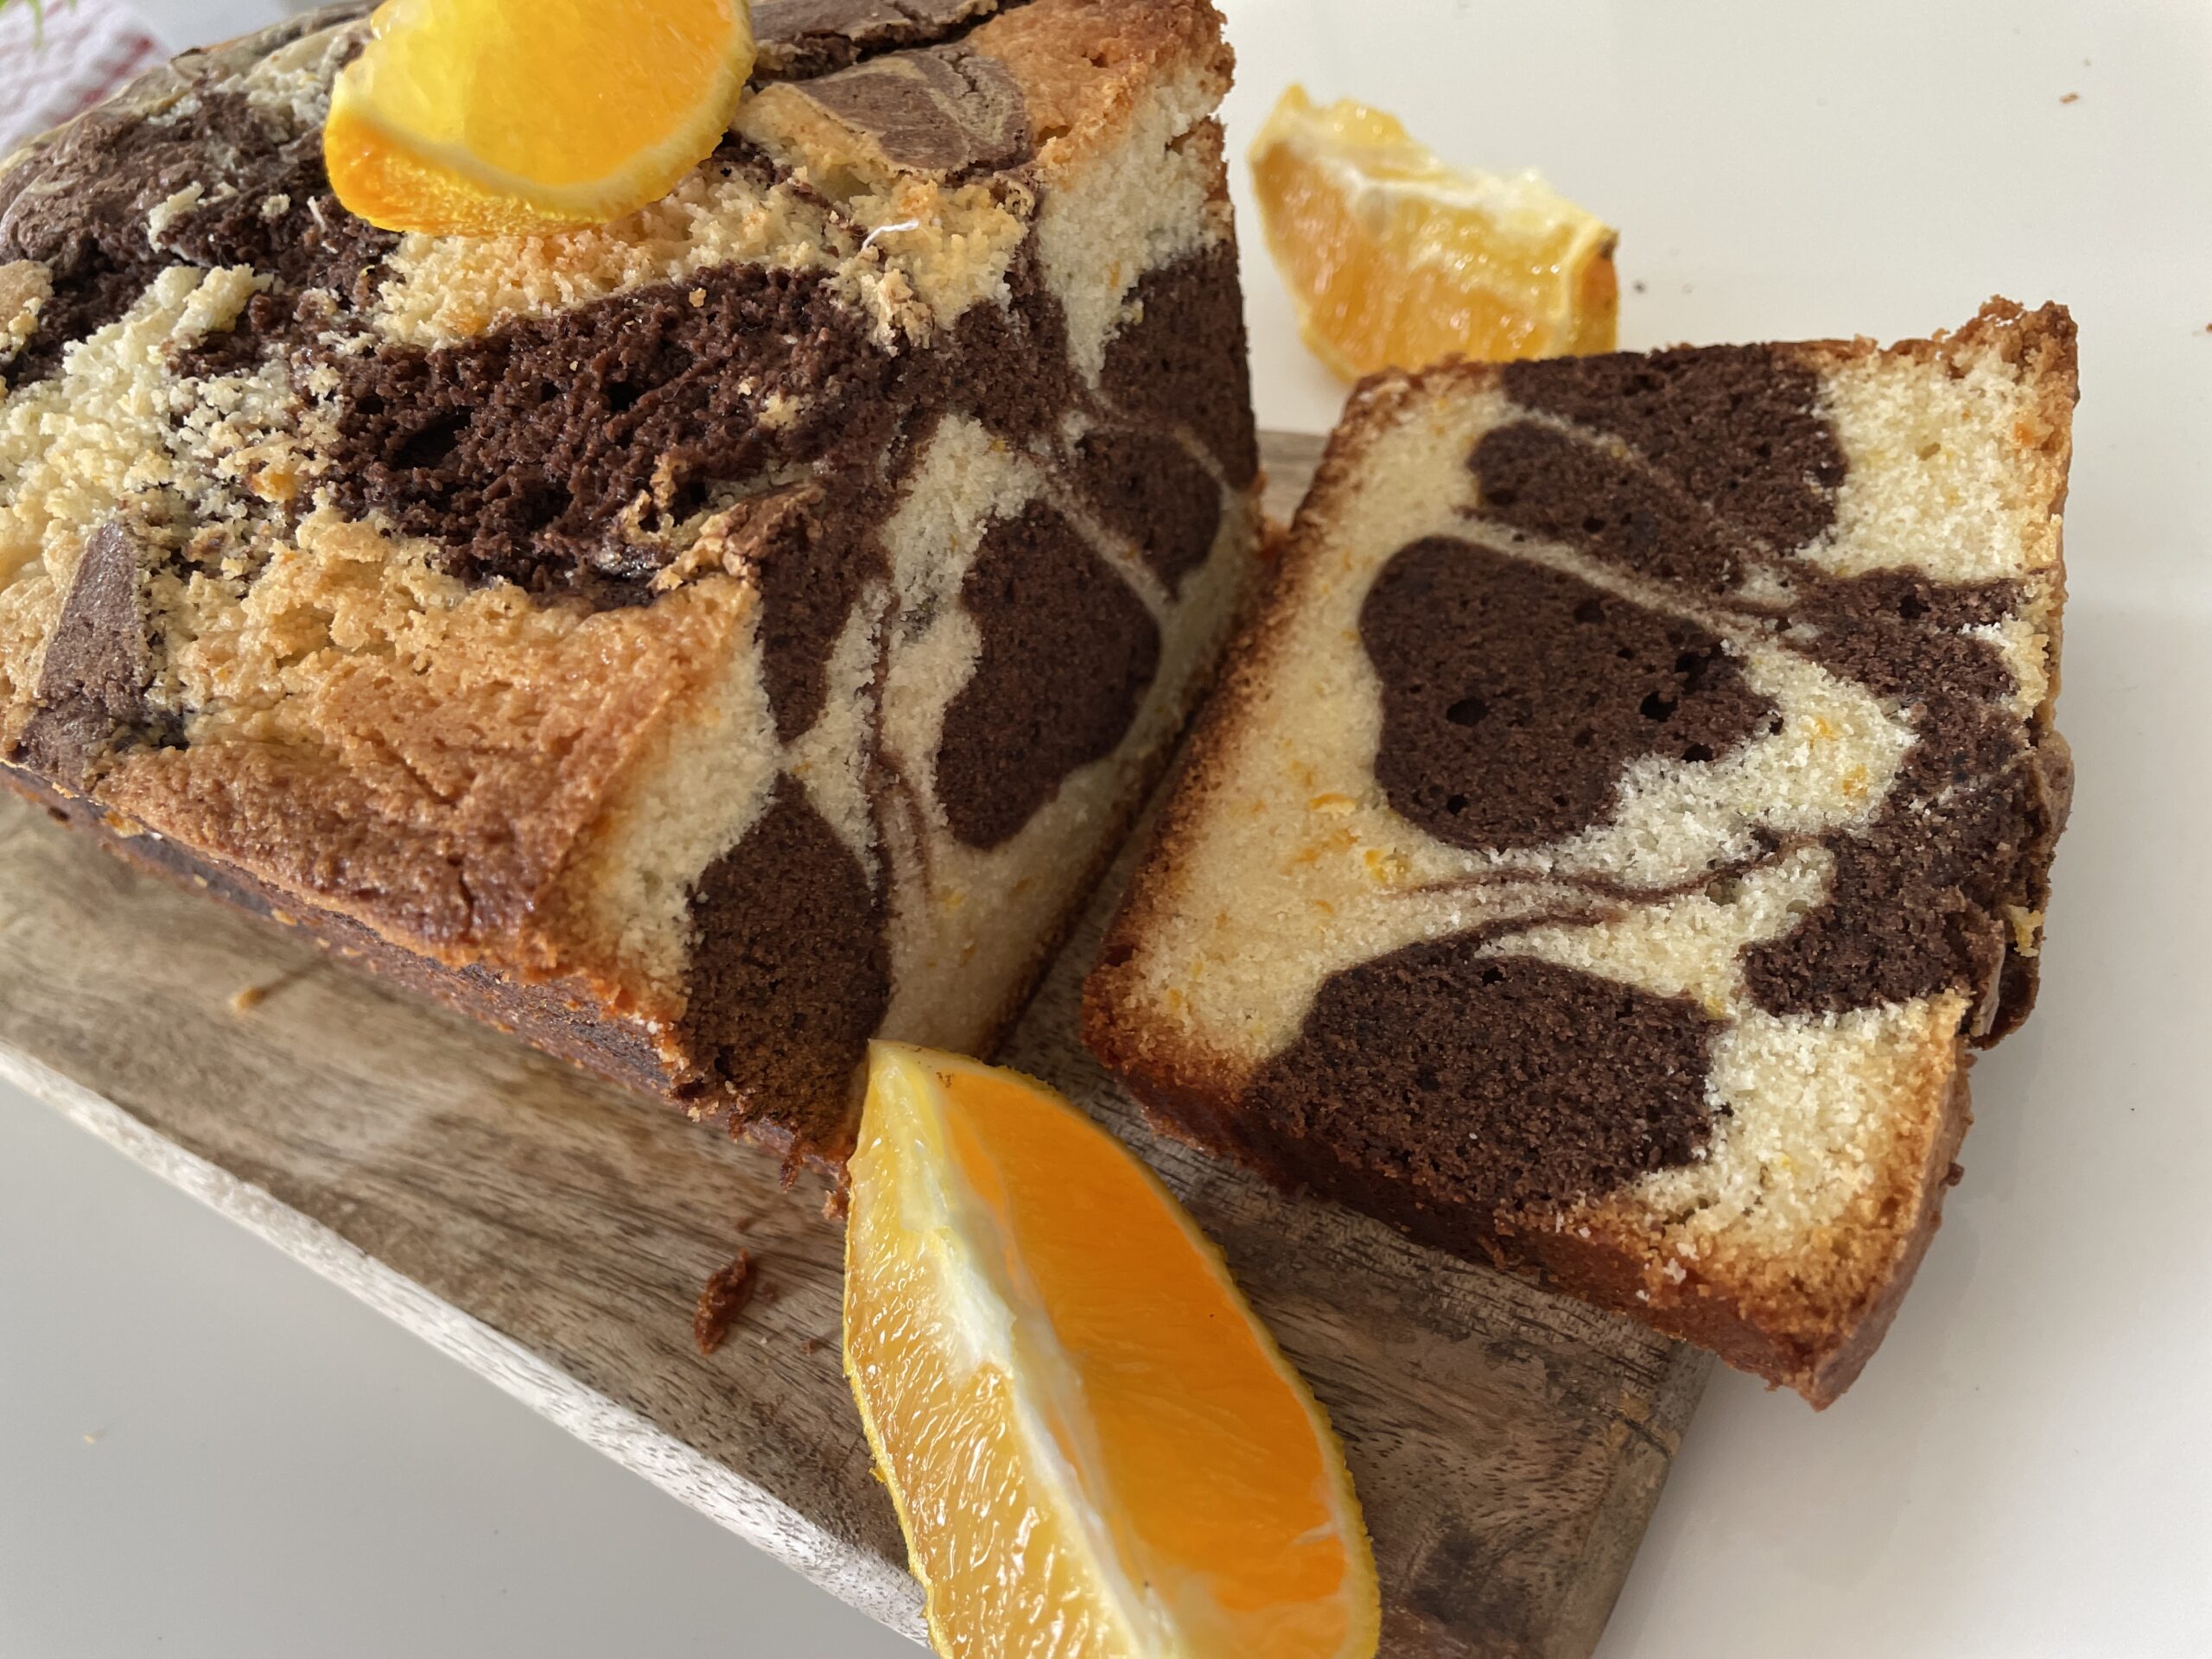
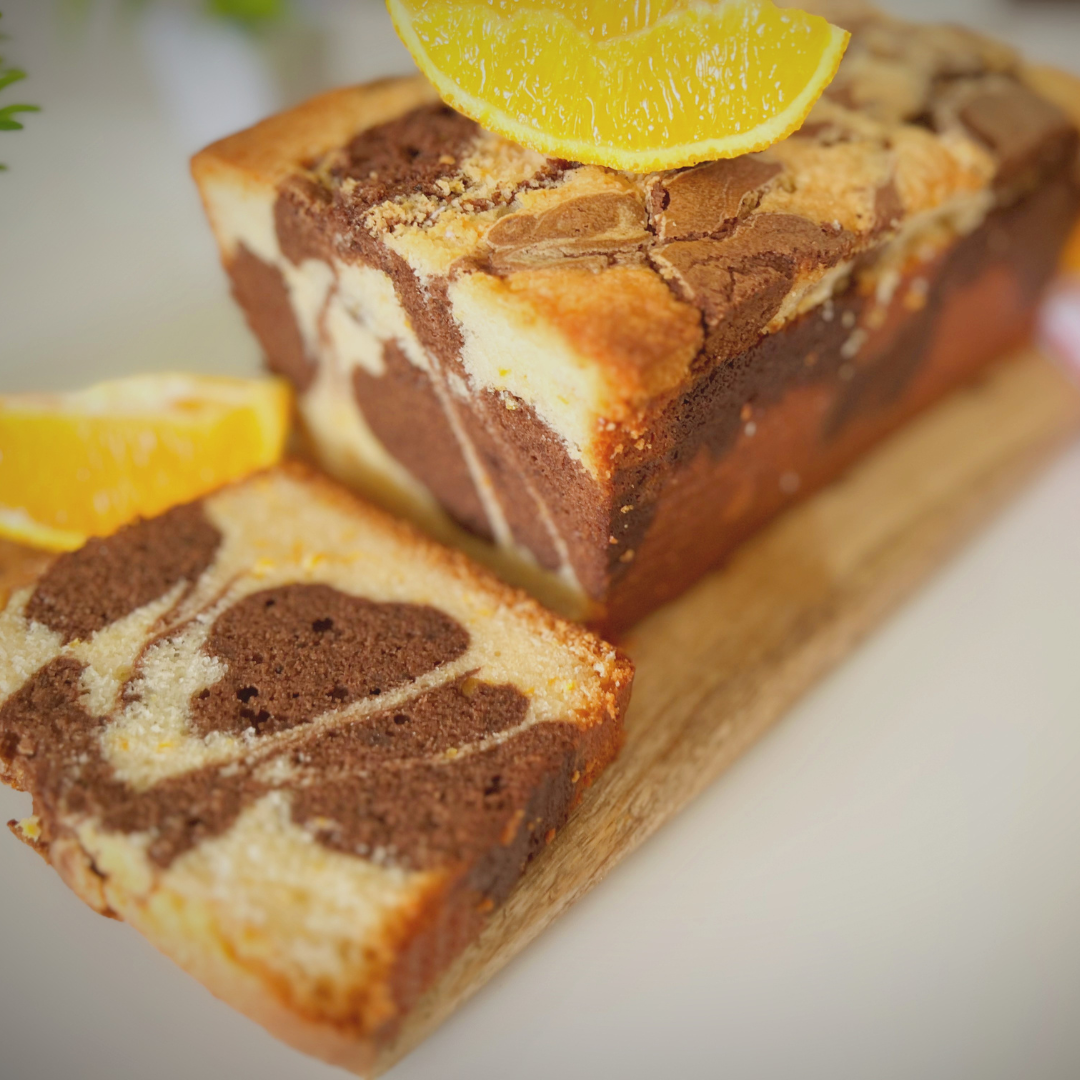
What I love most about a chocolate orange marble cake is how forgiving it is. You don’t need a steady hand or years of practice to get a pretty marbled pattern — the layering and a few swirls with a knife do most of the work for you, and every loaf comes out looking a little different, which is part of the charm. It’s the kind of bake that looks far more effortful than it actually is, which makes it perfect for both a quiet Sunday at home and for something you’d happily set out when guests are over.
A good loaf tin makes this so much easier — one with a solid, even base so the marbling bakes through cleanly without sticking. Once you’ve got that sorted, this batter comes together in one bowl with a hand or stand mixer, no special equipment needed. The orange zest goes in fresh, straight off the fruit, so the citrus flavour stays sharp and doesn’t fade the way bottled extracts sometimes do after baking.
Makes 1 loaf (9×5-inch)
A Few Notes Before You Start
-
- Butter and sugar: Beat these together properly until pale and fluffy — this is what gives the cake its soft crumb, so don’t rush this step.
- Sour cream: This keeps the cake moist for days. If you don’t have it, full-fat plain yogurt works as a substitute in the same quantity.
- Chocolate: I’ve used 60% cacao bittersweet chocolate here — you can go slightly darker or milder depending on your taste, but avoid compound chocolate as it changes the texture of that half of the batter.
- Orange zest: Use a fine grater and only take the orange part of the peel, not the bitter white pith underneath.
- Cocoa powder: Dutch-process cocoa gives a smoother, deeper colour and flavour. Regular unsweetened cocoa can be used instead, though the swirl will look a touch lighter.
- Room-temperature ingredients: Eggs and sour cream should not be cold from the fridge — this helps the batter come together smoothly without curdling.

Chocolate Orange Marble Cake
Ingredients
Equipment
Method
- Preheat your oven to 325°F (170°C).
- In a stand mixer fitted with the paddle attachment, beat the butter and sugar on medium speed until light and fluffy, about 3–4 minutes, scraping the bowl as needed. Add the eggs one at a time, beating well after each. Mix in the vanilla.
- In a separate bowl, whisk together the flour, salt, and baking powder. With the mixer on low, add this dry mixture to the butter mixture in three parts, alternating with the sour cream — start and finish with the flour mixture. Mix just until combined each time, no more.
- Take out about one-third of the batter (roughly 1¾ cups / 421 grams) into another bowl and fold in the melted chocolate and cocoa powder until even. Fold the orange zest into the batter that's left in the main bowl.
- Spread about one-third of the orange batter (roughly 1 cup / 281 grams) into the bottom of your greased 9x5-inch loaf pan. Now spoon heaping tablespoons (about 18 grams each) of orange and chocolate batter in a checkerboard pattern across the pan — about 3 scoops across the short side. Tap the pan on the counter a couple of times to settle it. Build a second layer the same way, but flip the pattern — chocolate over orange and orange over chocolate from the layer below. Tap again, and repeat with whatever batter remains. Finish by running a knife through the batter in a figure-eight motion to create the marble, then tap the pan once more to even everything out.
- Bake for 1 hour 40 minutes to 1 hour 45 minutes, until a skewer inserted in the centre comes out clean, or an instant-read thermometer reads 200°F (93°C). Tent with foil partway through if the top is browning too fast. Cool in the pan for 10 minutes, then turn out onto a wire rack to cool completely.
Video
Notes
Notes
- Store the cake at room temperature in an airtight container for up to 3 days, or refrigerate for up to a week.
- To freeze, wrap the cooled, unsliced loaf tightly in cling film and foil, and freeze for up to 2 months. Thaw at room temperature before serving.
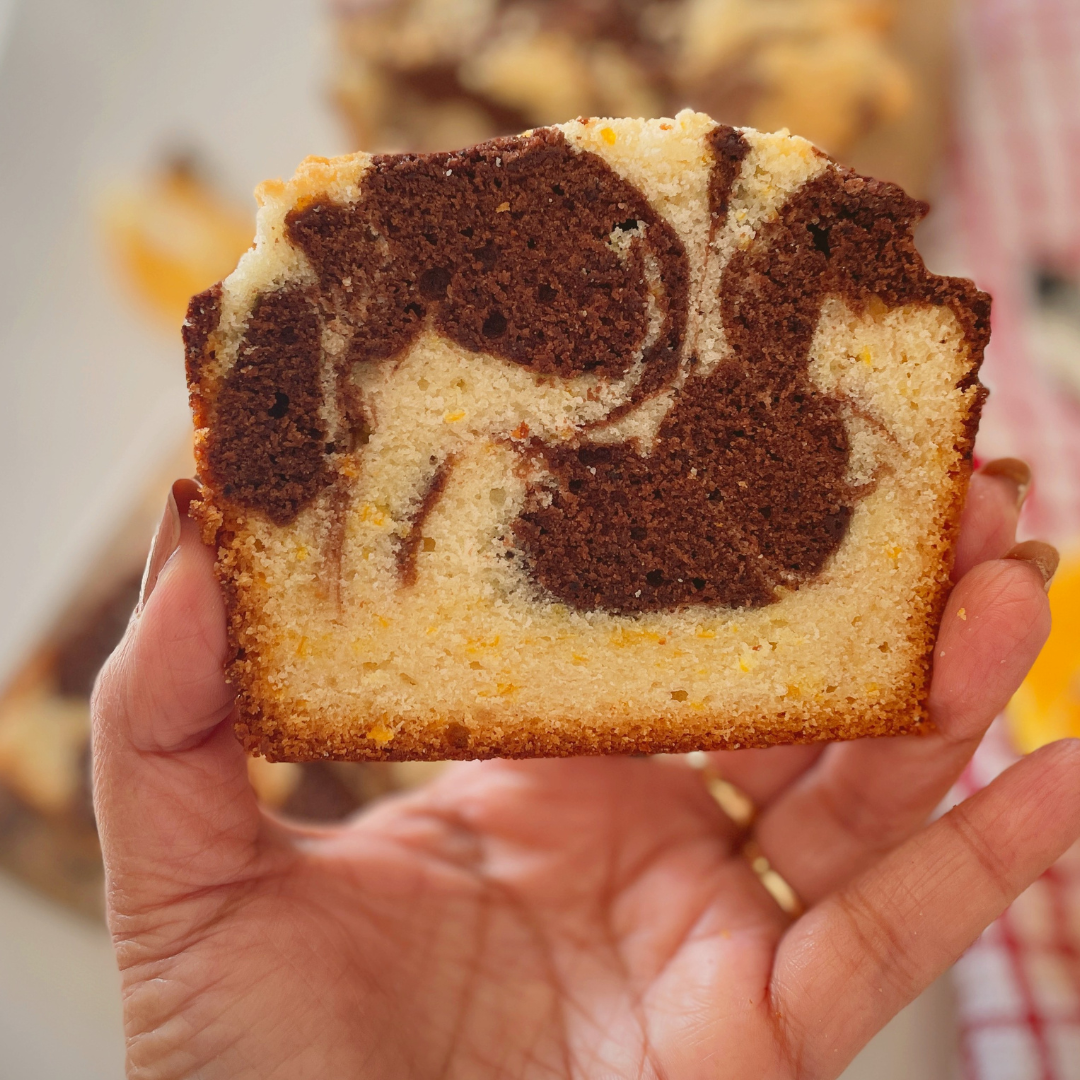
- Don't over-swirl the batter — a few figure-eight passes with a knife is enough. Too much swirling blends the colours into grey instead of keeping the marble distinct.
- If the top is browning too quickly but the centre isn't done, tent loosely with foil for the remaining bake time.
- Bring the butter, eggs, and sour cream to room temperature ahead of time — this makes a real difference to how smoothly the batter comes together.
Recipe Tips
A few things that make a real difference when you’re baking this chocolate orange marble cake at home:
- Don’t overmix once the flour goes in: Mix just until the flour disappears into the batter. Overmixing develops the gluten too much and can leave you with a denser, tougher crumb instead of a soft one.
- Keep your scoops even: Using a tablespoon to portion the orange and chocolate batters keeps the checkerboard layers consistent, which gives you a cleaner marble once you swirl.
- Go easy on the swirling: A few figure-eight passes with a knife is all you need. Swirl too much and the two colours blend into a muddy in-between instead of staying distinct.
- Watch the bake time, not just the clock: Ovens vary, so start checking with a skewer around the 1 hour 30 minute mark. If the top is browning faster than the centre is cooking, tent it loosely with foil.
- Let it cool before slicing: The cake firms up as it cools, so resist cutting into it straight out of the oven — 10 minutes in the pan, then fully cooled on a rack, gives you the neatest slices.
Recipe FAQs
Can I make this cake without a loaf pan?
You can bake this batter in a round or square cake tin instead, though the marbling pattern will look different since the checkerboard layering works best in a rectangular shape. Keep an eye on the bake time, as a shallower pan will usually bake faster than a tall loaf tin.
Why did my orange and chocolate batters blend together instead of staying separate?
This usually happens when the batter is too thin, or when the knife is dragged through too many times while swirling. Keep your scoops neat as you layer them into the pan, and limit yourself to a few passes with the knife — the layering does most of the marbling work before you even swirl.
Can I use orange juice instead of orange zest?
Zest is what gives this cake its citrus flavour without adding extra liquid to the batter, so it’s best not to swap it out for juice. If you want a slightly stronger orange flavour, you can increase the zest slightly, but avoid adding juice as it can throw off the batter’s consistency.
Can I skip the chocolate half and make this an all-orange loaf?
Yes — if you’d rather have a plain orange pound cake, simply skip dividing the batter and fold all the orange zest into the full batch. You’ll lose the marble effect, but the flavour and texture will still hold up well on its own.
Storage
This chocolate orange marble cake stays fresh for longer than you’d expect when stored properly. Keep it in an airtight container at room temperature for up to 3 days, or in the refrigerator for up to a week — just bring it back to room temperature before serving for the best texture. To freeze, wrap the cooled, unsliced loaf tightly in cling film and foil, and it’ll keep well in the freezer for up to 2 months.