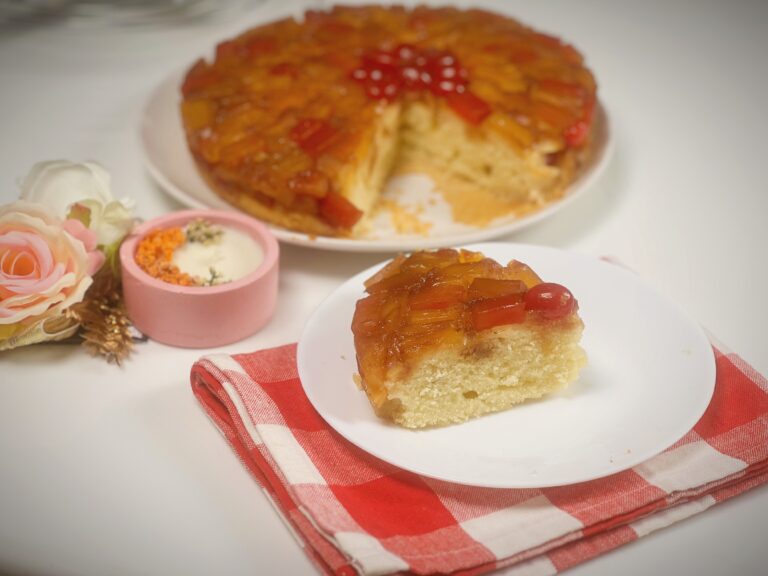
Have you ever seen a cake that looks like a burst of sunshine trapped in a pan? That’s the magic of the Upside Down Cake! Today, we’re not just baking a cake, we’re unraveling the history behind this delightful dessert and putting a vibrant twist on it with a Mixed Fruit Upside Down Cake recipe.
Calling all dessert lovers with a can of mixed fruit lingering in the pantry! This Mixed Fruit Upside Down Cake is your answer to a quick, stunning, and crowd-pleasing treat.
Imagine a soft, fluffy cake topped with a vibrant explosion of caramelized mixed fruit. That’s the magic of this upside-down wonder. Plus, it’s surprisingly easy to make, requiring minimal effort for maximum flavor.
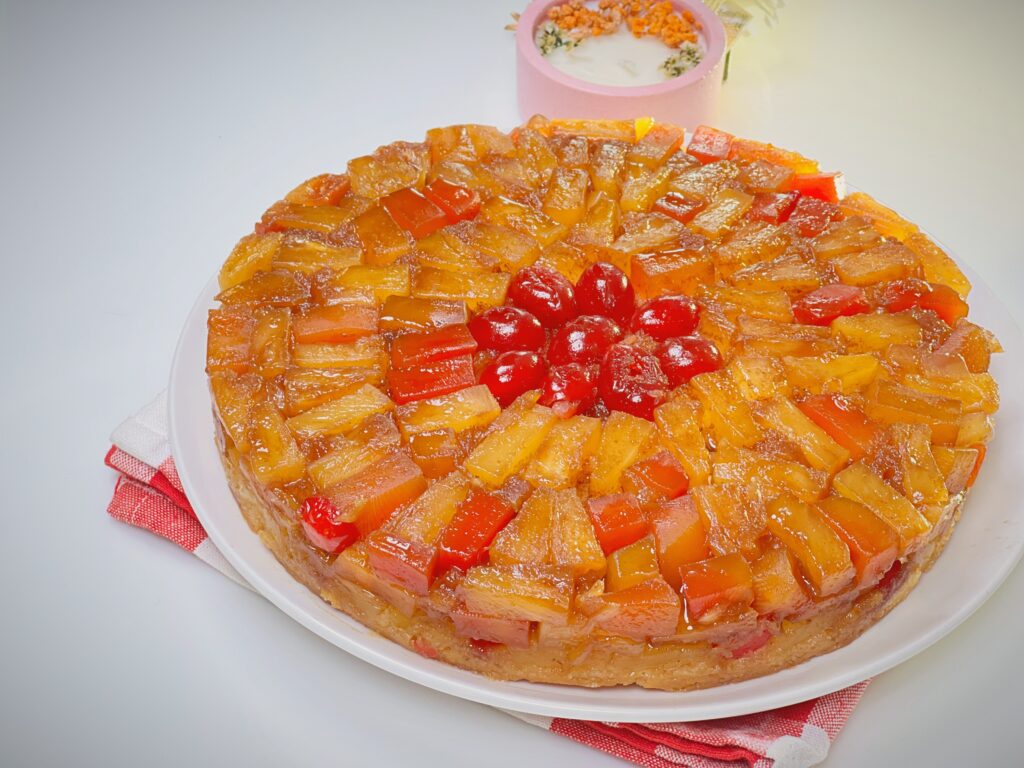
A Peek into Upside Down Cake History: From Mystery to Pineapple Star
The exact origin of upside-down cakes remains a bit of a delicious mystery. Some believe they emerged in the late 19th or early 20th century in the United States, while others suggest European roots. One popular theory points to resourceful American cooks using canned pineapple, a novel ingredient at the time, to create the iconic Pineapple Upside Down Cake.
This version quickly gained popularity, becoming a symbol of American ingenuity and a staple in dessert menus. However, the beauty of upside-down cakes lies in their versatility. Today, we’ll explore a delightful variation – the Mixed Fruit Upside Down Cake!
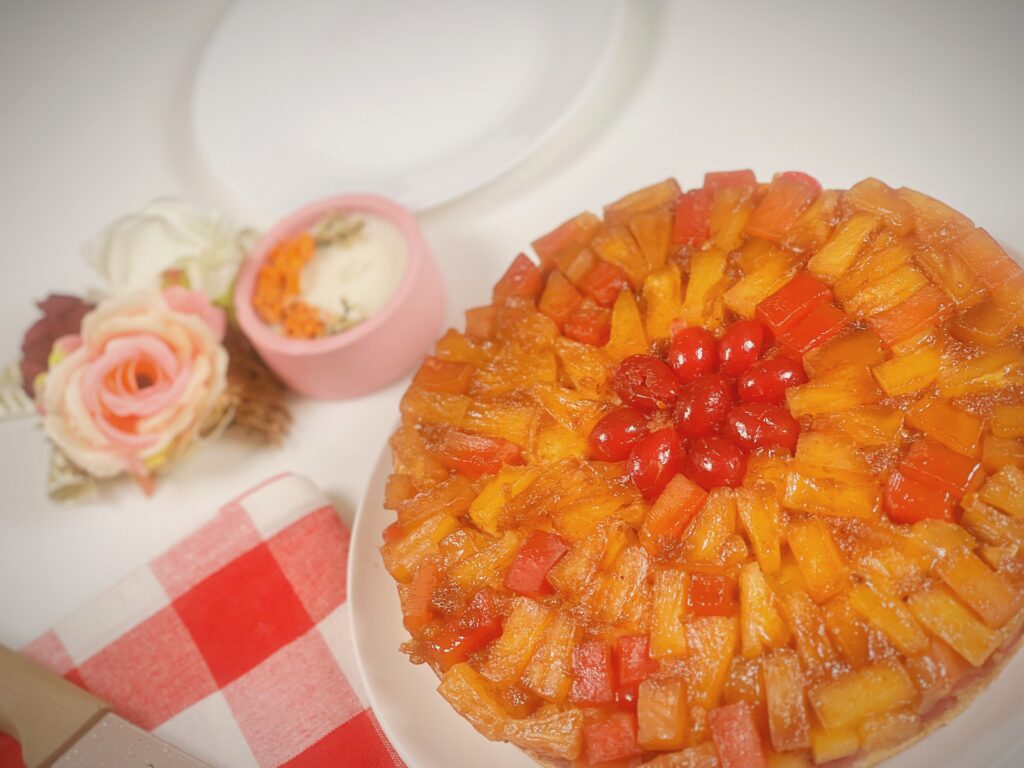
Beyond the Pineapple: Embracing the Mixed Fruit
While the traditional upside-down cake features a crown of pineapple rings, this recipe celebrates the delightful diversity of canned mixed fruit. Feel free to get creative and use any combination you like! Here are some ideas to get your juices flowing:
- Classic Combo: Peaches, pears, and cherries offer a delightful balance of sweetness and tartness.
- Tropical Twist: Add a touch of paradise with mango, pineapple chunks, and papaya.
- Berry Blast: Embrace the vibrant flavors of blueberries, raspberries, and strawberries.
- Citrus Surprise: Mandarin oranges, grapefruit segments, and a sprinkle of cranberries add a tangy twist.
No matter which combination you choose, be sure to drain the canned fruit thoroughly. Excess juice can make the cake soggy. Simply pat the fruit dry with a paper towel before arranging them in the pan.
The Allure of Mixed Fruit Upside Down Cake
This recipe is a celebration of color and flavor. Instead of the traditional pineapple, we’ll use a vibrant mix of canned fruit, giving you the freedom to personalize your creation. Think juicy peaches, plump berries, and tangy cocktail mix – the possibilities are endless!
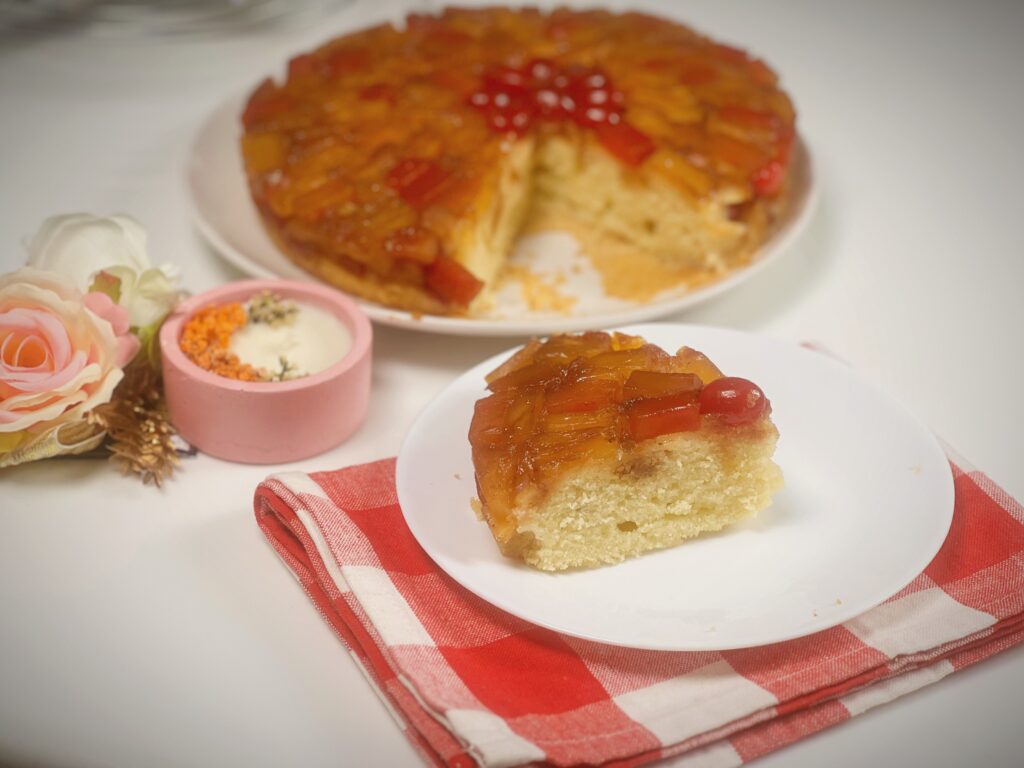
Beyond the Substitution: Tips and Tricks for a Perfect Cake
This recipe offers a tasty twist on the classic, but it also incorporates some clever substitutions and baking hacks. Here are some additional tips to ensure your Mixed Fruit Upside-Down Cake turns out heavenly:
- Room Temperature Reigns Supreme: Just like the original recipe suggests, take out your eggs, butter, and yogurt beforehand. Room temperature ingredients are essential for a smooth batter and even baking.
- Don’t Toss the Yogurt! While the original recipe calls for sour cream, plain yogurt works beautifully as a substitute. It adds a subtle tang that complements the sweetness of the cake and the fruit topping.
- Go Mini for a Fun Twist! Feeling adventurous? Portion the batter into mini springform pans for adorable single-serving cakes. These bite-sized beauties are perfect for parties or a delightful afternoon tea.
- Mastering the Flip: One of the key aspects of the upside-down cake is the dramatic reveal. To ensure a clean flip, let the cake cool slightly in the pan for about 15 minutes. This allows the cake to firm up and reduces the risk of cracking. Use a timer to avoid forgetting, as waiting too long can make the caramel too thick, hindering a smooth release.
Now, Let’s Bake! A Step-by-Step Guide to Mixed Fruit Upside Down Cake
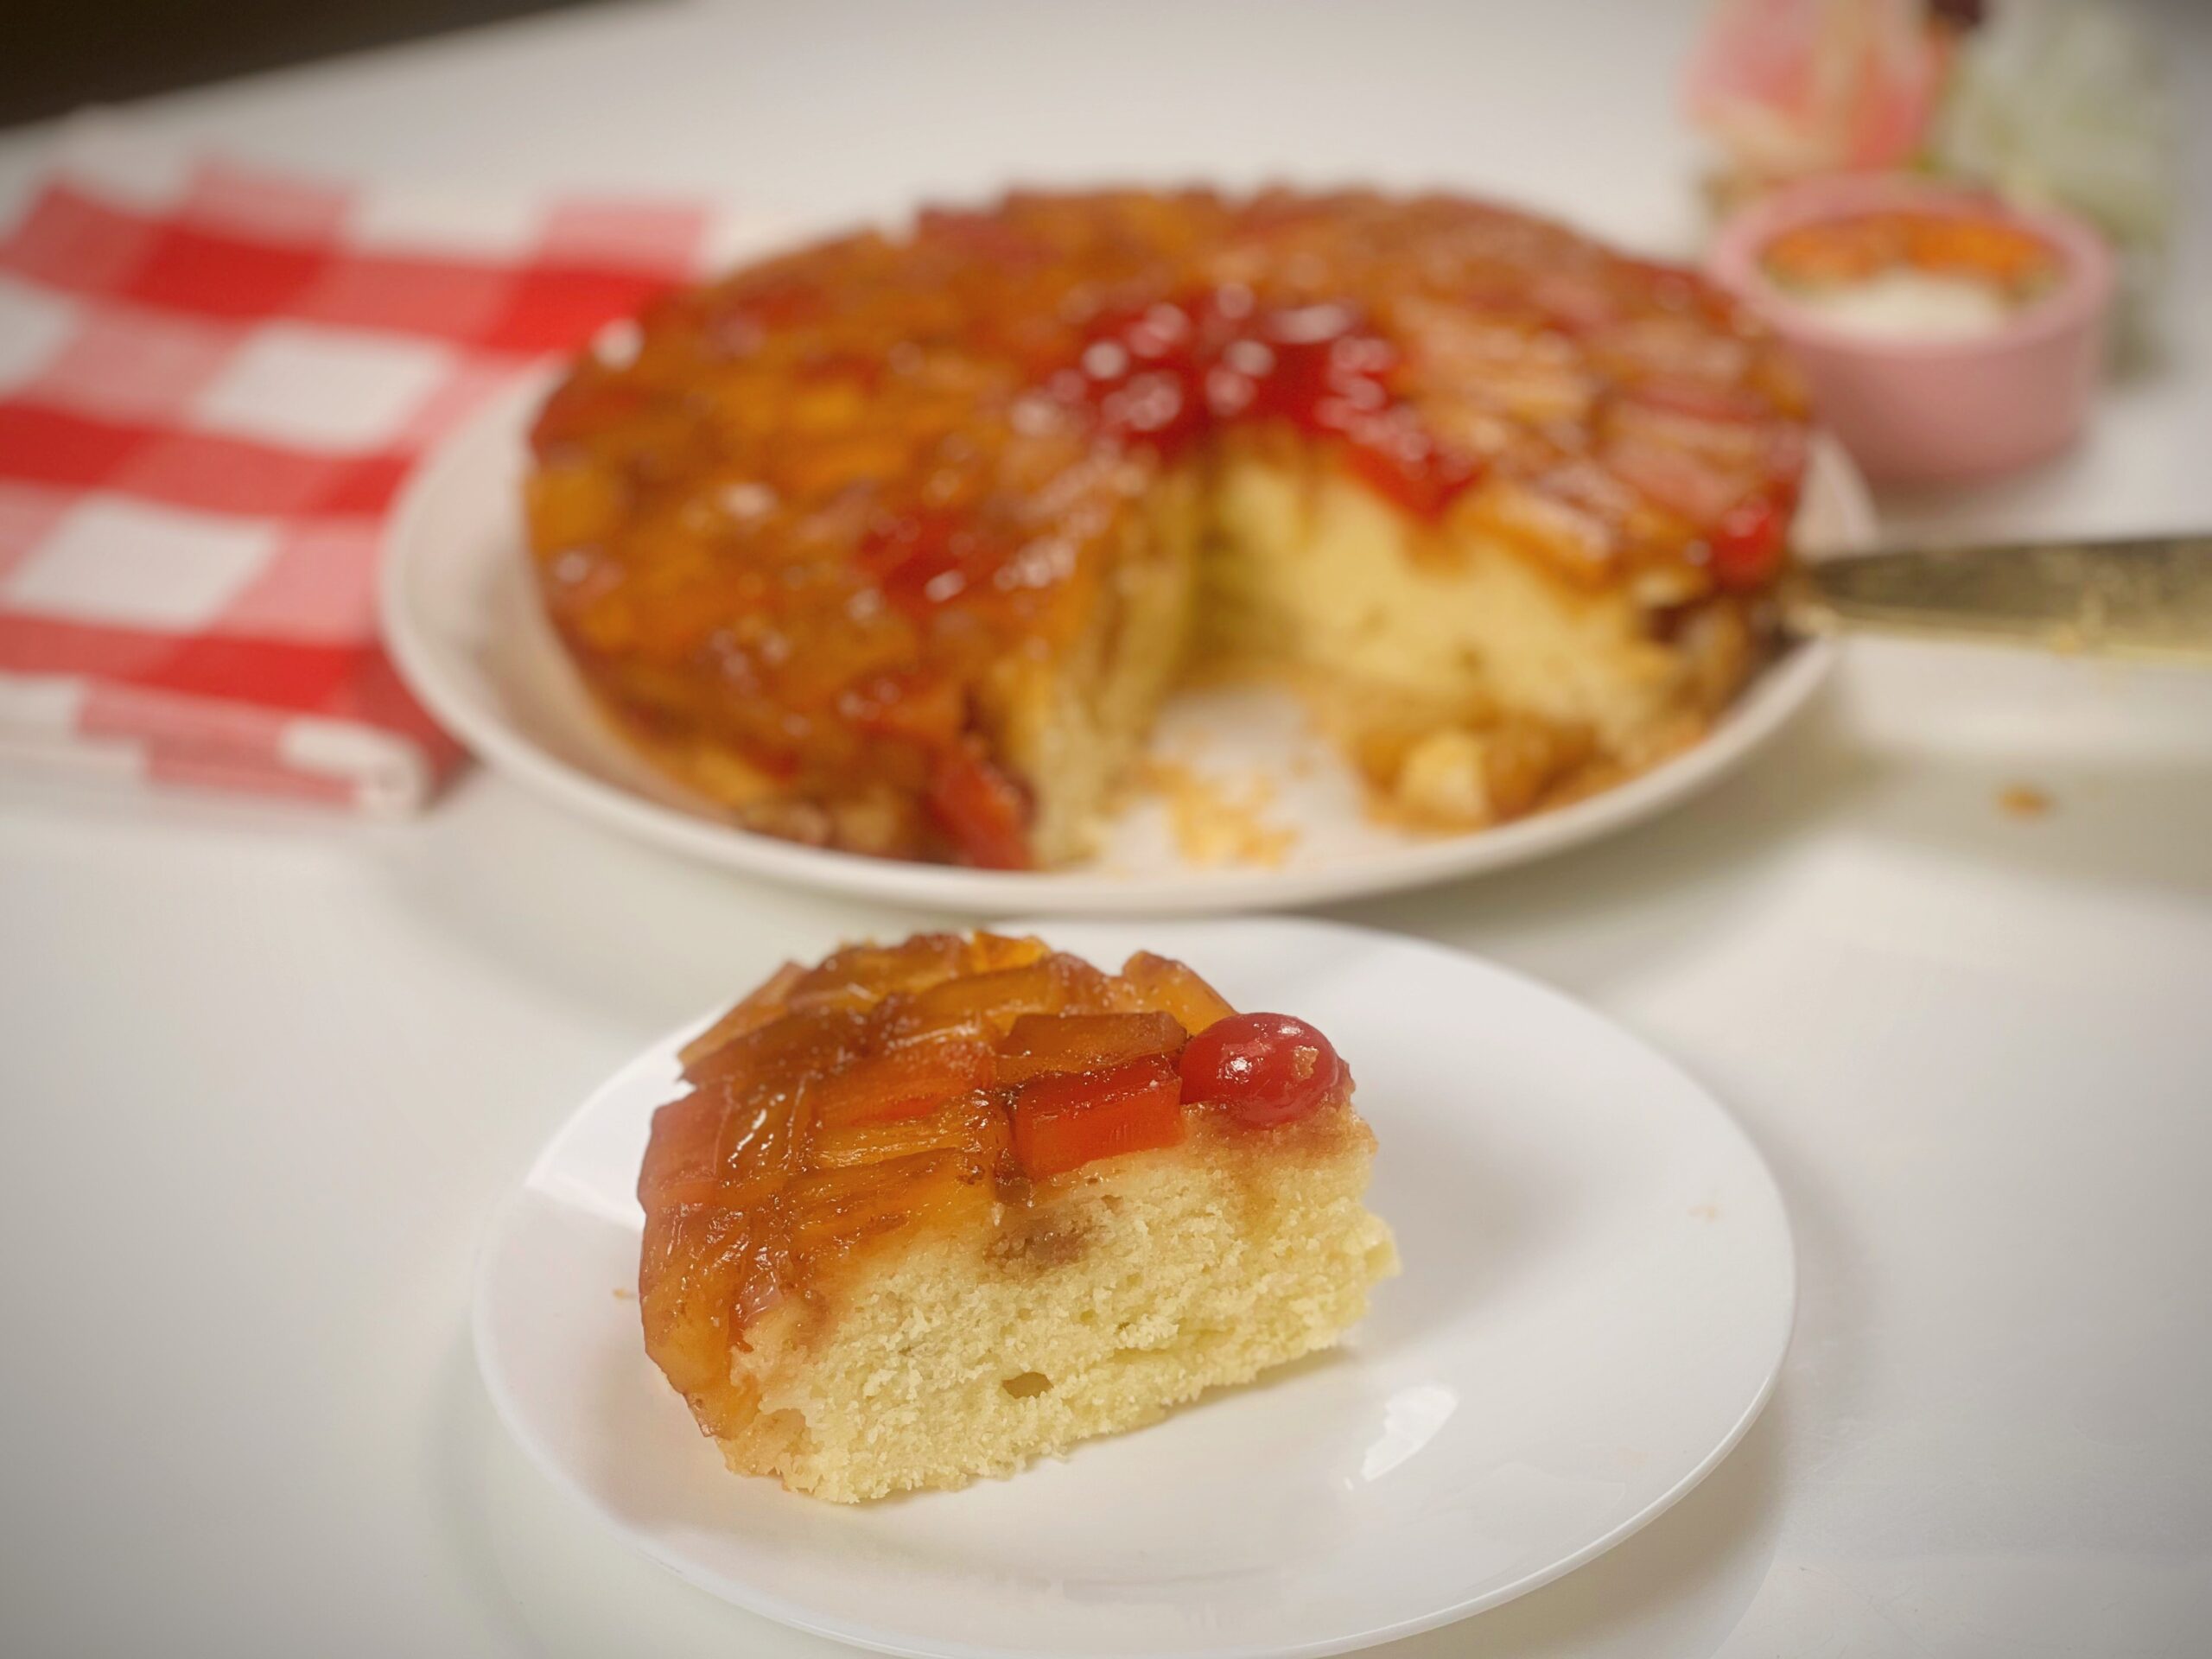
Mixed Fruit Upside Down Cake Recipe
Ingredients
For the Gooey Fruit Topping
- 1/4 cup melted unsalted butter (58 grams)
- 1/2 cup light brown sugar (110 grams)
- 1 can of mixed fruits, drained
For the Soft and Fluffy Cake:
- 1 1/2 cups all-purpose flour (180 grams)
- 1 1/2 teaspoons baking powder
- 1/2 teaspoon salt
- 3/4 cup granulated sugar (150 grams)
- 2 eggs
- 2 tsp vanilla extract
- 1/3 cup plain yogurt, room temperature (85 grams)
- 1/3 cup whole milk, room temperature (82 grams)
Instructions
- Drain your canned fruit well to prevent a soggy cake.
- Preheat your oven to 175°C (350°F ). Grease a 9-inch round cake pan with butter.
- In your baking dish, use melted butter to coat the bottom and sides.
- Sprinkle the brown sugar evenly over the bottom of the pan. This caramelizes during baking, creating a gooey and delicious base for the fruit.
- Arrange your drained mixed fruit in the dish, getting creative! You can make a design or simply scatter them around. If you're using maraschino cherries, add them in between the fruit or place one in the center of each fruit slice.
- In a separate measuring cup, whisk together the sour cream and milk.
- Whisk Together the Dry Ingredients: In a separate bowl, whisk together the flour, baking powder, and salt. Set this aside for now.
- Creaming for a Light and Fluffy Batter: In a large mixing bowl, cream together the softened butter and sugar on medium speed for about 3 minutes. This step incorporates air into the batter, making the cake light and airy.
- Beat in the Eggs One at a Time: Once the butter and sugar are light and fluffy, add the eggs one at a time, beating well after each addition. This ensures the eggs are fully incorporated into the batter.
- Vanilla Magic: Stir in the vanilla extract, adding a touch of warmth and sweetness to the cake.
- Alternating Wet and Dry Ingredients: Now, we'll alternate adding the dry ingredients and the sour cream mixture to the wet ingredients (creamed butter, sugar, and eggs) in three batches. Start and end with the dry ingredients. Mix on low speed just until combined. Be careful not to overmix – a few lumps are okay!
- Pouring the Batter: Gently pour the batter over the fruit in the baking dish. Bake for 40-45 minutes, or until a toothpick inserted in the center comes out with a few moist crumbs.
- Patience is a virtue! Let the cake cool for about 15 minutes before the grand reveal. Place a serving plate on top of the dish and carefully flip it over in one swift motion.
- The cake should effortlessly slide out, revealing the caramelized mixed fruit topping in all its glory. Let the cake cool completely before serving.
Video
Notes

