Who doesn’t love a decadent chocolate mud cake? But what if you could take it up a notch by making it tall, rich, and fudgy? This cake is not just a dessert; it’s a statement piece that’s perfect for birthdays, anniversaries, or even a weekend treat to indulge your chocolate cravings.
In this blog, I’m sharing my foolproof recipe for a Tall Chocolate Mud Cake that is soft, moist, and loaded with chocolatey goodness. Whether you’re a seasoned baker or just starting out, this step-by-step guide will help you create a stunning cake that looks and tastes like it’s come straight from a bakery.
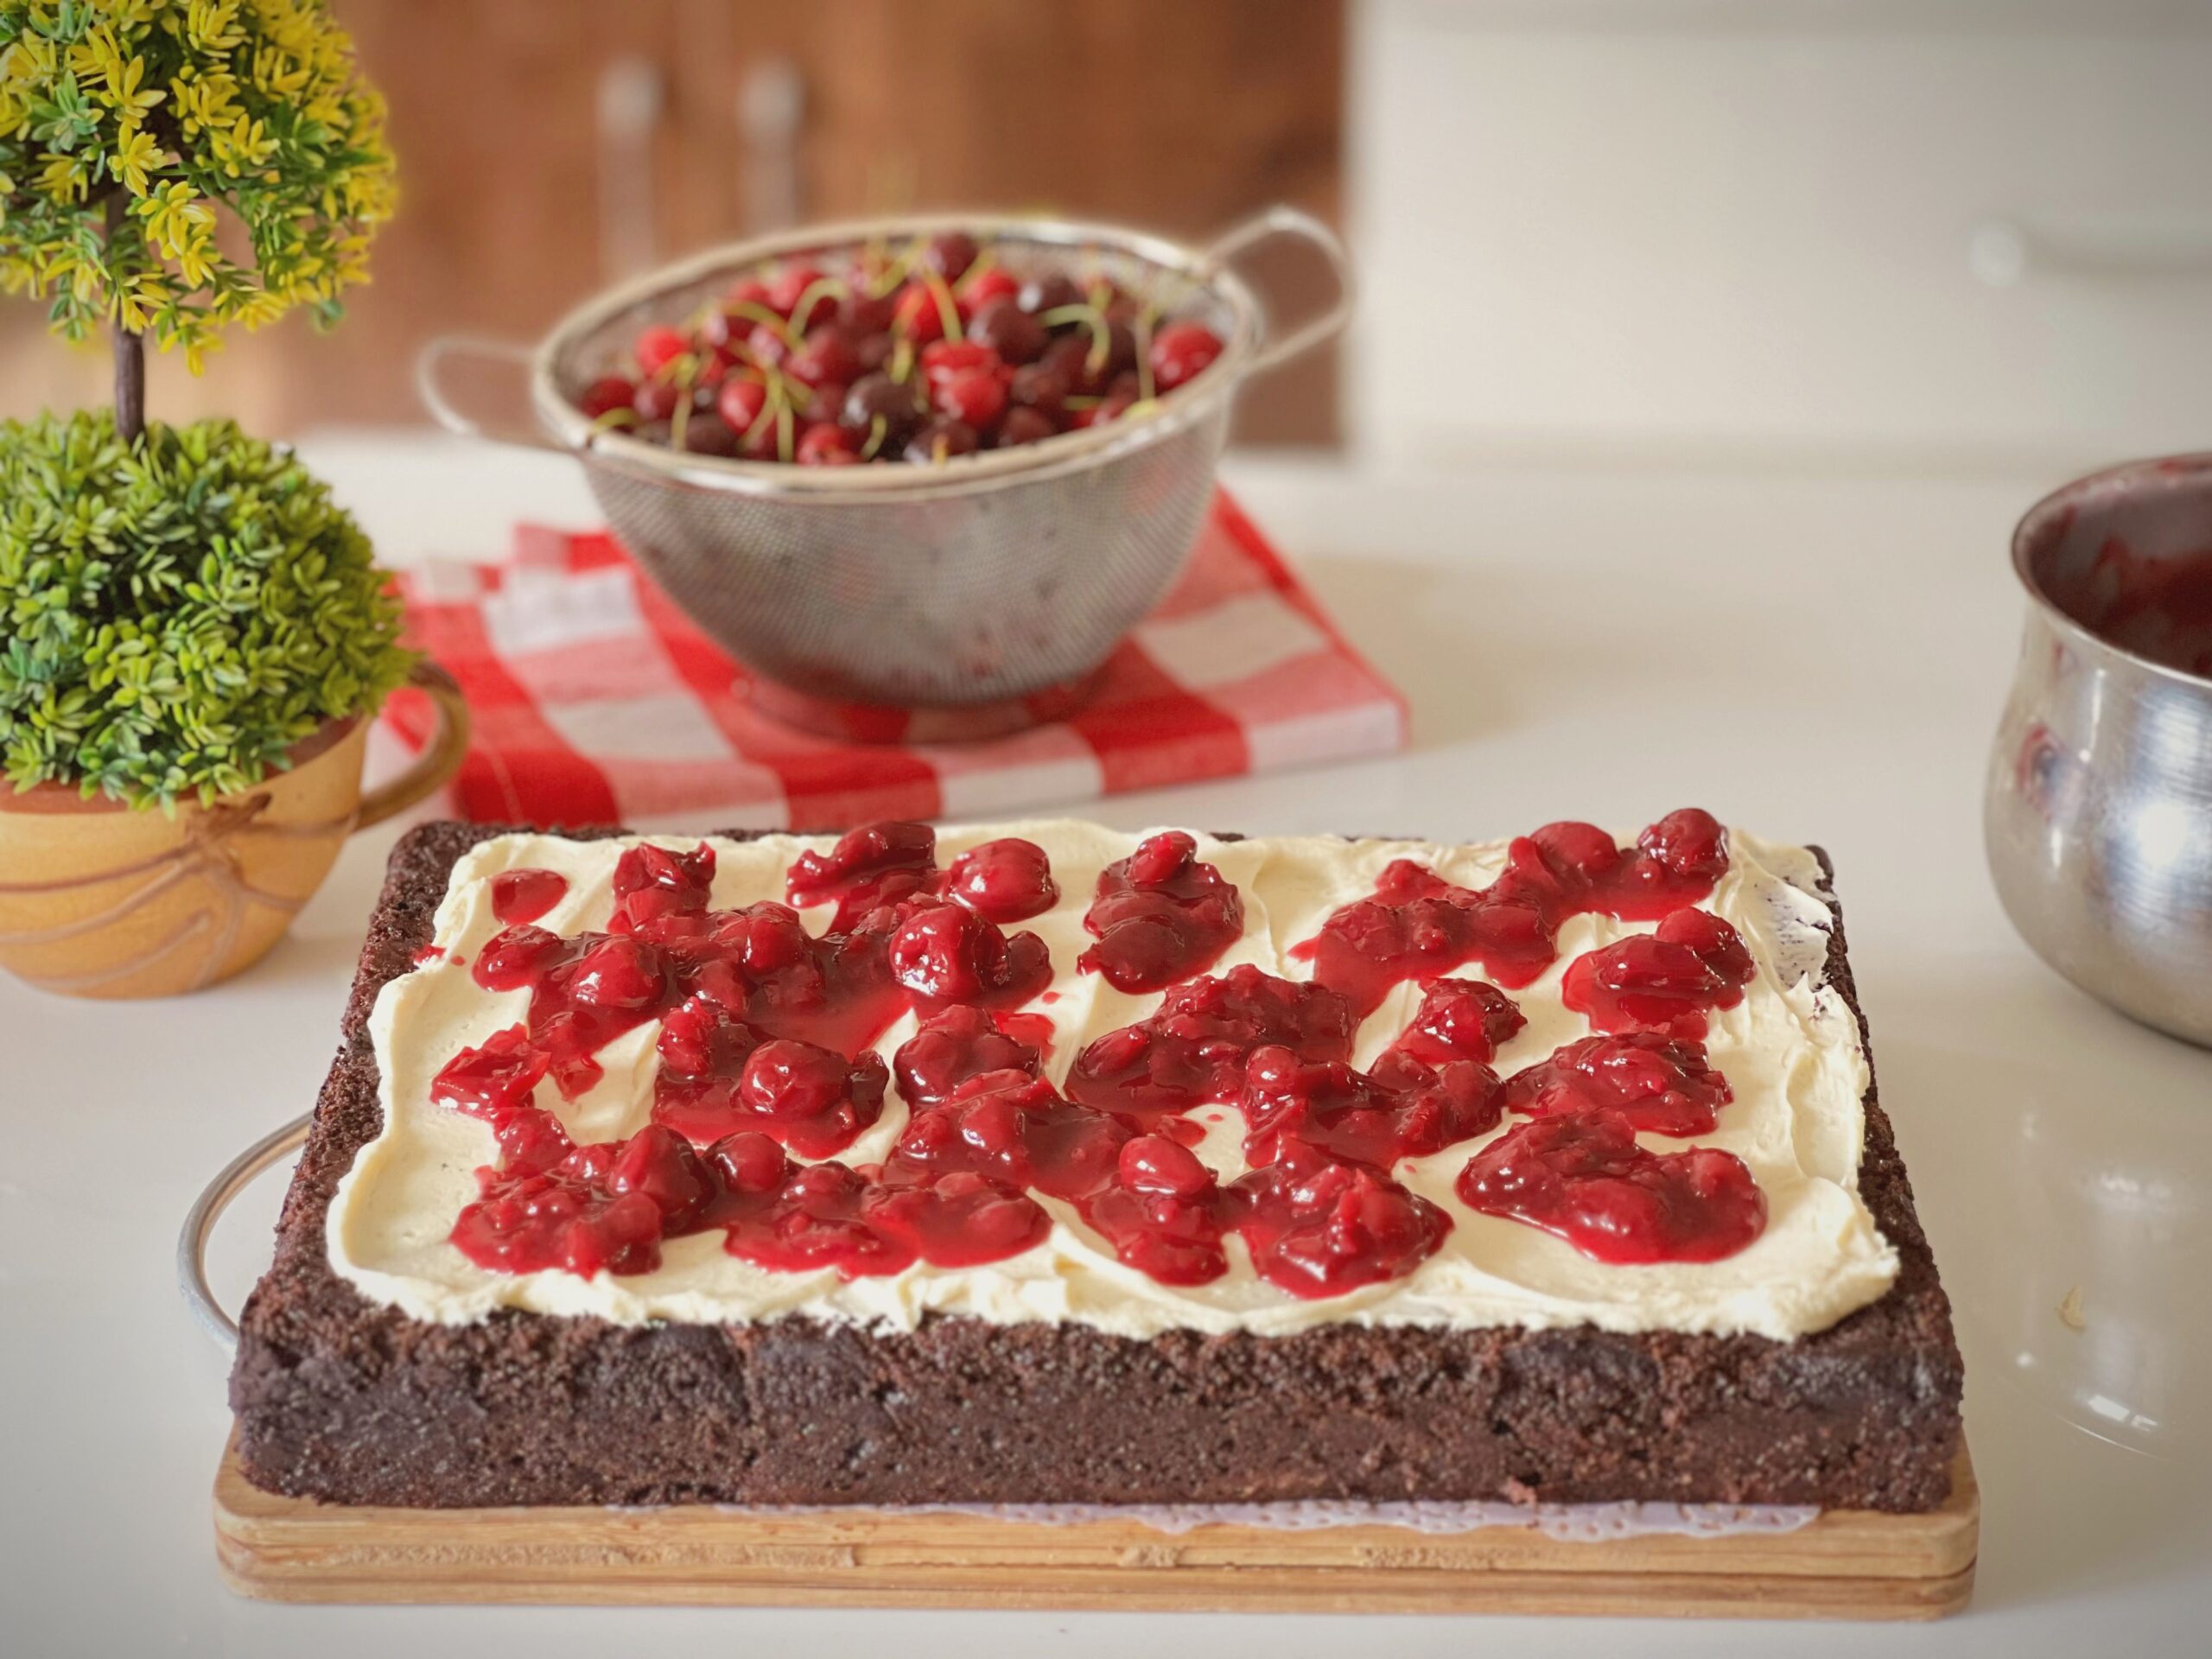
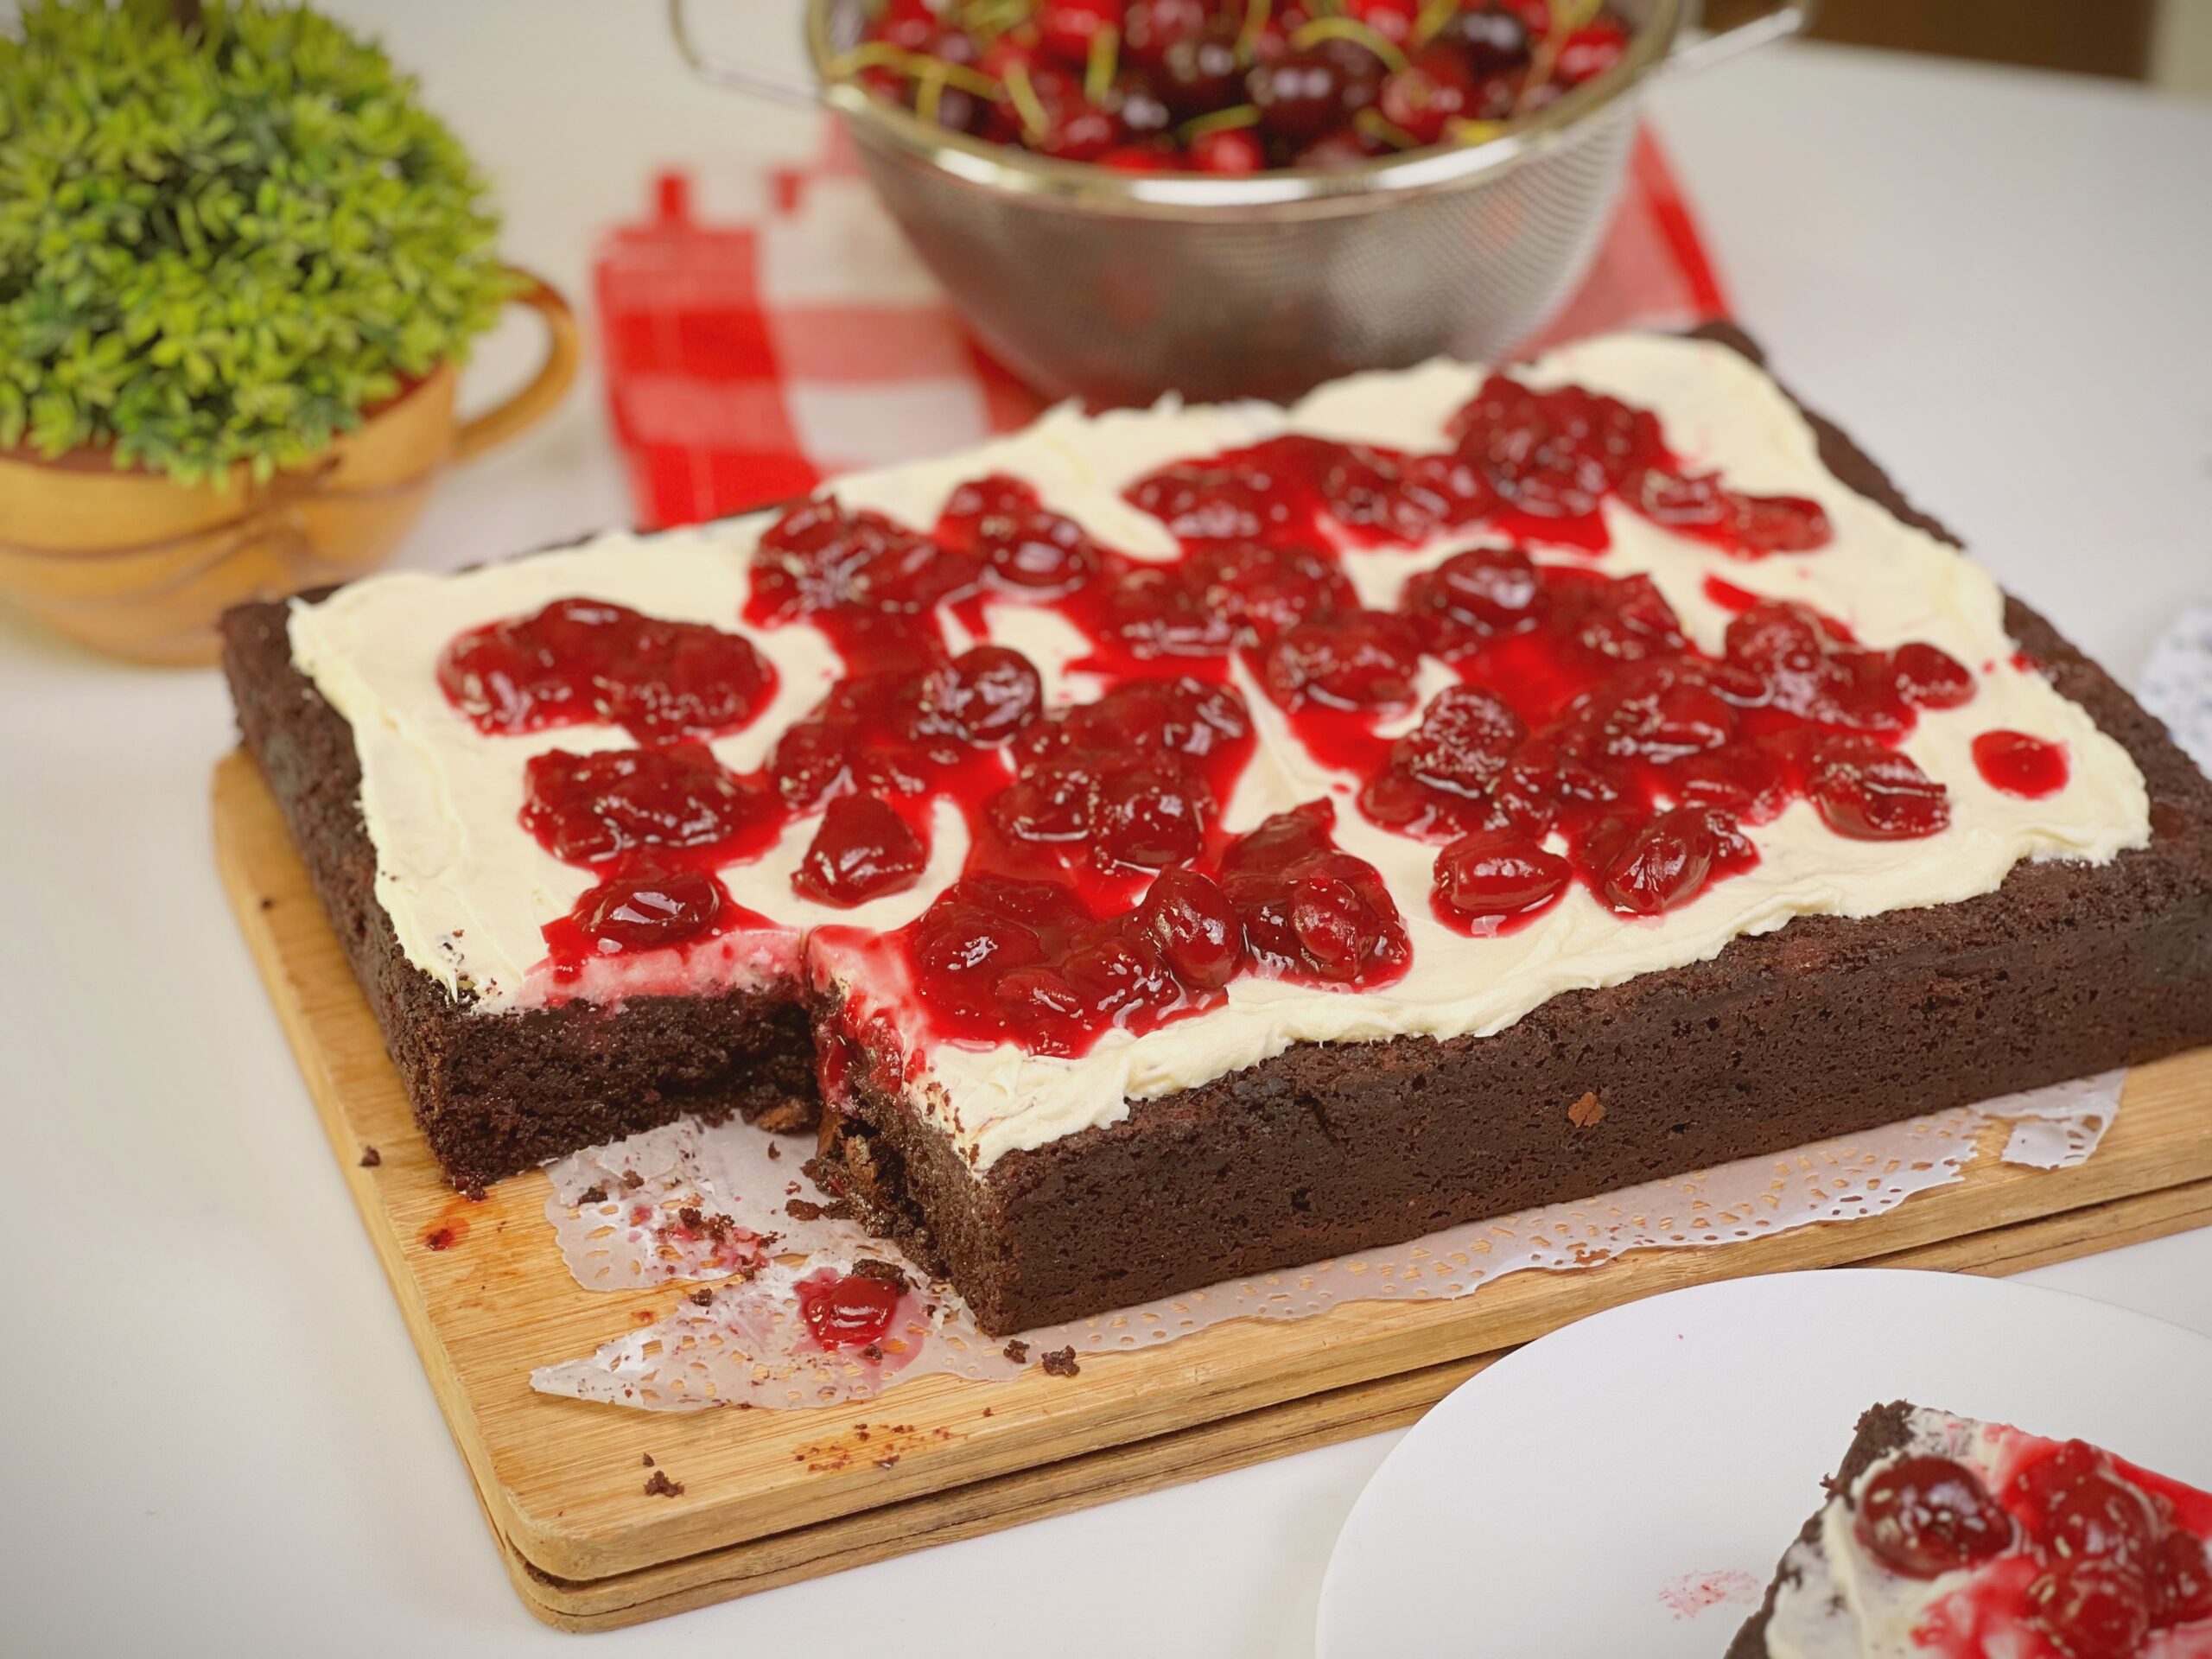
Welcome back to my kitchen! Today, I’m excited to share a recipe that combines the richness of dark chocolate with the tartness of cherries—Dark Chocolate Cherry Cake. This indulgent treat is perfect for any occasion and is sure to impress your family and friends.
chocolate cherry cake
Why You’ll Love This Cake
This cake is a beautiful marriage of flavors. The dark chocolate provides a deep, rich base, while the cherries add a burst of freshness and a slight tartness. The whipped white chocolate ganache topping adds a light and airy contrast, making each bite a delightful experience. Plus, the cherry mixture not only enhances the cake’s flavor but also makes it visually stunning.
fresh cherry chocolate cake
A Little Story from My Kitchen
This Dark Chocolate Cherry Cake holds a special place in my heart. I first made it for my son’s birthday, and it was an instant hit. The combination of dark chocolate and cherries reminded us of the traditional Black Forest cake, but with a modern twist. Every time I bake this cake, it brings back memories of that joyous celebration, filled with laughter and delicious food.
Fun Facts About Cherries
Did you know that cherries are not only delicious but also packed with nutrients? They are a great source of vitamins A and C, fiber, and antioxidants. Cherries have been linked to numerous health benefits, including reducing inflammation, improving sleep quality, and even aiding in muscle recovery. When in season, fresh cherries are a wonderful addition to desserts, salads, and even savoury dishes.
Combine Ingredients: In a medium saucepan, combine 1.5 pounds of cherries, 1/3 cup of sugar, 1 tablespoon of cornstarch, and 2 tablespoons of any liquor (if using).
Cook: Cook over medium-high heat, stirring occasionally. Bring the mixture to a boil to activate the cornstarch and thicken the sauce. This should take about 4 minutes.
Cool: Once thickened, remove from heat and let it cool. This mixture will be used both in the cake batter and as a topping.
Step 2: Prepare the Cake Batter
Preheat Oven: Preheat your oven to 350°F (175°C). Line a 9x13-inch baking pan with parchment paper, butter it, and dust with cocoa powder
Mix Dry Ingredients: In a bowl, whisk together 1.5 cups of cake flour, 3/4 teaspoon of baking soda, and 1/2 teaspoon of kosher salt.
Mix Dry Ingredients: In a bowl, whisk together 1.5 cups of cake flour, 3/4 teaspoon of baking soda, and 1/2 teaspoon of kosher salt.
Cream Butter and Sugar: In a large mixing bowl, beat 3 sticks of unsalted butter with 1 2/3 cups of sugar until light and fluffy. This should take about 3-5 minutes.
Add Eggs: Add 4 eggs one at a time, beating well after each addition. Then, add 2 teaspoons of pure vanilla extract.
Combine Mixtures: Gradually add the dry ingredients to the butter mixture in three parts, alternating with the chocolate mixture in two parts, beginning and ending with the dry ingredients. Mix until just combined.
Fold in Cherry Mixture: Fold in 1.25 cups of the cooled cherry mixture into the batter until evenly distributed.
Step 3: Bake the Cake
Transfer to Pan: Pour the batter into the prepared pan, smoothing the top with a spatula.
Bake: Bake for about 45-50 minutes, or until a cake tester inserted into the center comes out clean or with a few moist crumbs.
Cool: Let the cake cool in the pan for 10 minutes, then transfer to a wire rack to cool completely.
Step 4: Add the Toppings
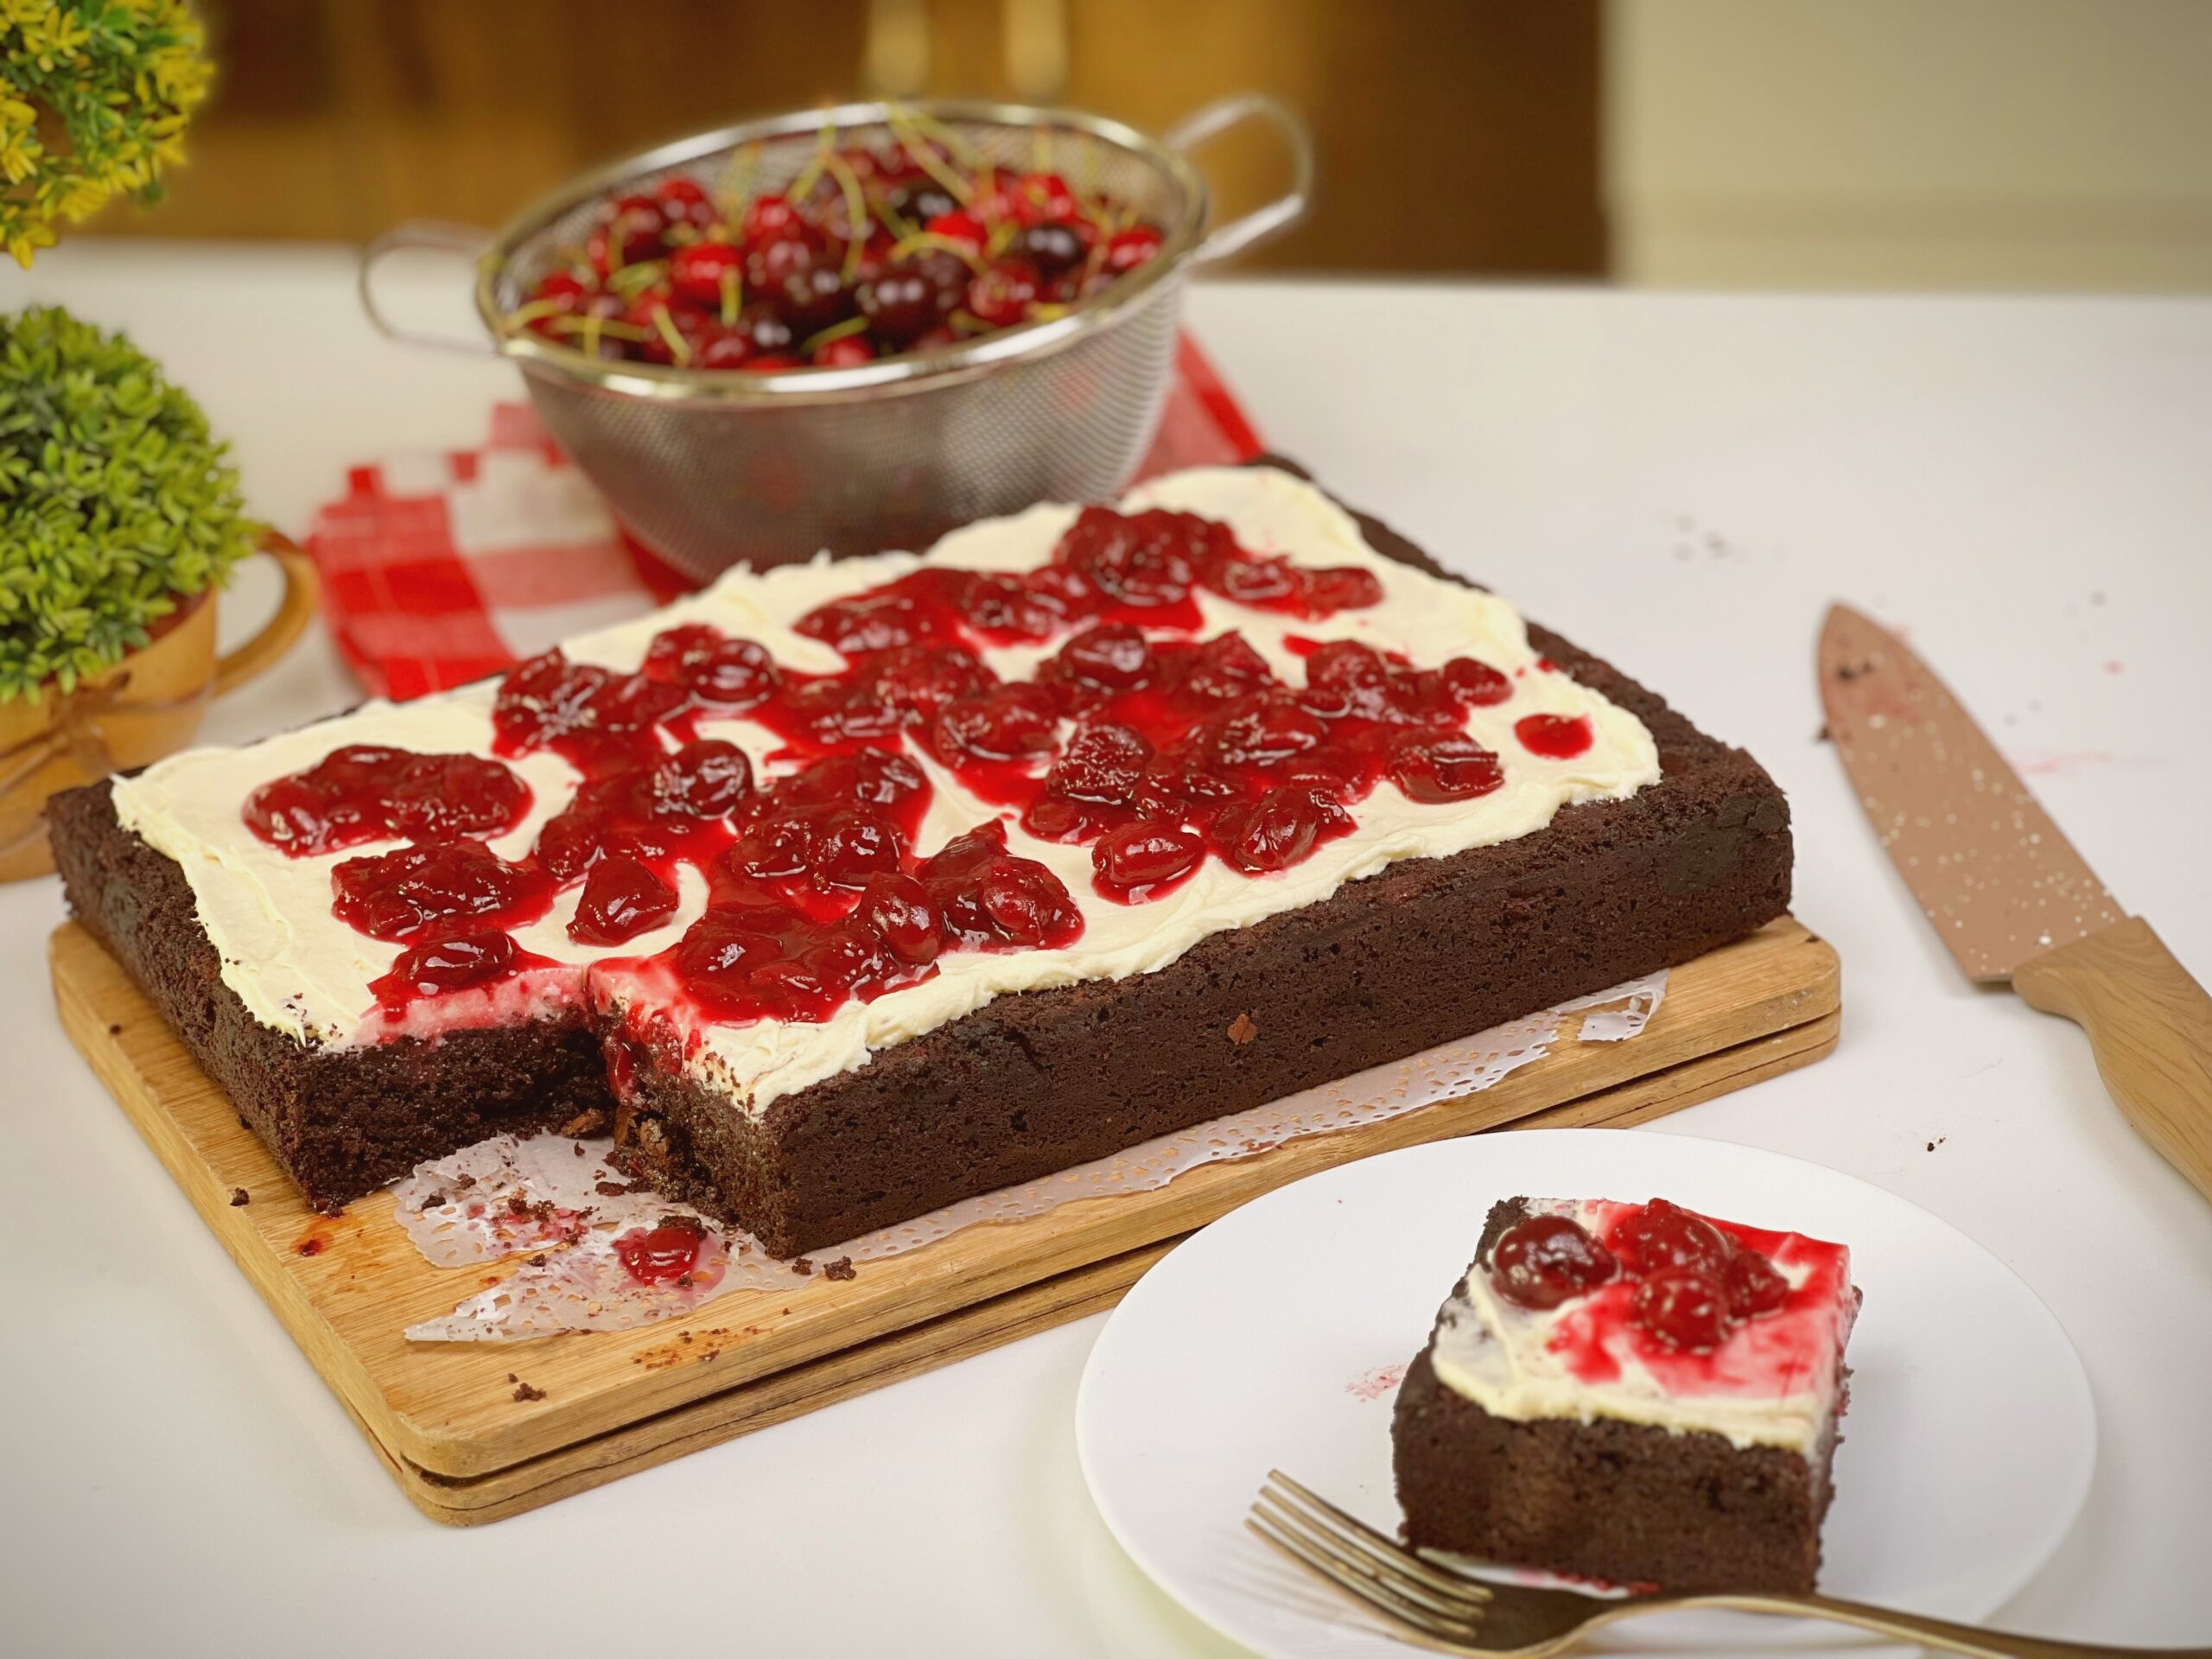
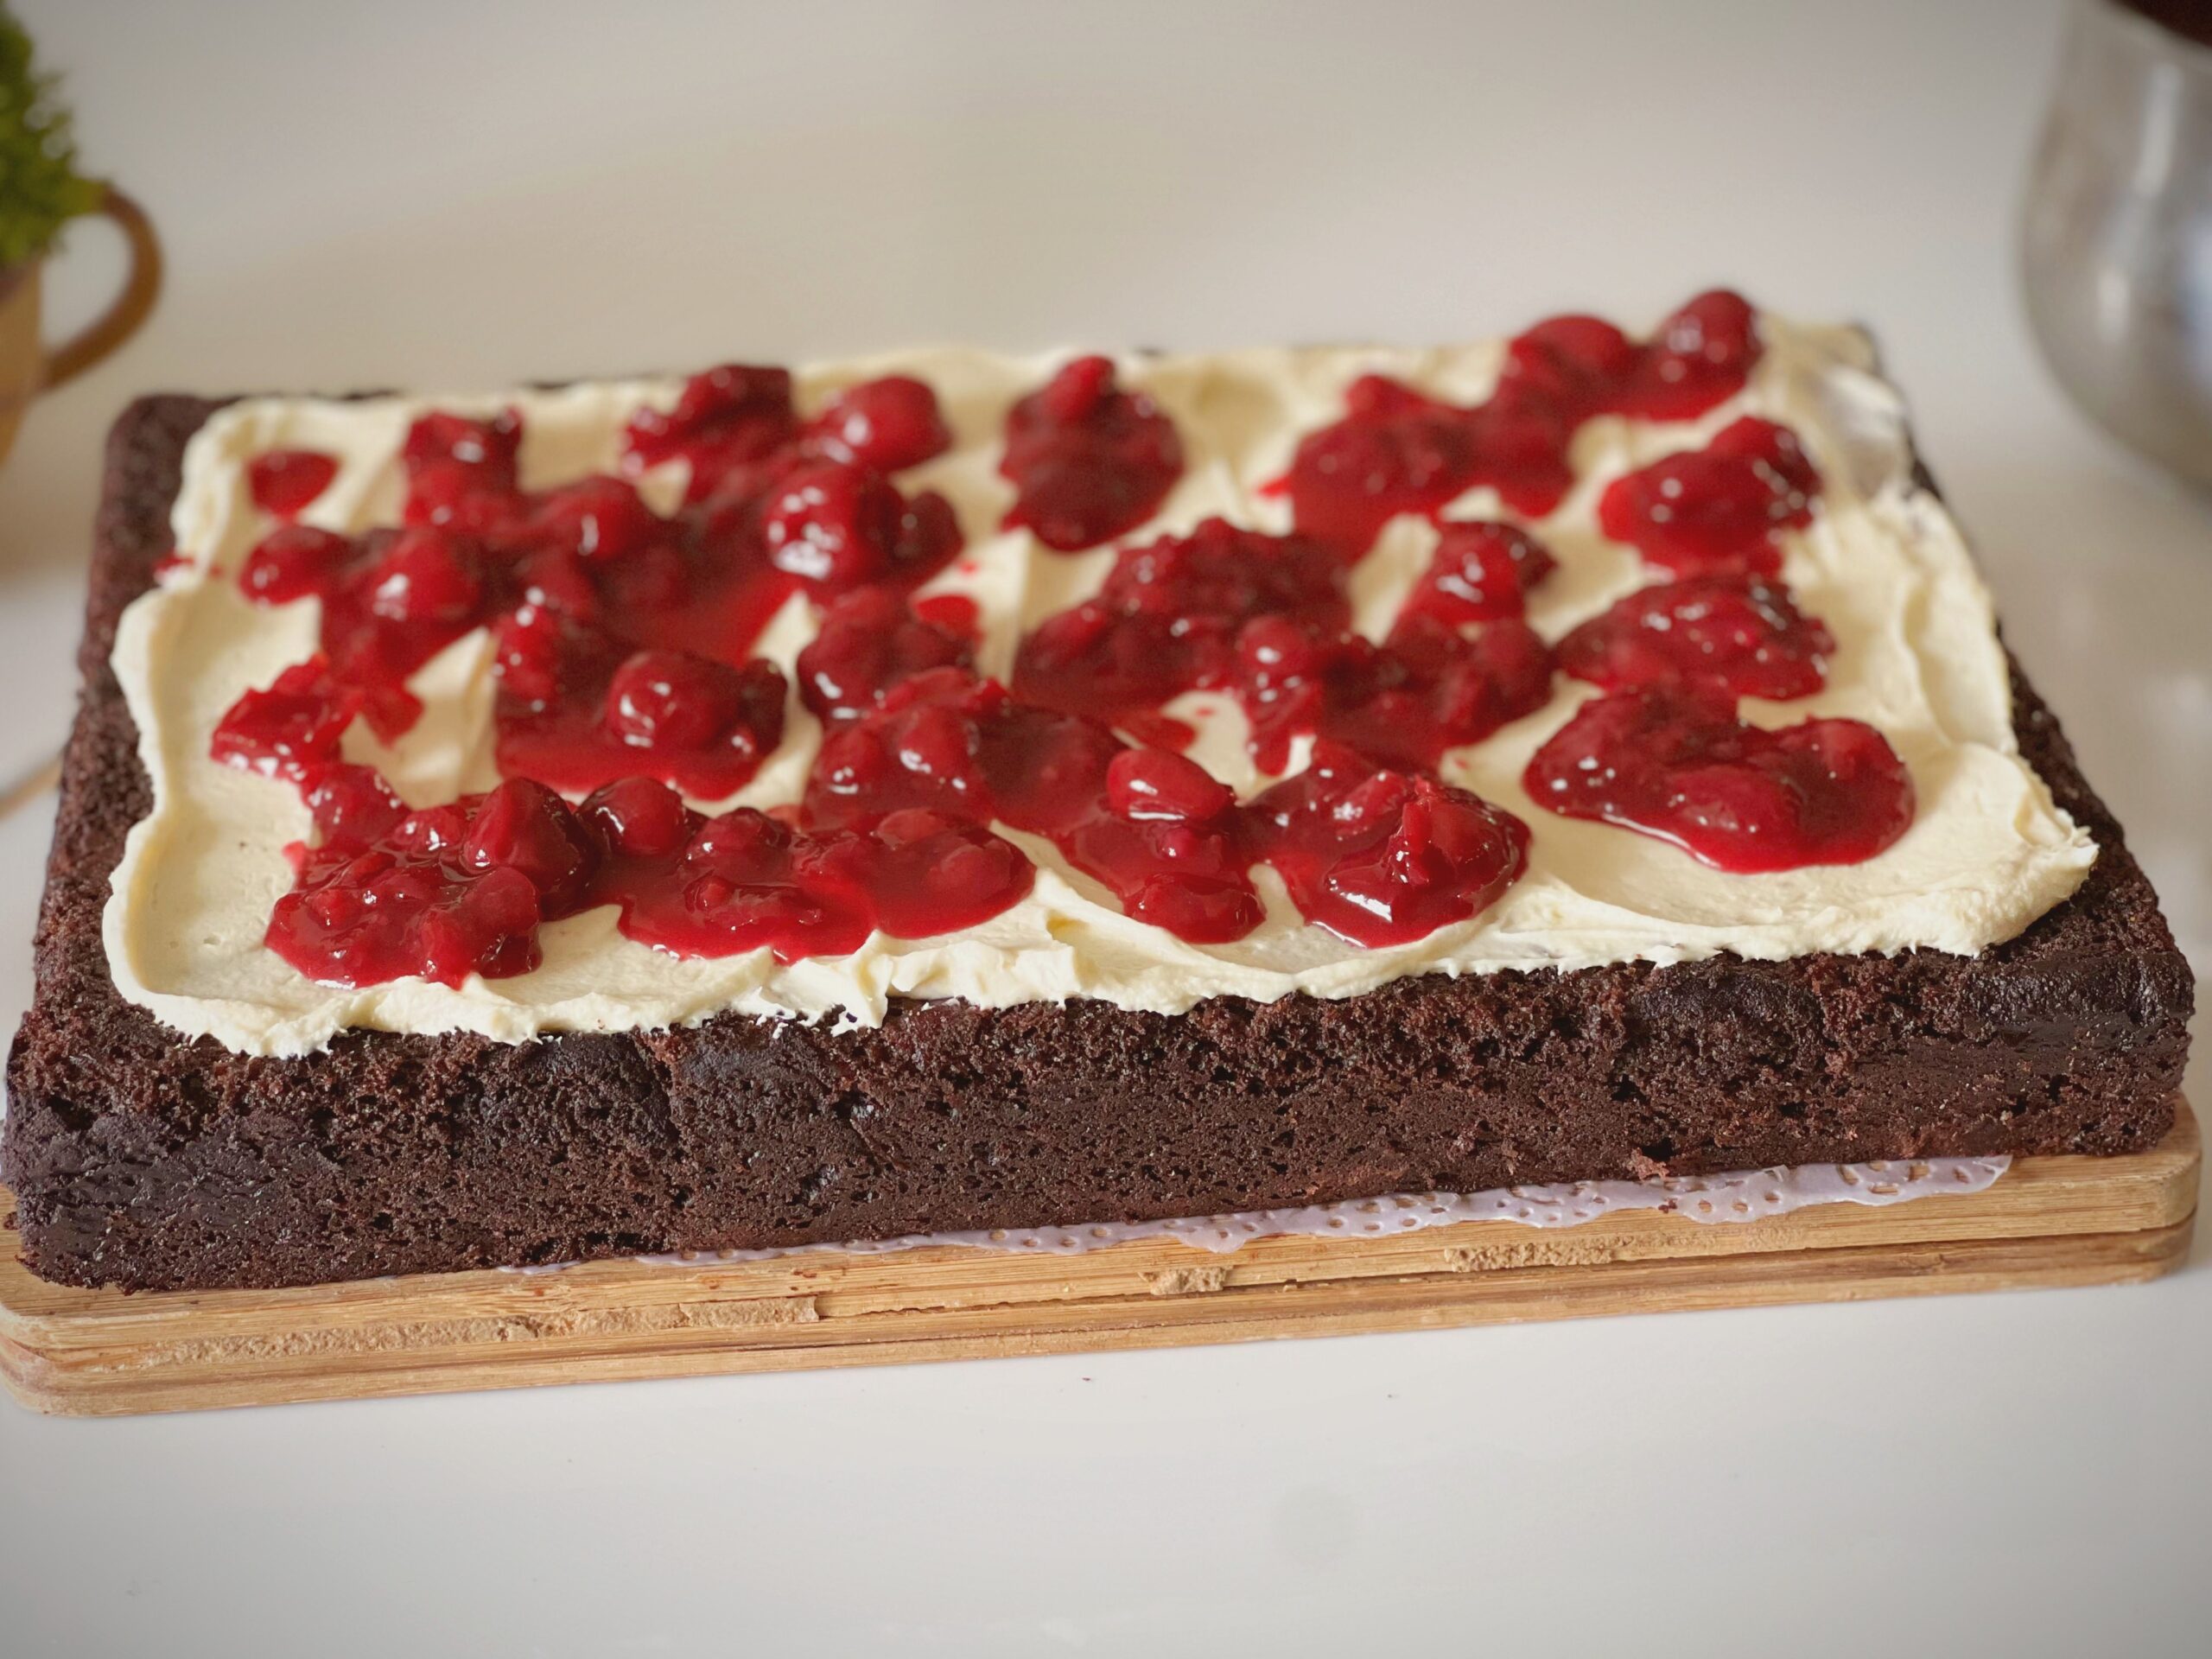
Whipped Cream or any other frosting of your choice: Once the cake is cool, spread a generous layer of whipped cream over the top. I used whipped white chocolate ganache.
Cherry Topping: Spoon the remaining cherry mixture over the whipped cream, spreading it evenly.
Serve and Enjoy!This Dark Chocolate Cherry Cake is best served fresh, with each slice offering a perfect blend of rich chocolate, tart cherries, and creamy whipped topping.
Video
Notes
Tips and Tricks for the Perfect Cake
You can Use Frozen Cherries: If fresh cherries are not in season, frozen cherries work perfectly for this recipe. Just make sure to defrost them before cooking.
Vodka Substitute: If you don't have vodka on hand, you can use Kirsch or simply omit the alcohol. Kirsch enhances the cherry flavor, but the cake will still be delicious without it.
Room Temperature Ingredients: Ensure that your butter and eggs are at room temperature before you start. This helps in achieving a smooth and well-mixed batter.
Whisking Cocoa Powder: When mixing the cocoa powder with hot water, make sure there are no lumps for a smooth, chocolatey paste.
Author: Deepali Ohri
Course: Dessert
Cuisine: American
Final Thoughts
This cake is more than just a dessert; it’s a celebration of flavours and memories. Whether you’re making it for a special occasion or just to satisfy a sweet craving, it’s sure to become a favourite. Enjoy baking and savour every bite of this delightful cake!
Feel free to share your own experiences with this recipe in the comments below. Happy baking!
If you’re craving something cozy, aromatic, and delightfully sweet, look no further than this vanilla cinnamon swirl quick bread. Moist, soft, and infused with a generous ribbon of cinnamon sugar, this bread is incredibly easy to make with just basic ingredients—no mixer required! Reminiscent of cinnamon rolls, this cake-like bread is perfect for satisfying those spontaneous baking urges.
Focaccia bread, with its golden brown crust, soft and airy interior, and amazing flavor, is a true Italian treasure. But traditional focaccia recipes can be a bit intimidating, requiring kneading and long rising times. Fear not, bread lovers! This recipe is here to change the game.
This butter cake recipe is the one I keep coming back to — soft, moist, buttery, and so simple you’ll wonder why you ever made cake any other way.
Introducing the Soft & Moist Butter Cake – a timeless classic that’s been a staple in my baking journey since the beginning. While it may seem simple, creating the perfect butter cake requires patience, especially in the delicate process of mixing the batter. Unlike other cakes, such as moist chocolate or sponge cakes, where over-mixing is a big no-no, butter cake demands a thorough and precise mixing of butter and sugar to achieve that light, soft, and fluffy texture. It’s all about getting the butter and sugar to blend seamlessly, ensuring the cake rises beautifully without sinking. So, while it may take a bit longer than your average cake, trust me, the results are well worth the effort.
I love baking muffins, not only they are delicious. But they are a easy to make. You just measure few ingredients and dump them into a bowl, mix it and bake it. This is one kind of recipe, no creaming of butter is involved. It calls only for oil but the muffins turns out so moist and delicious. Not to mention so chocolaty. These Muffins needs handful of ingredients and they are quick and easy to make, It hardly needs 10 minutes to prepare, 20 minutes of cooking time and , super soft, spongy and moist chocolate muffins are ready.
1 ½ cup Refined Flour 1 cup fresh curd ½ cup oil ¾ cup sugar 1 ¼ tsp baking powder ½ tsp baking soda 1 1/2 tsp Vanilla essence or extract 1/4 cup Cocoa Powder 1-2 tbsp Milk
METHOD
Preheat oven to 180°C for ten minutes.
Take you muffin tray and line it with liners or grease it with butter or oil, if you do not have liners.
In a bowl mi curd and sugar well until sugar completely dissolves.
Then add baking powder and baking soda and mix well. Now wait till 5 minutes.
After 5 minutes you will see bubbles appearing over this mixture.
Now add oil and vanilla essence and beat well.
In the end, add refined flour in segments and mix well. But do not over mix. Just fold the flour in the wet mixture properly.
Now add cocoa powder in this batter and again mix well.
Now is the time to shift the prepared batter into the muffin liners. Once it’s all shifted, tap the tin on the kitchen slab twice to remove the bubbles if any.
Bake in preheated oven at 180 deg C for 20-25 mins or till a toothpick inserted into the center of a muffin comes out clean.
Transfer to racks and let cool 10 minutes, then serve warm as it is or with some vanilla ice cream.
You can serve just like this at tea time or you can decorate it for some special occasion.
You can keep these muffins for a week in an airtight container and you can also freeze them in an individual packed in a cling film.